
I start by planning my layer math and pan sizes, splitting equal batter portions into two colors. I bake the layers at 350°F until they spring back, then cool and level them completely.
Next, I chill the layers until firm and use nested circle cutters to create concentric rings—typically 6-inch, 4-inch, and 2-inch sizes.
I swap the rings to alternate colors, lightly frosting the edges so they stay put, then assemble the pattern ring by ring. After a quick chill, I apply a clean crumb coat and final frosting, smoothing with my offset spatula.
When you slice straight through, the checkerboard grid will be visible. Follow my steps to achieve precise cuts.
Plan Your Layer Math and Pan Sizes First
I always map out my layers before mixing a single ingredient. Getting the layer math right separates the showstoppers from the disappointments.
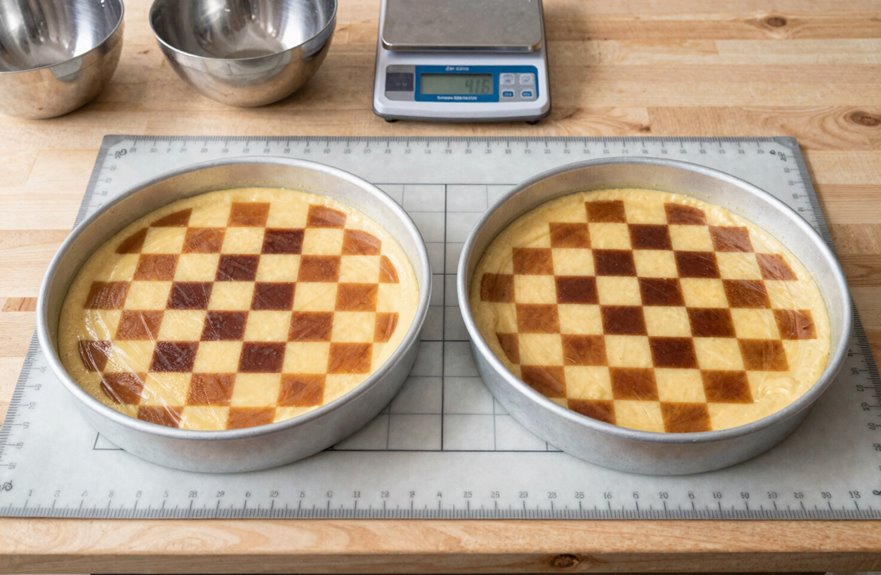
I start with Tender White Cake, splitting it into two-color batter portions—about 600 grams each. My go-to pan sizes are two 9-inch pans, which provide the ideal base for that signature checkerboard cake pattern.
I bake at 350°F with a 20–25 minute bake time, watching closely until the tops dome and spring back. Once cooled, I level layers carefully; no domes allowed here.
Then I cut center rings: 6-inch outer rings and 3-inch center rings from each color. I alternate these pieces, frosting edges lightly so my rings stay put.
You’re creating something memorable.
Choose Colors and Flavors That Bake Evenly
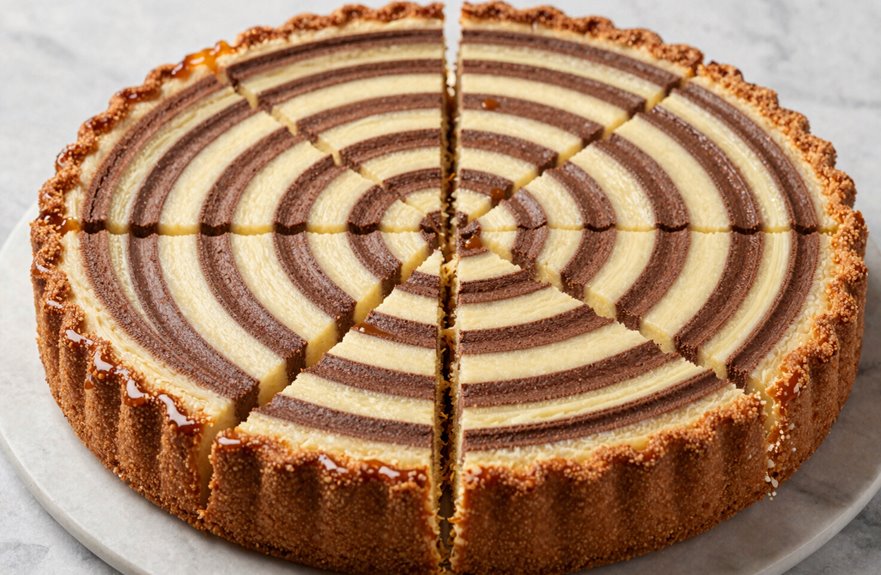
Color choice significantly impacts the visual appeal of a checkerboard cake. Selecting colors and flavors that bake evenly ensures your two tones remain vibrant through every slice.
I start with a tender white cake as my base, as it handles color separation well. For batter division, I split the mix into equal portions, about 600 grams each, then fold in my chosen hues.
Crush freeze-dried fruit or lemon into one bowl for distinct, consistent flavor across the cake layers.
I alternate colors with each layer, such as yellow-pink-yellow, so that the touching rings complement each other. At 350°F, I maintain a steady bake temperature for 20 to 25 minutes until the cake is domed and set.
By planning equal portions and even baking, you can achieve a stunning pattern every time.
Cut Concentric Rings With Nested Circle Cutters
Once the layers have cooled completely, I wrap each one in plastic and chill them until firm before cutting. This keeps the rings clean and prevents crumbling.
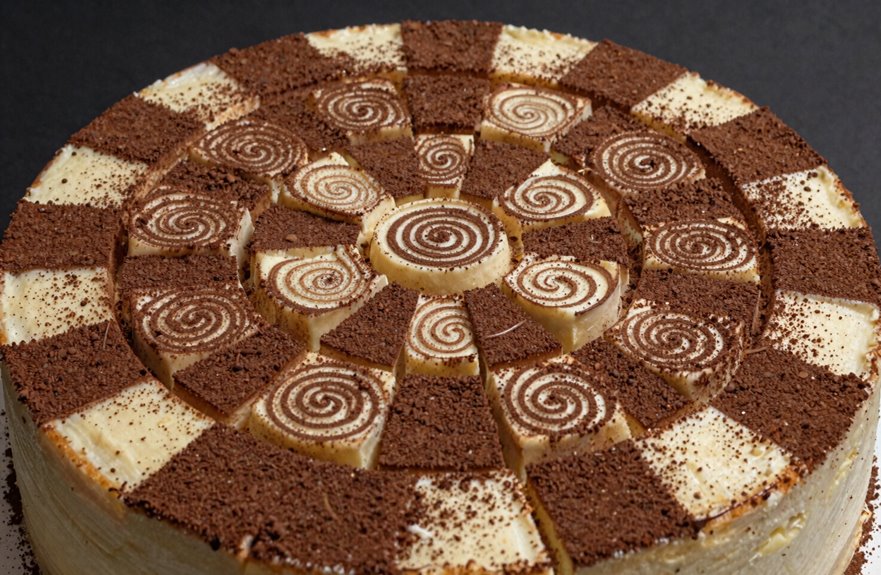
I press my nested circles into each layer, creating three distinct sizes: a 6-inch outer ring, a 4-inch inner ring, and a 2-inch center circle. These concentric rings form the foundation of every checkerboard cake.
| Ring Size | Purpose |
|---|---|
| 6-inch outer ring | Forms the cake’s exterior edge |
| 4-inch inner ring | Creates the middle color band |
| 2-inch center circle | Completes the bullseye pattern |
I remove the circle cutters in sequence and then lightly frost the edges of the smaller pieces to ensure they hold together during reassembly. This precision allows for flawless layer assembly and seamless color alternation when stacking.
Assemble the Checkerboard Pattern Ring by Ring
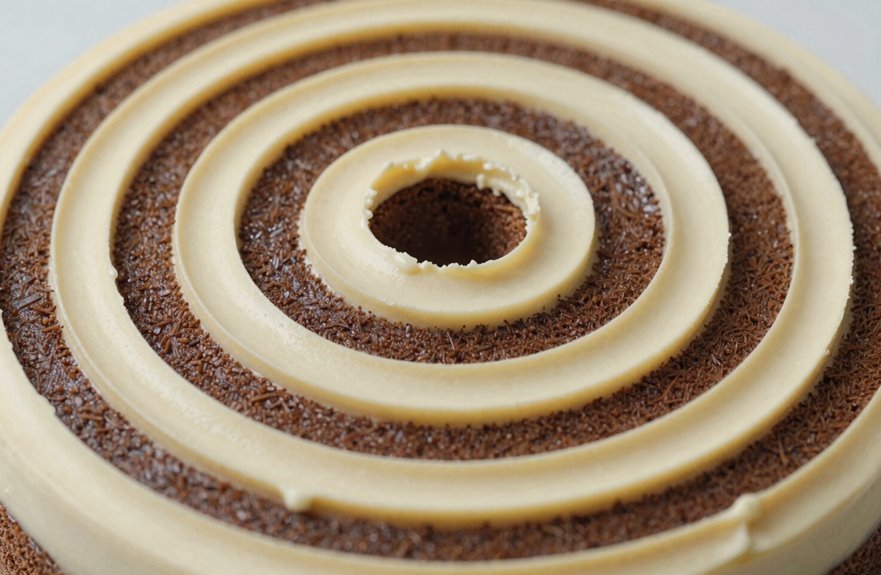
With all the rings cut and chilled, I’m ready to build the pattern that makes this checkerboard cake a showstopper.
I start by alternating the ring pattern so each layer’s outer color matches the previous one’s center—pink-yellow-pink or yellow-pink-yellow when stacked.
I lightly frost the outer edges of my 2-ring and 4-ring pieces to help them cling during reassembly.
Then I carefully assemble each layer, placing the 6-inch circle outer ring, fitting the 3-inch circle center, and filling gaps with frosting to lock the inner checkerboard in place.
I stack these layers, watching the grid form. After this initial assembly, I chill briefly to set everything firm.
This step transforms simple rings into something extraordinary that we can proudly share.
Frost Clean and Slice Straight to Reveal the Grid
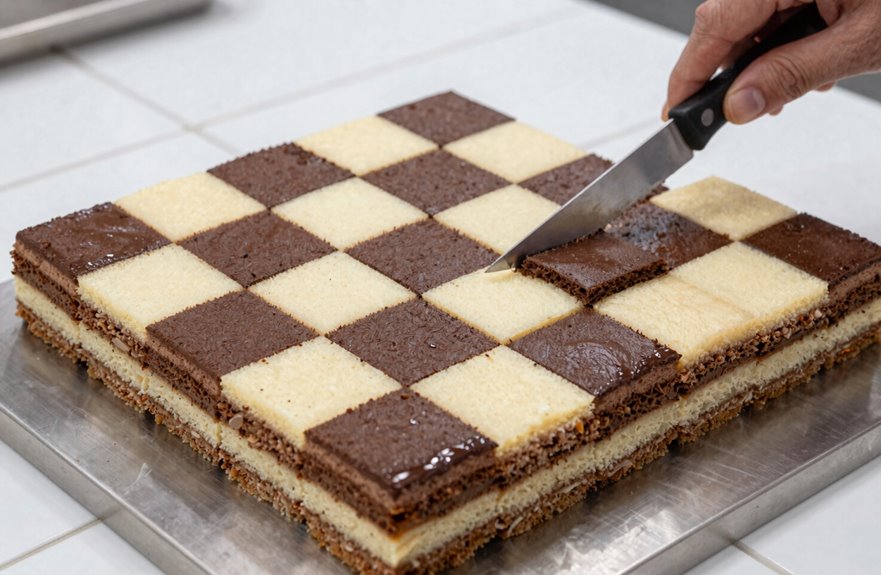
I’m ready to lock in that checkerboard pattern and make it shine. I apply a thin crumb coat to seal in those alternating rings, then chill it for five to ten minutes.
This helps prevent crumbs from ruining my masterpiece. Once firm, I add the final frosting layer, spreading it evenly with my offset spatula while spinning the cake stand.
I hold my bench knife steady against the side, smoothing every inch for a flawless exterior.
Patience is key. When I slice, I measure carefully and cut straight through—no sawing—to reveal that gorgeous patterned interior.
Each clean cut exposes the grid we built ring by ring. One perfect slice, and we can admire the checkerboard magic inside.