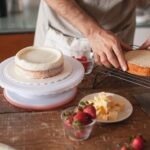
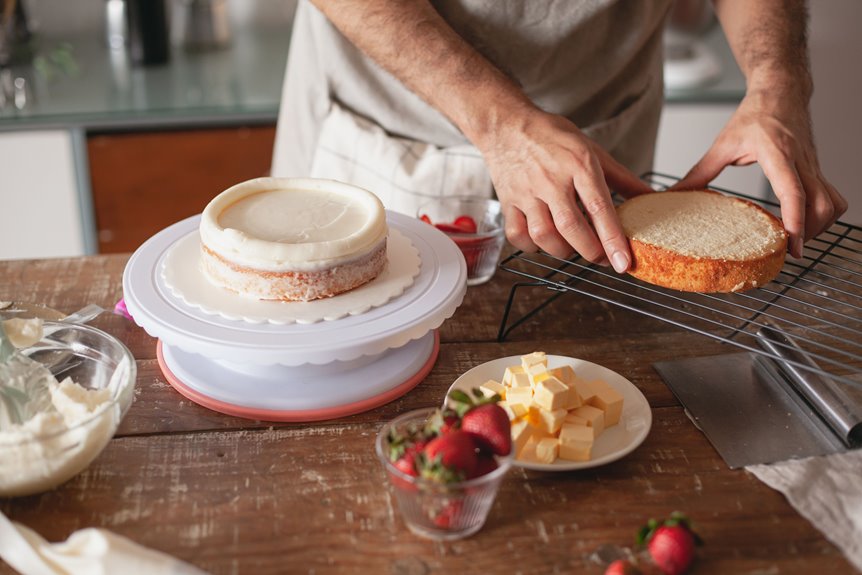
I chill my frosted cake until firm so the buttercream stays smooth and stable. Then I make white chocolate ganache by pouring hot cream over chips and stirring until glossy.
I tint it with gel coloring and let it cool to barely warm. I apply drips using a spoon or squeeze bottle, controlling thickness for my desired drip length.
Next, I fill the center and smooth everything quickly before the ganache sets. Finally, I add decorations once it’s firm.
I have additional techniques to achieve that professional finish.
Chill Your Drip Cake Base Until Firm
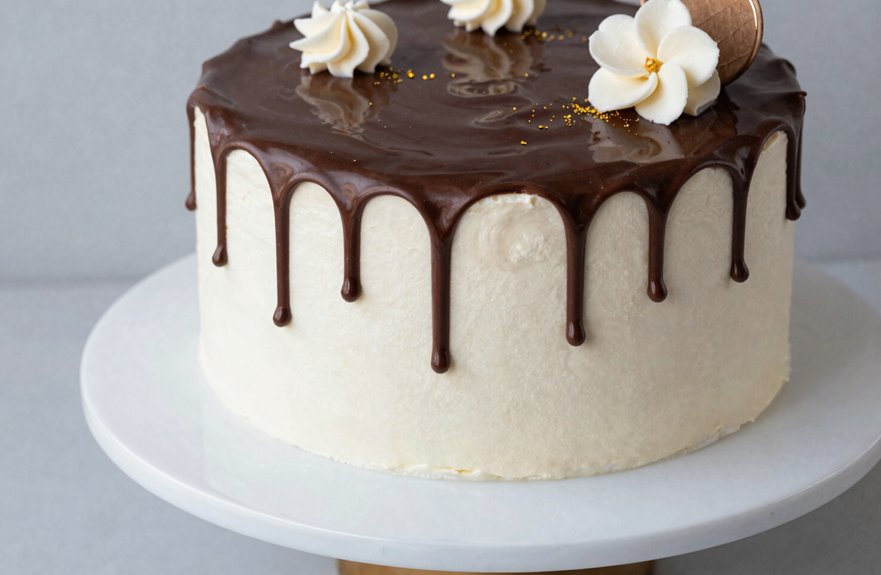
Chill your frosted cake in the fridge; this step is essential for achieving those picture-perfect drips. Ensure your frosting is perfectly smooth, with no peaks or textures, as chilling locks everything in place.
A cold cake aids in controlling the drip process, allowing for greater precision. The temperature of the cake is crucial; if it warms up, precision will be lost.
Maintain a tight schedule for chilling before decorating. Prepare your ganache while the cake stays cold, avoiding room temperature.
This stability ensures that when you pour the ganache glaze, each drip lands exactly where intended. Patience is key for a successful drip cake.
Make White Chocolate Ganache With Perfect Drip Consistency
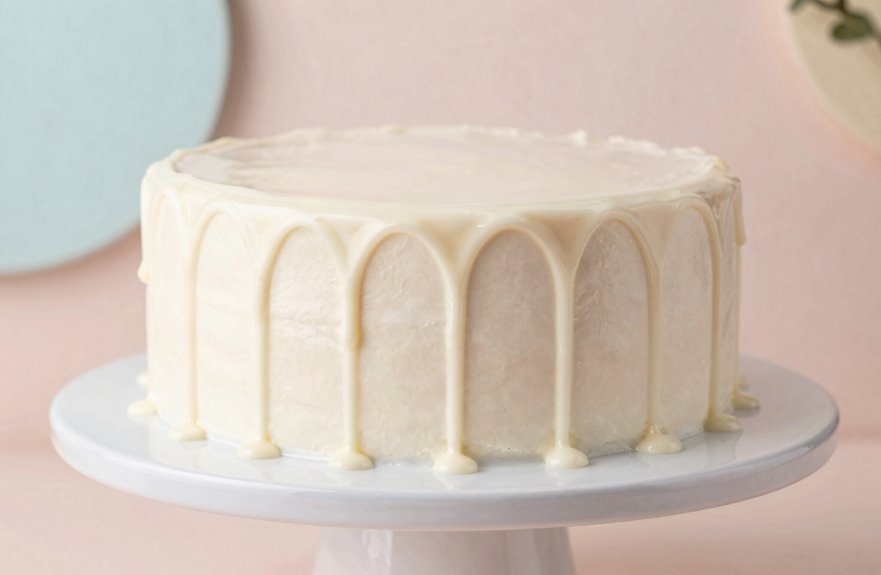
How do I achieve that perfect drip consistency? I heat heavy cream until steaming, pour it over white chocolate chips, and let it sit for 1–2 minutes before stirring until smooth.
This creates a glossy texture that sets beautifully.
For our white ganache to stand out, I follow these essentials:
- Use gel food coloring to preserve thickness and vibrancy.
- Tint after combining white chocolate and cream.
- Cool to barely warm before application.
- Maintain a spreadable, tempered ganache consistency.
I let my white chocolate ganache rest at room temperature until it reaches the right consistency. If it becomes too thick, I rewarm it in 10–15 second bursts.
If it’s too thin, I wait briefly. This gelatin-free drip rivals any dark chocolate version, providing a professional chocolate drip.
Apply Drips Using Spoon or Squeeze Bottle Method
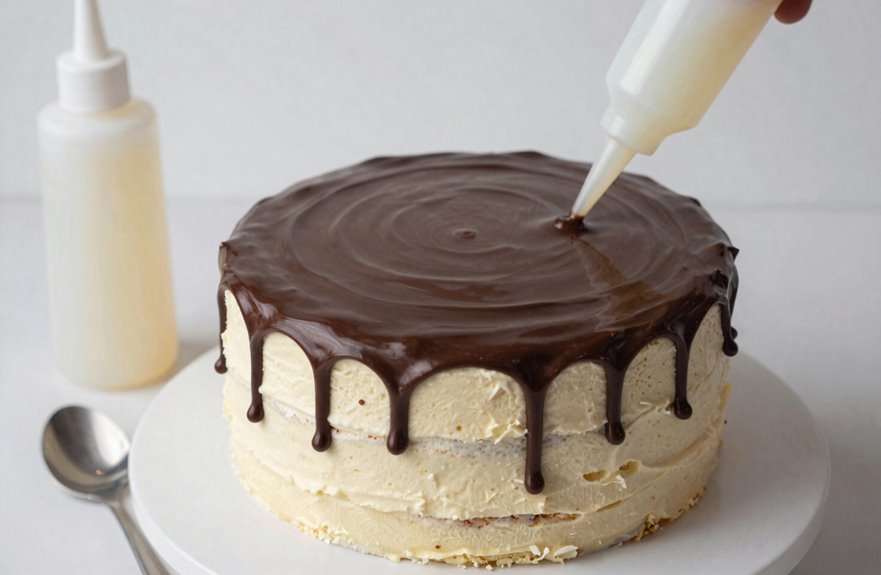
Once my white chocolate ganache reaches that barely warm, pourable state, I’m ready to create those dramatic drips that make this drip cake style captivating.
For the spoon method, I scoop 1–2 teaspoons of ganache and pour it over my chilled buttercream edge, scraping the bowl bottom to prevent rogue drips.
The ganache thickness directly controls drip length; thicker ganache creates shorter drips, while thinner ganache stretches longer. I let it rest for about 10 minutes after preparation.
The squeeze bottle method allows for cleaner control. I fill the bottle, hold it a couple centimeters above the edge, and squeeze while turning on my turntable to apply drips evenly.
If my ganache is too thick, I reheat it in 10–15 second intervals. If it’s too thin, I let it rest longer or add more chocolate.
Together, we can master this technique.
Fill the Center and Smooth for a Polished Finish
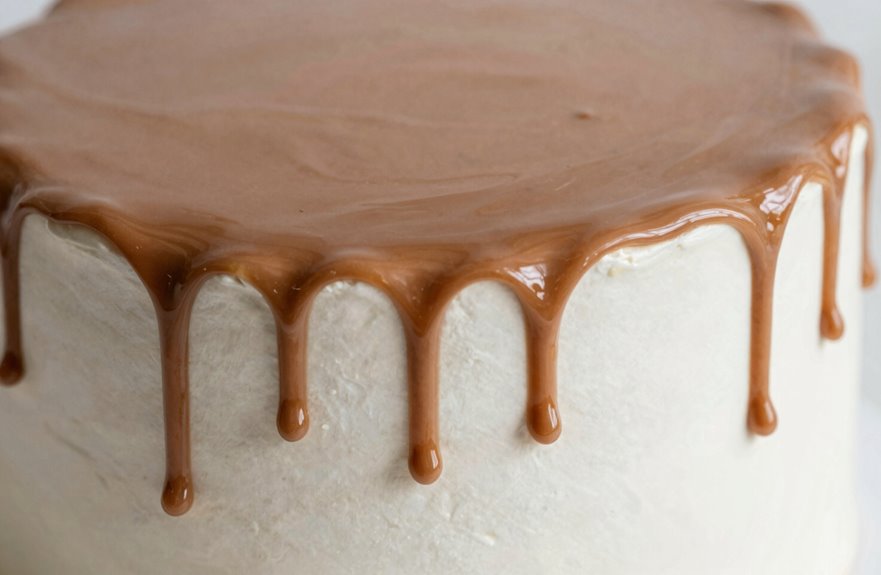
Where do those final drips land? Right into your center pool, where I’ve transformed bare frosting into something we can all appreciate.
I chill the cake first; this keeps our drip cake controlled as I work. Then I pour and spread barely warm ganache into that center fill, watching it settle into glassy perfection.
Chill first, pour slow, watch the ganache settle into glassy perfection—controlled beauty in every drip.
Here’s what separates our cakes from the rest:
- Keep that cake cold while filling.
- Use smooth ganache for seamless blending.
- Work from edges toward center for cohesion.
- Master edge smoothing before it sets.
I gently spread the ganache outward for an even top, then return for polished finish touches. We’re building something beautiful together; every swirl counts, and every chill session is important.
That professional gleam comes from our dedication to quality, creating a sense of belonging with each slice.
Add Final Decorations Once the Ganache Sets
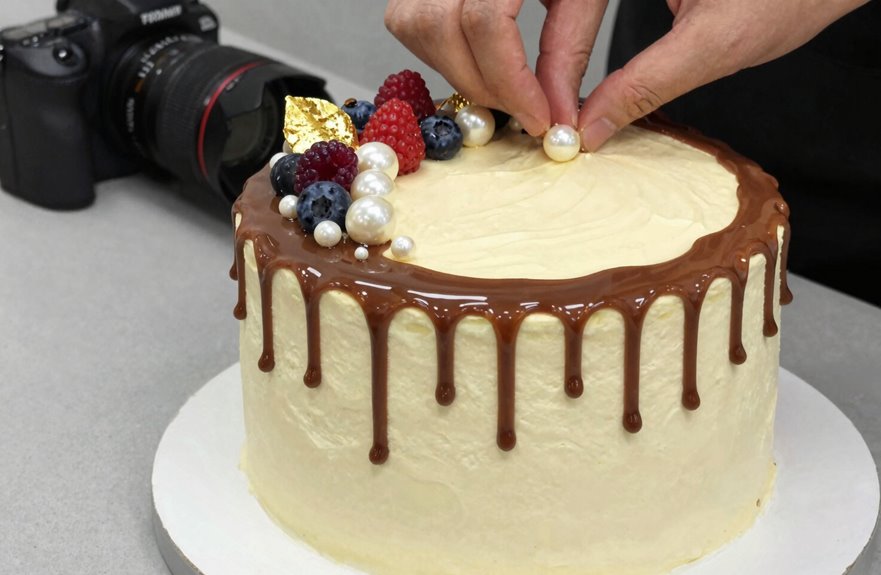
Before I reach for the piping bag or sprinkle jar, I check that my ganache has fully set. This patience rewards me with clean, stable drips and a smooth surface that holds every decoration in place.
Once my drip cake reaches this stage, I layer on final decorations with confidence. I press sprinkles, fresh fruit, or macarons into the set ganache, ensuring nothing slides out of place.
I add piping along the edges for a polished look and brush on a glossy finish if I want extra shine. For metallic glamour, I bag-coat after the initial layer firms, achieving pure brilliance.
If my surface softens during work, I chill the cake briefly to refresh it. These toppings elevate my creation, making it suitable for any celebration table.