
I measure my cake pans in seven steps to avoid baking disasters. First, I check the interior opening—diameter for round pans and length and width for rectangular ones, always measuring from inside edge to inside edge.
Next, I measure the depth from the bottom interior straight up to the top rim. Then, I calculate volume: for round pans, I use radius squared times pi times depth; for rectangular ones, length times width times depth.
I also convert between inches and centimeters by multiplying or dividing by 2.54. To verify everything, I fill the pan with water to check true capacity, as visual estimates often mislead me.
I keep batter at two-thirds full to prevent overflow, and I adjust bake time when the depth or shape changes. Following these steps helps ensure your cake turns out as intended.
Start Here: Why Your Last Cake Failed (And How Pan Size Fixes It)
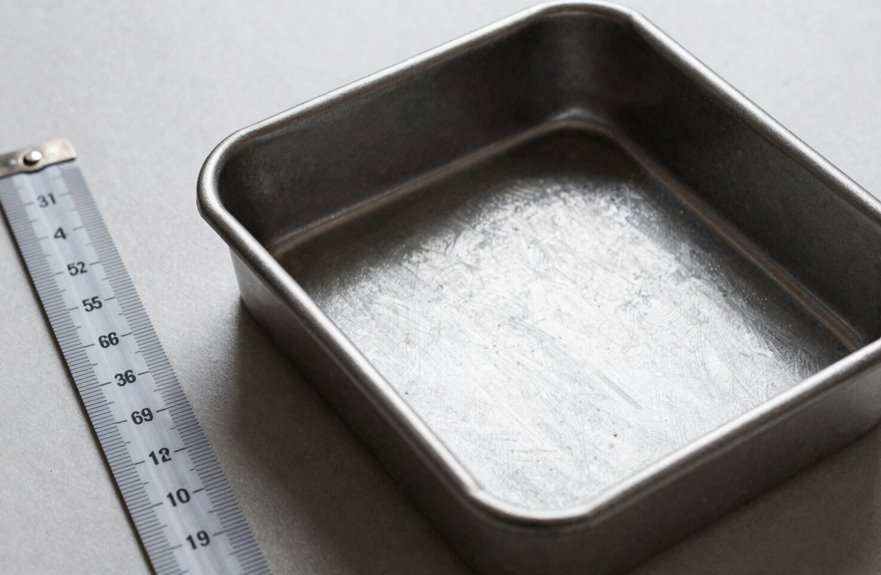
Why does your cake sink in the middle or overflow onto the oven floor? It often comes down to the pan.
When I fill it too generously, it can lead to disaster. That’s why I stick to the 2/3 full rule; it allows the batter to rise without creating a mess.
I always check the inside diameter for true pan capacity since outer edges can be misleading. If the batter depth is incorrect, my bake time suffers, resulting in raw centers or dry edges.
When I need to substitute pan sizes, I verify volume measurement through water displacement. Weighing filled pans helps prevent overflow issues.
Even pans with similar capacities still require adjusted bake times because the shape affects the baking process. Measuring accurately ensures a successful bake and reduces the need for cleaning the oven.
Measure Your Cake Pan Opening: Diameter, Length, and Width
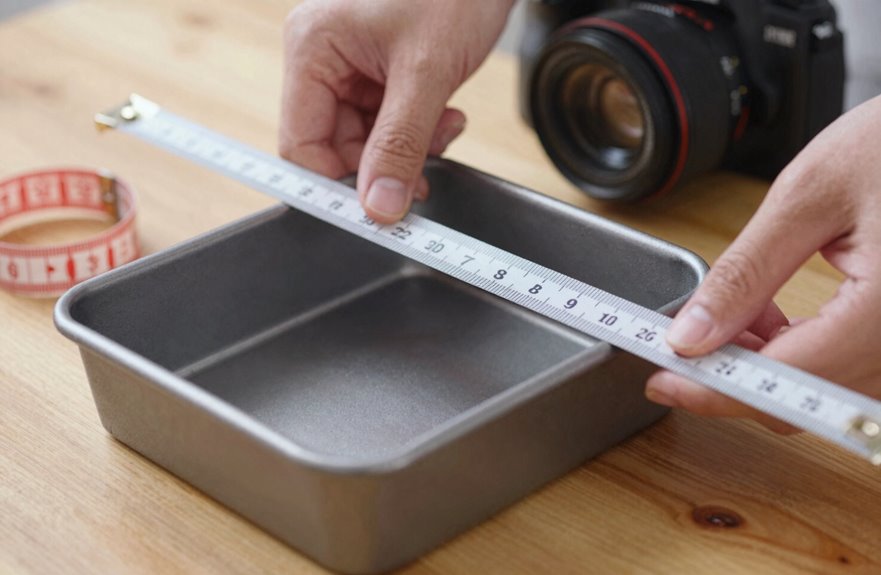
How do I know I’m using the right cake pan? I measure the top opening to confirm the interior dimensions.
I measure my cake pan’s interior dimensions at the top opening to ensure I’m using the right one for every recipe.
For a round cake pan, I stretch my measuring tape straight across the inside edge, passing through the center to capture the diameter. I ensure the tape remains level and taut against the rim.
When measuring a rectangular pan, I record the length and width separately, again measuring from inside edge to inside edge. I exclude any flared rims or decorative handles that might lead to inaccurate numbers.
I use a clear ruler or measuring tape that is easy to read, and I note both inches and centimeters for easy recipe cross-referencing. If the pan is warped, I take measurements at different points to verify consistency.
These interior dimensions are essential for every bake I undertake.
Measure Cake Pan Depth: Why Height Changes Bake Time
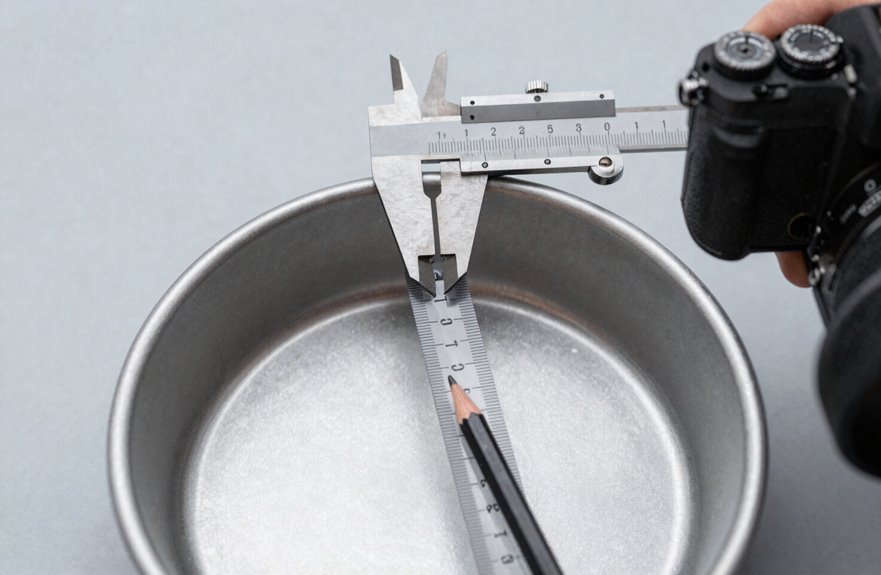
Once I confirm the width and length of my pan, I focus on depth. Pan depth measurement is crucial; without it, I risk guessing on batter capacity and potential issues.
- I measure cake pan height from the bottom interior straight up to the top edge, ignoring any rim or lip.
- Deeper pans hold more batter, so filling them to 2/3 prevents rising cakes from overflowing.
- Taller pans require longer bake times since heat travels farther through the center.
- I pay attention to how depth affects baking when substituting deeper for shallower pans.
- Consistent pan depth allows for accurate bake time adjustments each time.
Getting the height right ensures my cakes don’t collapse or take too long to bake. This knowledge helps me achieve successful results consistently.
Calculate Cake Pan Volume: Know If Your Batter Will Fit
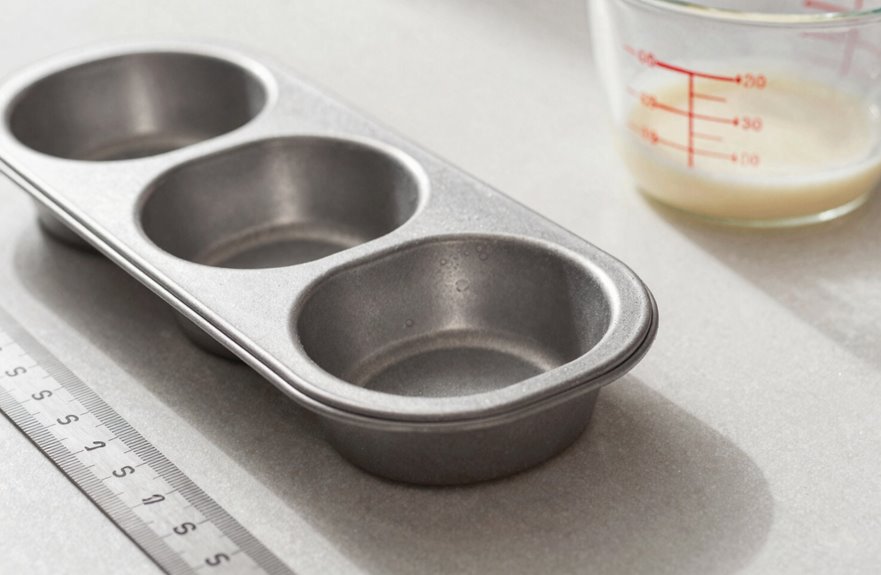
Where will my batter end up if I misjudge the pan size? We’ve all experienced overflowing ovens, sunken centers, and the disappointment of a ruined bake.
Avoiding this requires calculating pan volume.
To do this, I measure the inside dimensions: diameter for a round pan, length and width for a square or rectangular pan, and depth.
The math is straightforward: for round pans, use radius squared times pi times depth; for rectangles, multiply length by width by depth. Alternatively, I can fill the pan with water to the rim—one cup equals 240 ml.
A 9×2 inch round pan holds roughly 8 cups, an 8×8 square pan about 8 cups, and a 9×13 rectangle pan around 14 cups. To ensure proper rise, I fill the batter about two-thirds full.
If I’m uncertain, I bake extra cupcakes with leftover batter instead of risking overflow.
Convert Pan Measurements: Switch Inches and Centimeters for Any Recipe
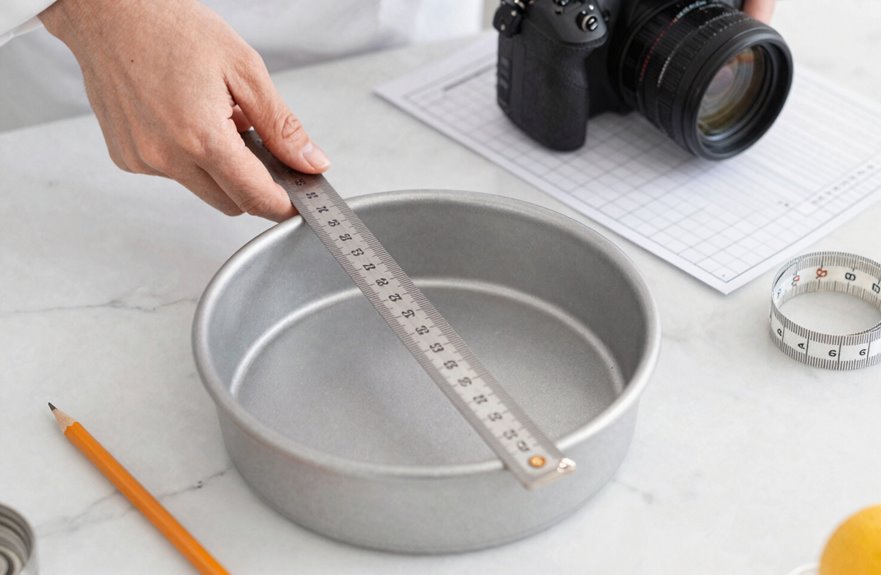
Why struggle with a recipe written in centimeters when my pans are labeled in inches? Seamless pan size conversion allows me to stay connected to the baking community without interruptions.
To convert inches to centimeters, I multiply by 2.54 or divide centimeters by 2.54 to reverse it. Here are some quick references: 4 in = 10 cm, 8 in = 20 cm, 10 in = 25 cm.
- I always measure the pan interior with a tape measure or ruler, not the outer rim.
- I note pan measurements in both units for my favorite recipes.
- I check volume equivalence when making substitutions across shapes.
- I convert all dimensions before calculating batter needs.
- I keep a conversion card taped inside my cabinet door.
Mastering these conversions ensures I can follow any recipe I come across.
Double-Check With Water: Verify Capacity When You’re Unsure
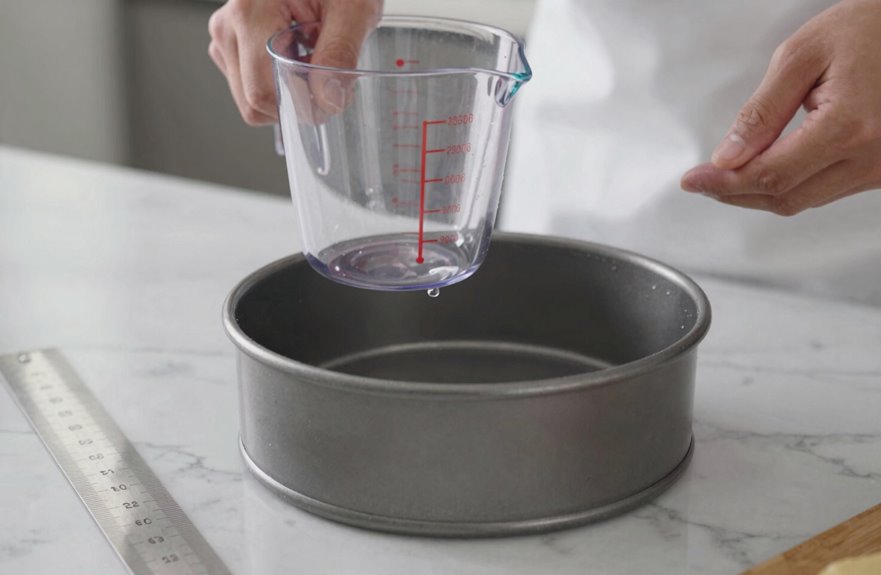
How can I be certain my pan holds the right amount of batter? I use the water method to double-check when I’m unsure.
I fill the pan with water, one cup at a time, until I reach the rim. This reveals the true pan capacity in cups or milliliters.
For greater precision, I tare weight my empty pan on a kitchen scale, then weigh it filled with water; grams equal milliliters for water, providing an exact measure.
When I need batter substitutions, this recorded capacity helps me match pans with equal total volume. I keep these numbers handy to ensure bake consistency across every recipe.
This process builds my confidence and reinforces my connection to a community that prioritizes accuracy in baking.
Use Your Measurement Now: Substitute Pans Without Ruining the Bake
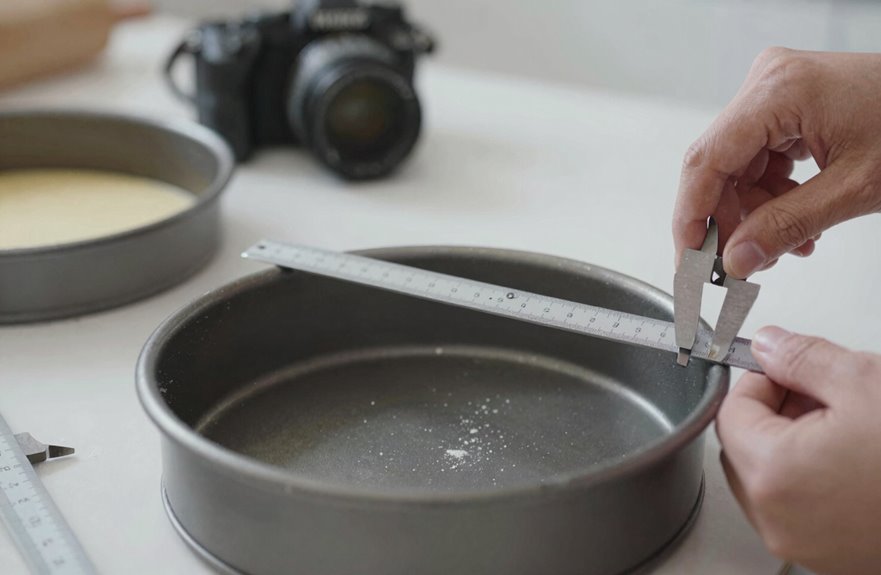
Once I’ve determined my pan’s true capacity, I can swap pans confidently. I match my volume measurement to what the recipe specifies, ensuring my batter substitution is successful.
Getting it right prevents sunken centers or overflow issues.
Here’s how I achieve consistent results:
- I check inner dimensions with a tape measure, excluding rims and handles.
- I compare pan capacity in cups or milliliters, rather than relying on visual comparisons of similar shapes.
- I conduct a water test to confirm any cake pan measurement when calculations seem complex.
- I pair equivalent baking pan sizes to ensure my batter sits at the correct height.
- I always adjust the bake time because deeper or wider pans can alter how heat circulates.
Following these steps will help ensure successful baking outcomes.