I baked two 10-inch rounds, cooled them, then stacked one halved round with buttercream to build my cliff foundation.
I piped wavy blue lines for the waterfall and river, crushed Biscoff cookies for edible dirt, and pressed Pirouette cookies along the edges for texture. Green frosting grass, plastic trees, and toy dinosaurs completed the scene.
You’ll find the full breakdown below for every shortcut I used.
Bake and Stack the Cliff Foundation
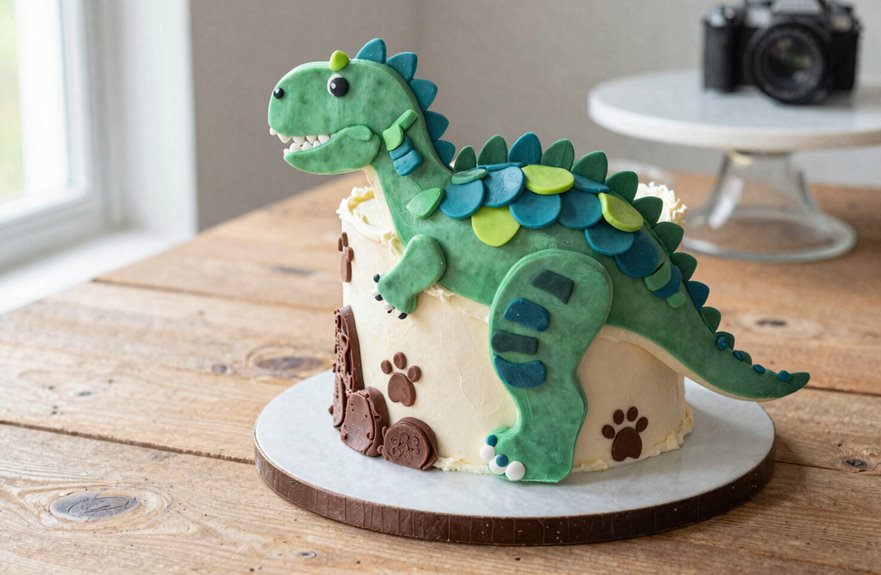
I’ll start by baking two 10-inch rounds, greasing the pans with Baker’s Joy so nothing sticks. After 30 minutes of cooling on the racks, I will invert them completely.
Patience is important here; warm cake crumbles.
I will level the rounded tops and then halve one round. Stacking those halves with buttercream in between builds height for my cliff foundation.
I will frost the remaining round’s top and stand that stack upright, creating the dramatic cliff face. More layering reinforces the structure.
Once I have the shape, I will arrange Pirouette cookies along the tallest edge and broken pieces on the shortest, leaving that central gap.
This cooling and stacking sequence prevents cracking and gives my dinosaur cake a solid base before we build the waterfall scene together.
Mix Buttercream and Pipe the Waterfall
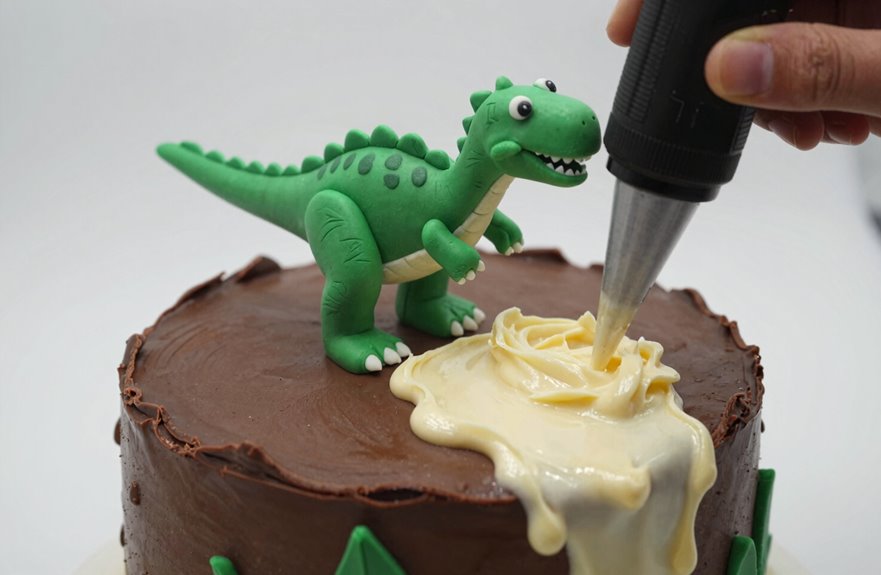
How do you transform buttercream into a rushing waterfall? Let’s bring this dinosaur cake to life together.
Transform buttercream into rushing water—let’s bring this dinosaur world to life, one delicious detail at a time.
First, I cream two sticks of butter with one stick of shortening, then beat in eight cups of powdered sugar and milk until my buttercream frosting feels spreadable. I set some aside for later details.
The waterfall piping process involves several steps:
- I load my piping bag with the 7 tip and outline the river, waterfall, and plunge pool.
- I pipe long, wavy, imperfect lines to capture water’s natural movement.
- I brush blue sparkle gel across the surface and add white frosting as foam at the base, allowing bits to show through for realistic rapids.
This cake decoration technique fosters creativity. Your waterfall will be uniquely beautiful.
Embrace the process and the imperfections, and let’s create something extraordinary.
Make Edible Dirt and Grass Terrain
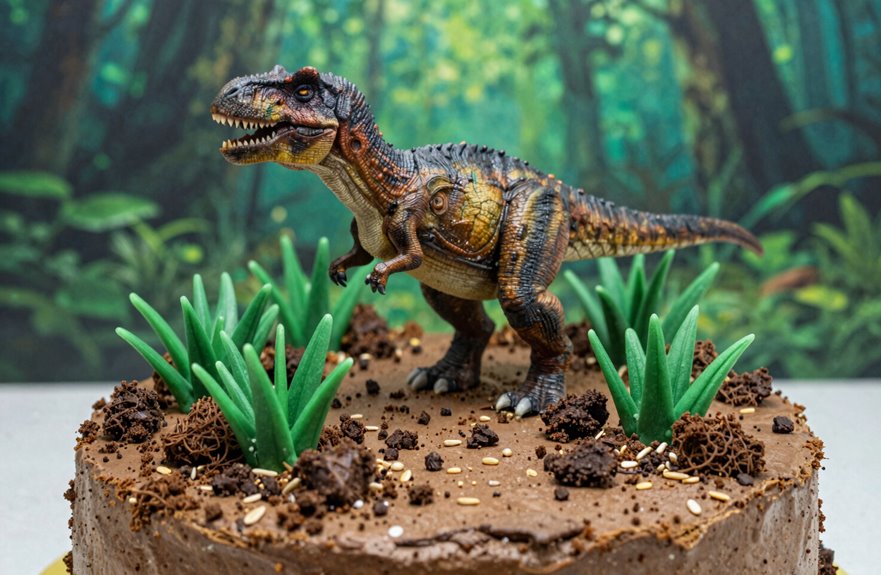
What better way to ground this prehistoric scene than with terrain you can actually eat? I will show you how to craft edible dirt that transforms your DIY dinosaur cake into a convincing prehistoric landscape.
I crush Biscoff cookies in a zipper bag until I have fine crumbs with small chunks remaining. This cookie crumb dirt provides an authentic dirt texture.
I sprinkle these over the white cake portions, using my clean hand to distribute them unevenly for a more natural look rather than a flat coat.
This approach belongs in every collection of birthday cake ideas because it is simple yet effective. The varied dirt layer adds visual depth and incredible flavor against the chocolate cake base.
No additional cake decorating steps are needed; this edible dirt serves as both texture and taste.
Press Pirouettes and Paint Blue Water
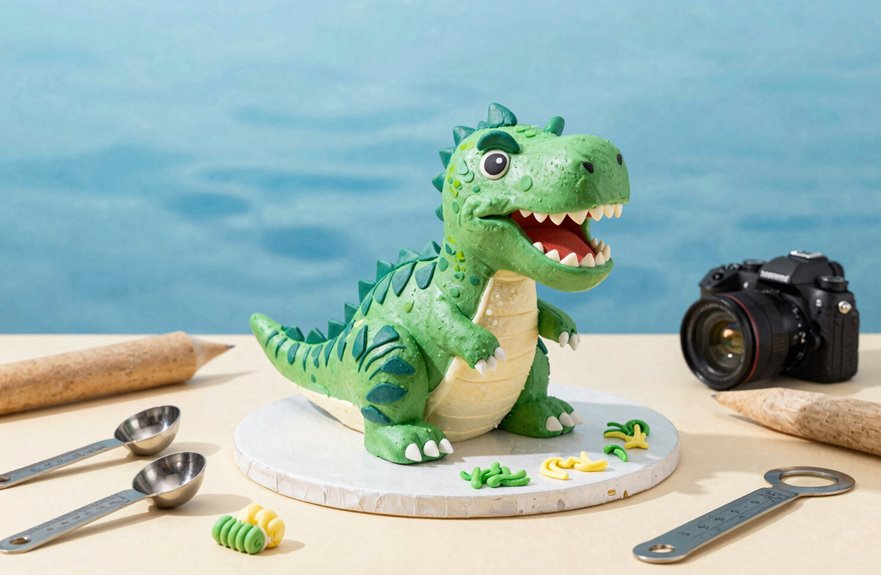
With the edible dirt settled into place, I’m ready to bring water to this prehistoric landscape. This is where cake decorating transforms your dinosaur cake from terrain to a thriving world.
- Grab your piping tips; start with #7 to outline the river, waterfall, and plunge pool using white fondant frosting.
- Switch to the #10 tip at the base, piping foamy bursts where water crashes down.
- Brush blue gel from the river to the waterfall, thickening it in the plunge pool for depth.
Press Pirouette cookies along the water feature’s cliff edges, trimming broken pieces to fill gaps. These edible decorations add texture, making your scene feel lived-in.
Your dinosaur cake now flows with movement—water sparkles, foam pops, and Pirouette cliffs complete your prehistoric vision.
Position Dinosaurs, Insert Trees, and Serve
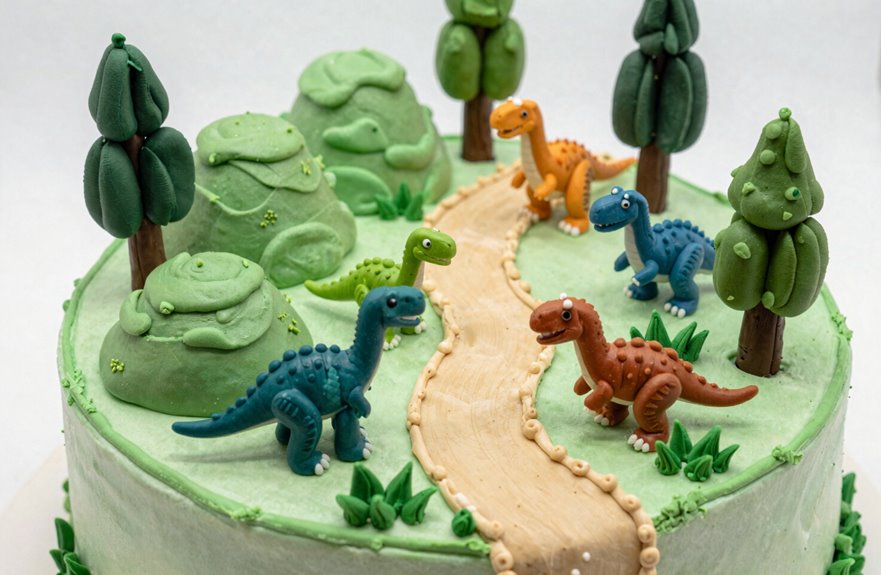
The final act brings your prehistoric world to life. I position dinosaurs across my tiered cake, placing one on each level so my brachiosaurus neck arches dramatically over the waterfall.
Press those feet firmly into the surface for stability, especially near the pond edge where slopes can be tricky.
Position each dinosaur deliberately across tiers—let the brachiosaurus arch dramatically, and anchor feet firmly near slope edges.
Next, I insert eight to twelve plastic trees, dotting them through the dirt while keeping sightlines clear for my dinosaur figures. No crowded scenes here; everyone has room to shine.
I then add grass piping with green-tinted frosting through a #233 tip, creating landscape texture that ties everything together. I dab blue gel into the plunge pool and streak white frosting at the waterfall base for realistic water effects.
Stand back. Your dinosaur cake masterpiece is ready to serve.