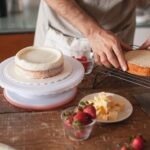
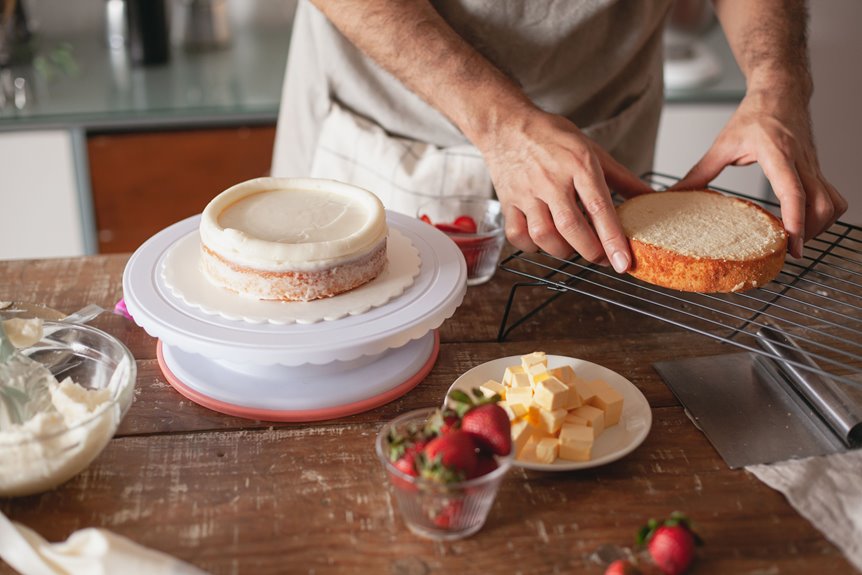
I always wait until my cake feels completely cool to the touch before I frost it—usually two to three hours at room temperature, or I speed things up with an hour in the fridge.
If I’m glazing instead, I can start while it’s still slightly warm for that smooth drip effect.
I never skip the crumb coat chill; twenty to thirty minutes in the fridge firms everything up so my final layer stays neat.
There is a specific process to getting this right that enhances your results.
How Long Should You Wait to Ice a Cake After Baking? : Or Use This Multi-Day Plan
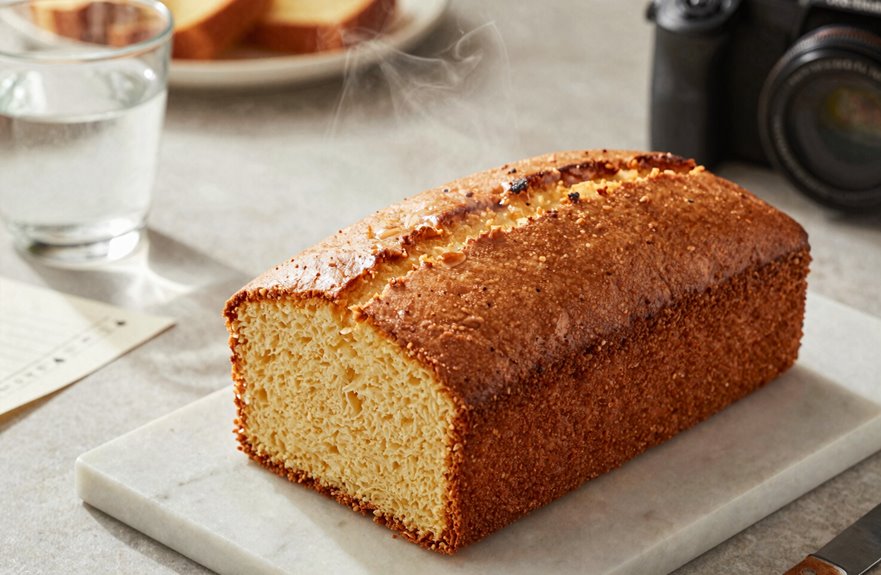
How soon can you frost after baking? Patience separates amateur cakes from those that impress.
For buttercream, I wait until my cake is completely cool—no lingering warmth anywhere. A cooler surface allows for thicker, more stable layers without the risk of melting or sliding.
For busy weekends, I bake one day, apply a thin crumb coat, and then chill the cake for about thirty minutes until firm. The cold hardens the buttercream shell, sealing the crumbs perfectly.
The next day, I add my final coat to a fully chilled cake, making the frosting process smoother with no tearing or crumbs mixing in. This two-day rhythm has greatly improved my results.
Why Frosting a Warm Cake Ruins Your Finish
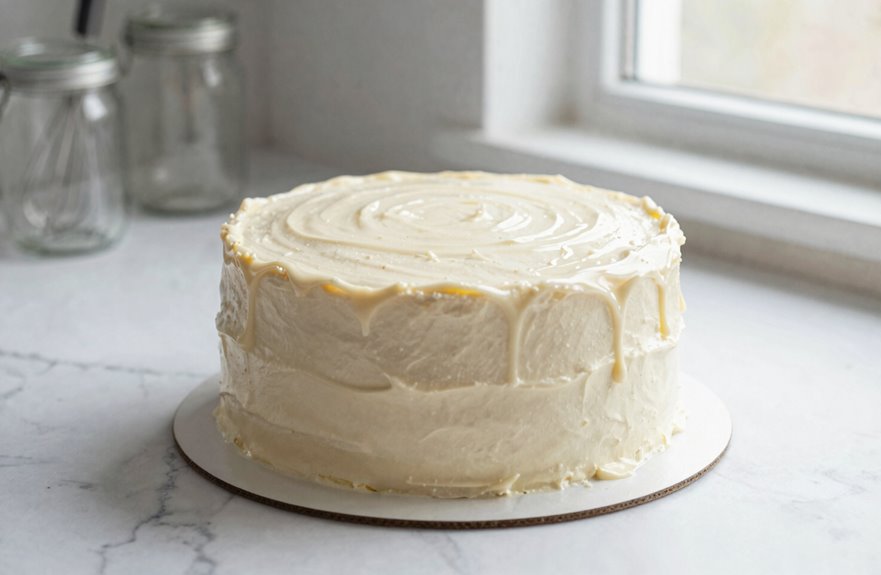
Why does frosting a warm cake lead to problems? I’ve learned the hard way that heat and frosting don’t mix, and I’m sharing what went wrong so you won’t face the same mess.
Here’s what happens when we rush:
- Buttercream melts and slides right off, leaving pools of wasted sweetness.
- The frosting separates before it ever sets, ruining that smooth finish we crave.
- Warm cake steals stability from every carefully piped detail.
- Cooling gets rushed, and we end up with saggy, uneven texture no one wants to show off.
- The edges stay sloppy because heat prevents clean adhesion.
For cakes that look like they belong in a bakery window, I wait until my cakes reach room temperature, then chill them further if needed. Patience ensures better stability and texture.
The Touch Test: When Your Cake Is Actually Cool Enough
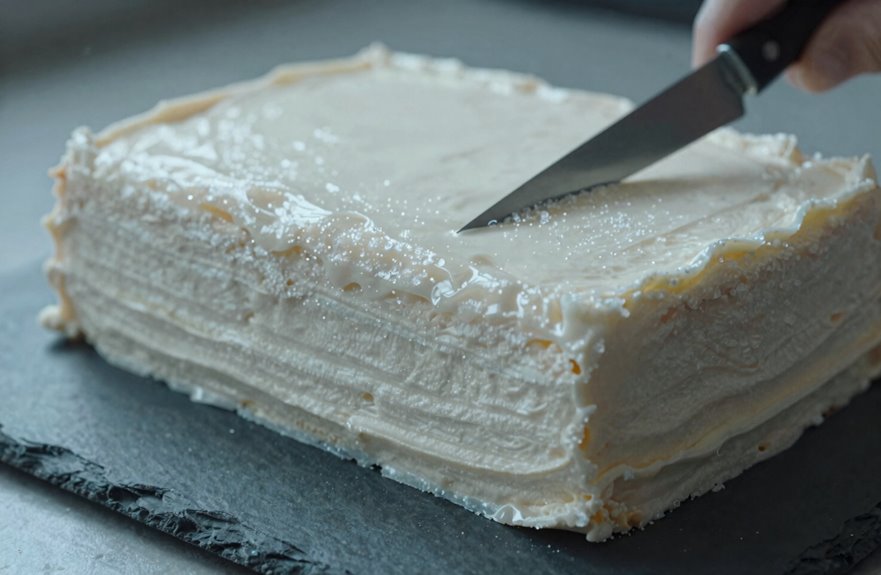
The best way to determine if my cake is ready for frosting is a simple test: I touch the surface with my fingertips. I gently press against the top and sides, ensuring it feels cool throughout.
If I detect any warmth, I wait longer, as this patience prevents ruined buttercream later.
For traditional buttercream, I require fully cool layers before starting. Any remaining heat can melt the butter, resulting in sagging edges and a greasy finish.
I apply a crumb coat to my cake and then chill it until the surface is cool again before adding the final layer. This step elevates my results from amateur to professional.
Rely on your fingers; they will indicate when it’s time to frost.
Glaze vs Frosting: Different Timing Rules for Different Finishes
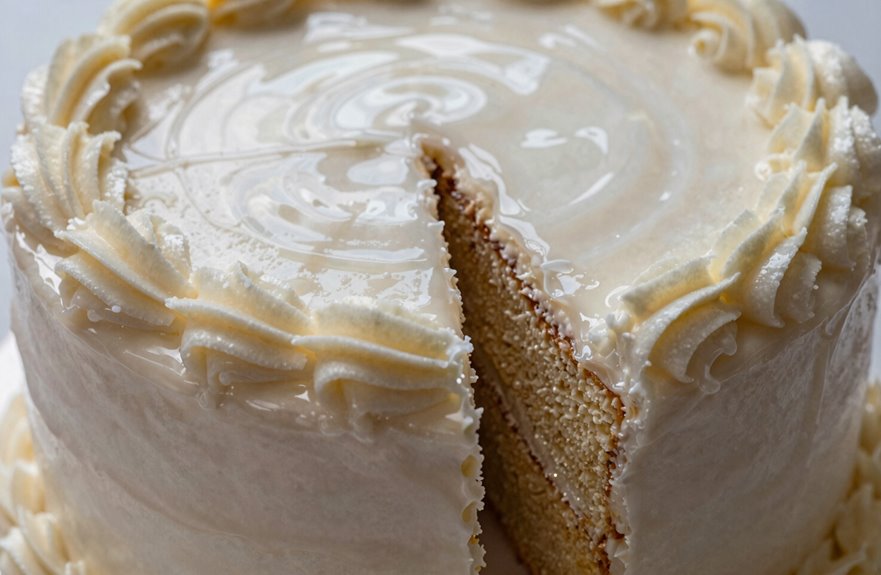
Although I wait until my cake feels completely cool to the touch before frosting, I’ve learned that glazing follows entirely different rules.
- Glaze tolerates warmth and flows beautifully over slightly warm cakes.
- Frosting demands a cool-to-touch surface to prevent melting and slippage.
- Warm cakes accept glaze for that smooth, dripping finish we all appreciate.
- Frosting requires patience; any warmth causes lumps and sliding issues.
- Temperature guidance: glaze is forgiving, while frosting requires a completely cool surface for clean results.
I’ve ruined enough batches to understand this distinction. Rushing frosting onto a warm cake results in sagging layers and messy sides.
Glaze, on the other hand, can be drizzled while the cake is still warm from the oven. This baking secret enhances our confidence in the kitchen.
How to Cool Cake Faster (Without Ruining the Texture)
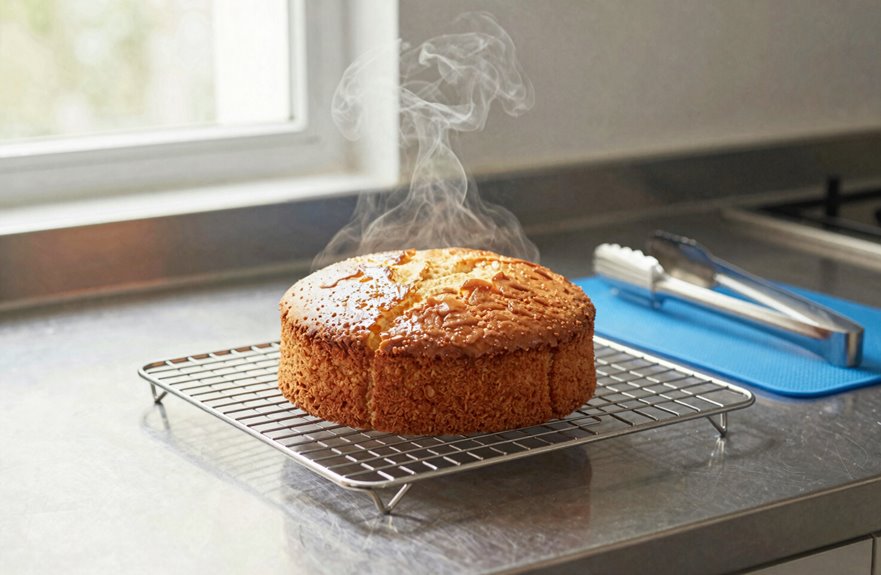
I’ve found three reliable ways to speed up cooling without sacrificing texture: boosting airflow around the cake, transferring it to cold surfaces, and using strategic slicing techniques.
Each method works with the cake’s structure rather than against it, ensuring you won’t end up with a dense or gummy crumb. Let’s explore how to execute all three without rushing the process.
Airflow Boost Methods
Why wait longer than necessary when a few airflow tweaks can cut your cooling time dramatically? Mastering air circulation allows for better control without sacrificing that tender crumb we all seek.
- Transfer warm layers from their pans to a wire rack after 30 minutes so airflow reaches every surface.
- Skip the enclosure of a closed kitchen; position racks away from walls where stagnant air lingers.
- Use refrigeration strategically—chill unfrosted layers for 1–2 hours to firm the crumb without rushing texture.
- Boost air circulation around stacked layers with a crumb coat by giving them 20 minutes in the fridge.
- Wrap cooled layers tightly in plastic and foil, sealing out humidity before any airtight storage.
These methods enhance efficiency while preserving the cake’s integrity.
Cold Surface Transfer
The cold surface method provides precise control over timing without compromising texture. I chill baked cakes in their pans on a cooling rack for thirty minutes, then turn them onto a rack to cool completely before any refrigerator chilling.
This prevents condensation damage while speeding up handling.
I freeze layers for twenty minutes before assembly to minimize crumbling and reduce sliding. After applying a crumb coat, I chill for at least thirty minutes or freeze for five to firm the coating before final frosting.
When I wrap unfrosted layers overnight, I refrigerate them to maintain moisture and create a cold surface for easy handling.
When transferring a cold, layered cake to its final serving surface, I keep it on a chilled board. This preserves the cold start and prevents condensation from softening the buttercream.
Slicing Techniques
How do you slice a cake without turning it into crumbs? Patience and technique are essential in the baking community.
- Cool your cake completely to room temperature before slicing to prevent crumbling and shifting.
- Transfer warm layers to a wire rack immediately, running a thin knife around the edges to release and speed cooling.
- Use a hot, clean knife, dipped in hot water and wiped dry, for smoother cuts when you’re pressed for time.
- Apply chilling between steps; a brief 20–30 minutes in the fridge firms the cake for your crumb coat and final frosting.
- Never slice while fully hot, as moisture causes tearing; wait until the surface feels cool to the touch.
These methods help maintain your cake’s integrity and build your confidence in baking.
Same-Day Icing: Is Your Timeline Realistic?
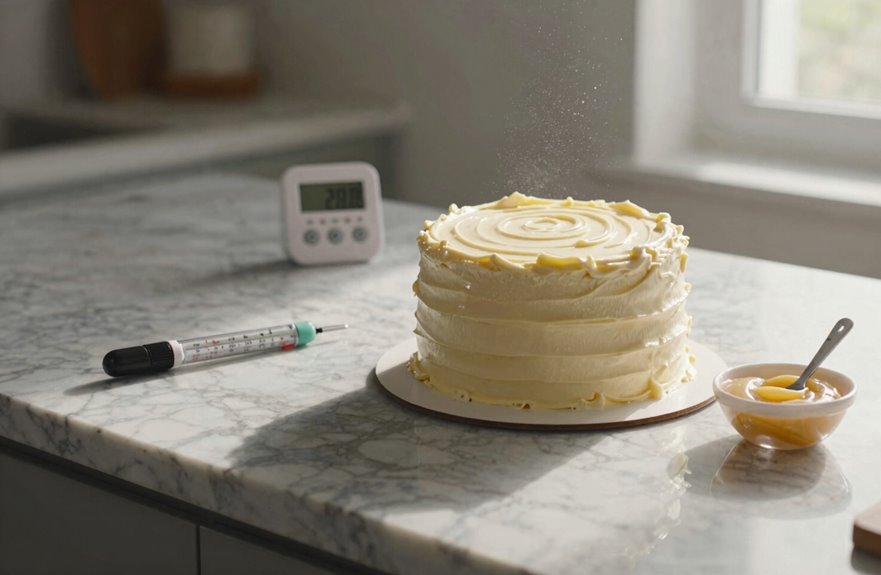
When you’re staring at a warm cake and guests are due in a few hours, you might wonder if same-day icing is actually doable or if you’re setting yourself up for a meltdown.
I’ve successfully managed this, and so can you. Cooling is essential.
I let my cakes rest in their pans for 30 minutes, then release them to cool completely. For buttercream, the cake must be cool to the touch—no exceptions.
When I’m racing the clock, I chill unfrosted layers for 1–2 hours to firm them up quickly.
I apply a thin crumb coat, then chill between passes before the final coat. This technique helps prevent sliding layers and torn frosting.
Glaze can handle warmth better, but for classic frosting, taking the time to cool results in a stable, smooth finish.
The 10-Hour Rule: Why Baking Yesterday Makes Today Easier
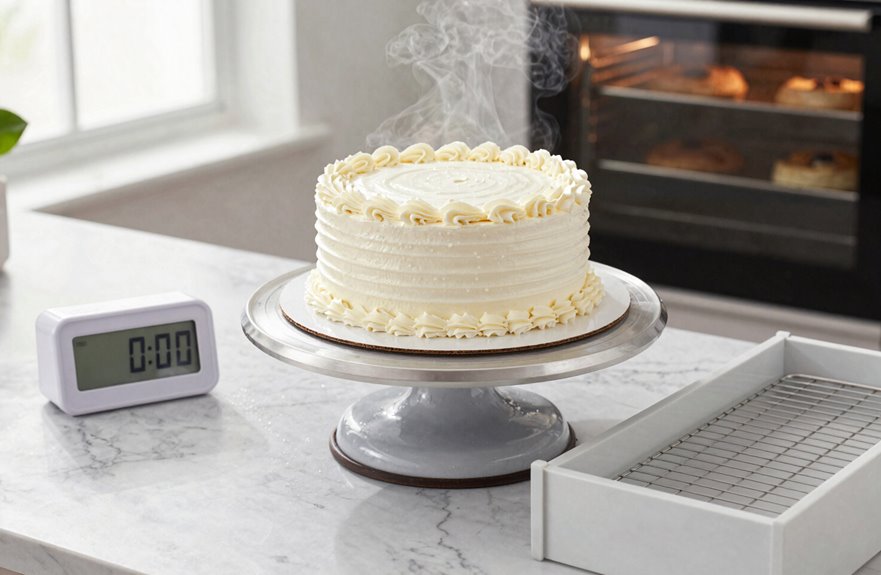
I bake my cakes at least ten hours ahead because the structural integrity benefits are immediate. The crumb firms up, the layers won’t slide, and I avoid fighting a warm, fragile sponge.
This overnight rest also locks in moisture distribution balance, ensuring the center isn’t steaming while the edges dry out. As a result, my buttercream grips evenly and my crumb coat actually sets.
By spreading the work across two calm days instead of one frantic blur, I eliminate the late-night struggle of wondering why my finish looks uneven.
Structural Integrity Benefits
A full ten hours, or better yet, overnight, can transform a standard bake into a more forgiving project. Cooling completely changes how I build a cake.
When I chill overnight, the layers stiffen and hold their ground instead of shifting beneath my spatula.
This timing provides several benefits:
- Buttercream sets firmer against cold layers, allowing me to smooth without panic.
- Cooling fully prevents that dreaded slide when stacking tall tiers.
- The crumb coat hardens into a sealed shell that I can build on.
- Chilling overnight locks edges crisp, enabling clean icing application.
- Lead time means I control temperature rather than fight it.
A cake that cooperates makes the baking process smoother and more enjoyable. This is how I achieve consistent results.
Moisture Distribution Balance
Why rush what time alone perfects? I’ve learned that baking yesterday makes today infinitely easier.
The 10-hour rule isn’t just patience; it’s physics working in our favor.
When I chill my layers after leveling, I allow moisture distribution to settle naturally. Those air pockets that can sabotage even the best crumb disappear.
I’ve experienced the difference between rushing and waiting: warm cakes weep condensation, which destroys stability before your final icing even touches the surface.
My process involves applying the crumb coat and then refrigerating overnight. That chilling locks everything in place, creating a moisture barrier that protects my buttercream.
While short 20-minute chills can work in a pinch, overnight refrigeration significantly improves sliceability and finish.
This balance distinguishes struggling decorators from confident cake artists. Planning ahead is essential.
Stress-Free Execution Timing
Though I’ve decorated cakes on the same day I’ve baked them, splitting the work across two days is a game changer. That overnight pause transforms everything—your schedule, your sanity, and your results.
- Bake yesterday, breathe easier today.
- Cool completely before any buttercream touches the surface.
- Apply a thin crumb coat to seal in moisture.
- Chill for 20–30 minutes (or overnight) to firm the structure.
- Return for final icing on cold, stable layers.
That 10-hour window isn’t rigid; it provides flexibility. Cold buttercream sets harder, slides less, and cooperates with your spatula.
Your edges sharpen, and your colors stay true. Many bakers have discovered that patience leads to cakes that travel well and present beautifully.
Should You Refrigerate Cake Before Icing? Pros and Cons
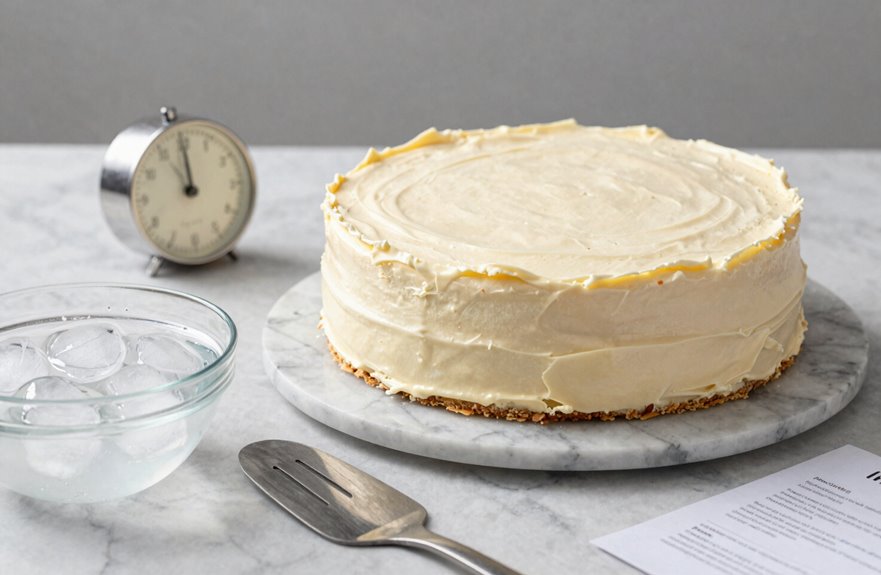
How do you keep crumbs from ruining that pristine finish? A quick chill can solve the problem.
When I refrigerate after applying a crumb coat, those loose bits have time to set firmly into place. This creates a solid foundation for beautiful results.
For thick American buttercream, a cold cake provides grip that prevents sliding during the final coating. Temperature directly affects your experience.
Warm buttercream glides smoothly over cold layers and firms up beautifully when returned to a chill.
If you’re planning delicate piping or sharp edges, cold is beneficial as it prevents smooshing and maintains definition. However, if you’re glazing, slightly warming the cake is advisable.
When transporting or stacking layers, refrigeration between steps preserves integrity, keeping everything intact and looking professional.
Freezing Cake Layers: The Make-Ahead Strategy
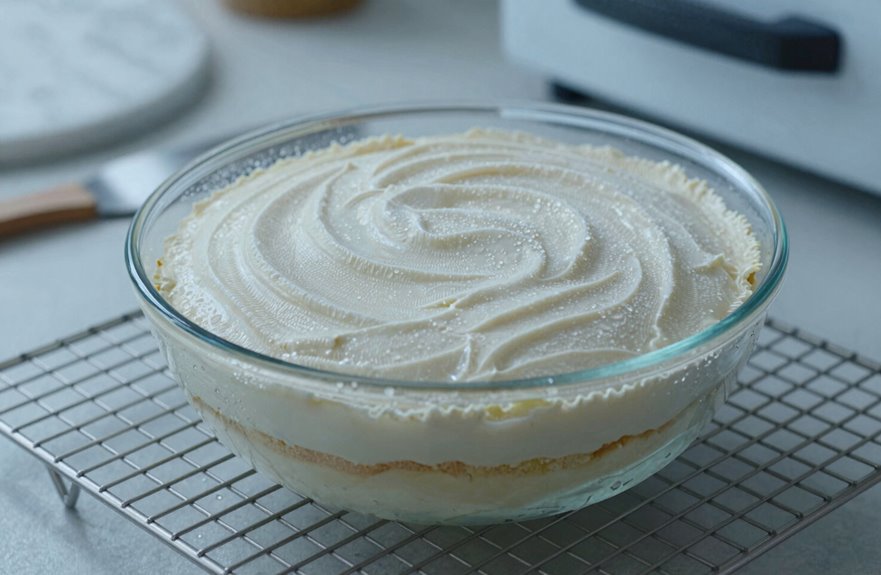
Refrigeration works well for short-term prep, but freezing offers real scheduling freedom. Freezing cake layers allows you to manage busy weeks without sacrificing quality.
Here’s how to make it work:
- Let layers reach room temperature before wrapping to prevent condensation.
- Wrap in plastic first, then foil, and seal in an airtight container or bag.
- Store frozen for up to two months for maximum make-ahead flexibility.
- Keep unfrosted layers wrapped at room temperature for only 1–2 days.
- Remove the outer wrap during thawing and keep the inner wrap until decorating.
This method adds valuable time to your baking routine. Many home bakers have found that frozen layers taste just as fresh—sometimes even better—than day-old refrigerated ones.
How to Thaw Frozen Cake Without Soggy Surprises
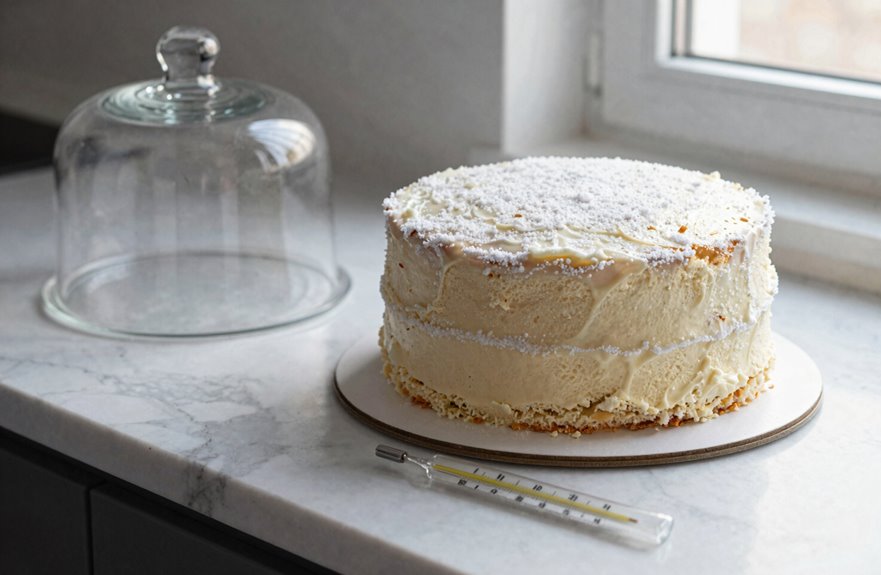
Thawing requires the same care as freezing. I unwrap frozen cake layers the day before decorating, keeping the aluminum or plastic wrap intact during thawing to control condensation.
I allow layers to reach room temperature gradually while wrapped, then remove all wrapping before decorating to prevent moisture buildup.
A cool, draft-free spot is preferable to a warm room, as it stops condensation on the surface that can ruin texture. For fruit fillings or anything that requires moisture control, thawing while wrapped maintains crumb integrity and prevents soggy edges.
Once completely thawed, I move quickly. Applying a crumb coat and final frosting promptly minimizes drying or unwanted moisture reabsorption.
Cutting into a perfect-looking cake only to find gummy layers is disappointing; proper thawing helps avoid this issue.
Crumb Coat Timing: When to Apply Your First Frosting Layer
I always chill my stacked and filled cake before applying the crumb coat, as cold temperatures firm up the buttercream and seal the crumbs more effectively.
The cake is ready when it feels cool to the touch and the filling has set enough to hold its shape under gentle pressure. This pre-chilling step significantly contributes to achieving a smooth, professional finish.
Optimal Cake Temperature
How do you know when your cake is ready for its first layer of frosting? I always wait until my layers reach room temperature before I think about reaching for my offset spatula.
Rushing the cooling process can ruin everything.
Here’s what I check before I start my crumb coat:
- Touch the cake; it should feel cool with no warmth radiating from the center.
- Level your tops while they are still slightly warm for easier trimming.
- Apply a very soft layer of buttercream icing to trap those pesky crumbs.
- Chill the crumb coat for 20 minutes until the frosting firms up completely.
- Wait until no heat remains before adding your final decorative layer.
Temperature control distinguishes amateur bakes from professional-looking results. Patience is essential for achieving the best outcome.
Pre-Chilling Benefits
Why risk crumbs ruining your finish when a quick chill solves everything? Pre-chilling transforms my crumb coat from fragile to formidable, allowing me to create cakes that look like they belong in a bakery window.
After applying that thin layer of buttercream, I pop my cake into the fridge for at least twenty minutes; thirty minutes provides extra security.
This chilling hardens the buttercream, locking those pesky crumbs in place and creating the stability needed for flawless decoration.
When I return for my final coat, the surface is firm and smooth. No dragging, no crumbs surfacing, no frustration.
The cold lets me glide my spatula effortlessly, achieving that polished look we all strive for. This step clearly distinguishes professional results from amateur ones.
Crumb Coat Readiness
Crumb Coat Readiness
Once the layers are stacked and the first buttercream is smoothed, I’m ready to lock everything in place with my crumb coat. Crumb coat readiness means catching that perfect moment before crumbs invade your final finish.
- Apply a thin top layer first, then cover the sides for soft, easy containment.
- Chill for at least 20 minutes or freeze for 5 minutes until the frosting firms up completely.
- Skip the coat only if edges show minimal crumbs after removing from the pan.
- Use a bench scraper while rotating your turntable to smooth the sides.
- Chill again after scraping to maintain buttercream protection before the final frosting.
This stage is about laying a solid foundation. We are building something beautiful together, and this step ensures our final layer is flawless.
Your patience will result in a smooth, professional finish.
Chill Time Between Crumb Coat and Final Frosting
Where does that crumb coat go wrong? I’ve seen countless cakes lose their smooth finish because we rush the chilling between coats.
Many bakers, including myself, have been eager to see that final beauty emerge.
Crust setting transforms everything. I chill my crumb coat for a minimum of 20 minutes, allowing the buttercream to firm up and lock those crumbs in place.
For my most polished results, I extend this to 30 minutes before applying the final coat. Cold temperatures create the ideal foundation for a flawless finish.
Here’s my quick reference:
| Buttercream Type | Chill Time | Result |
|---|---|---|
| American | 20–30 min | Quick set, smooth finish |
| Swiss/Italian | 30+ min | Firmer base needed |
| Perishable fillings | Same-day final coat | Preserved moisture |
Keep that cake cold between steps. We are building something worth the wait together.
Final Frosting: When to Finish Before Transport or Serving
After that crumb coat has firmed up in the fridge for at least 30 minutes, I’m ready to build the final layer.
I apply the final buttercream thicker on top, letting it cascade down in 1- to 2-inch sections for controlled smoothing. This technique connects us to a community of bakers who have discovered that patience yields perfection.
- Chill between steps to lock in that smooth finish.
- Refrigerate again after smoothing for stability.
- Decorate with sprinkles or piping once set.
- Chill 30 minutes to set before transport.
- Refrigerate uncovered same-day, or wrap if waiting longer.
Rushing can lead to mistakes. When we chill between steps, we protect our work and join fellow decorators who prioritize quality.
That final chill ensures our creations arrive intact and ready to impress.
Temperature’s Effect on Buttercream Consistency
How does temperature affect the buttercream I’m spreading? Buttercream temperature controls everything about my frosting consistency.
When working with a cold cake, the buttercream remains thicker and more stable, allowing for the creation of those ideal layers. If it gets too warm, the frosting can become runny and difficult to manage.
I always ensure my cake is cool to the touch before I begin; no warmth helps set me up for success. Cold buttercream gives a smooth finish, spreading evenly without much resistance.
However, if it’s too cold, it can become stiff and challenging to work with.
For my Italian meringue, I age it overnight and then bring it back to room temperature gradually. Mastering temperature is essential for perfecting frosting techniques.
Troubleshooting: Fixing Cakes Iced Too Early or Too Late
Timing mistakes happen to all of us, so here’s how to handle cakes that have been iced too early or too late.
If you’ve rushed and the frosting is melting on warm layers, there are quick fixes to salvage the finish.
If you’ve waited too long and the surface has dried out, you can restore moisture so your icing adheres properly.
Early Icing Problems
Why does timing matter so much when icing a cake? Rushing the bake-and-frost timing can turn beautiful bakes into messy disappointments.
Not respecting proper cooling time invites real trouble.
Here’s what goes wrong when icing too early:
- frosting temperature rises and melts into ugly streaks
- cooling time gets ignored, causing slippery layers that slide apart
- condensation forms between warm crumb and cold icing, creating soggy patches
- structural failure leaves my cake collapsed and disappointing
- runny textures ruin the finish I wanted to show my guests
Matching my icing choice to the actual cake temperature solves most problems. A slightly warm cake accepts glaze beautifully, but I will wait until no warmth remains before applying sturdy frosting.
Patience consistently leads to better results.
Late Icing Problems
Waiting too long brings its own set of challenges. When frosting temperature drops too low, the icing becomes stiff and unworkable, making smooth application nearly impossible.
If I’ve chilled my cake excessively, I let it rest briefly before starting my crumb coat.
The real trouble arises when I skip chilling entirely after coating or let a cake sit uncovered for hours. Dry surfaces develop, leading to air pockets forming beneath fresh icing, which can ruin the finish I’ve worked for.
I have found my optimal method: cool completely, apply that thin crumb coat, then chill briefly before the final icing.
If I’ve waited too long and the surface has dried, I lightly mist it or apply a fresh thin layer to restore tackiness. Timing is crucial in achieving the perfect, professional look we aim for.