
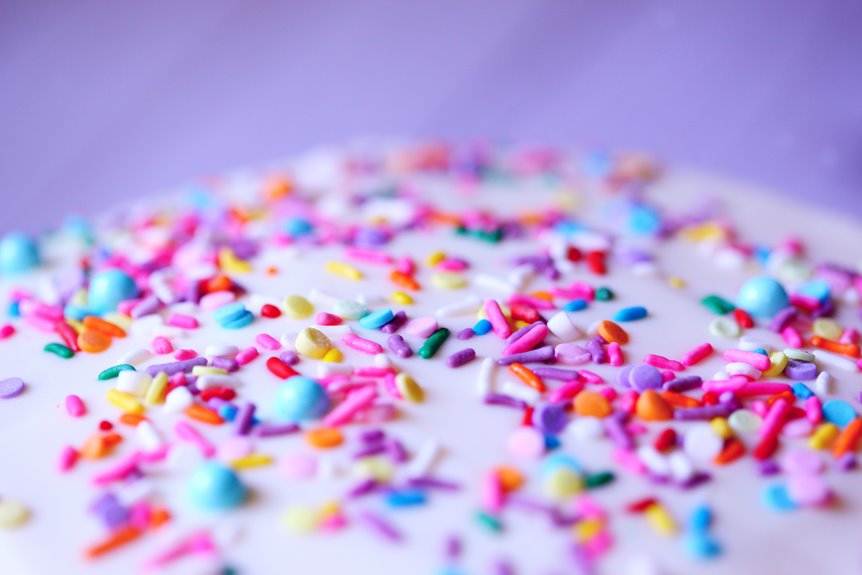
I’ve found five reliable ways to stick sprinkles to cake sides. First, I cup and press sprinkles directly against chilled frosting for quick coverage.
I use parchment paper strips when I want cleaner, faster results with less mess. For perfect full-edge rims, I flip my cake upside down over a raised plate.
When creating names or patterns, I hand-place each sprinkle individually. If sprinkles keep falling off, I brush piping gel onto crusted frosting to restore tackiness.
The specific techniques behind each method will be explored next.
Cup and Press Sprinkles Onto Cake Sides for Easy Coverage
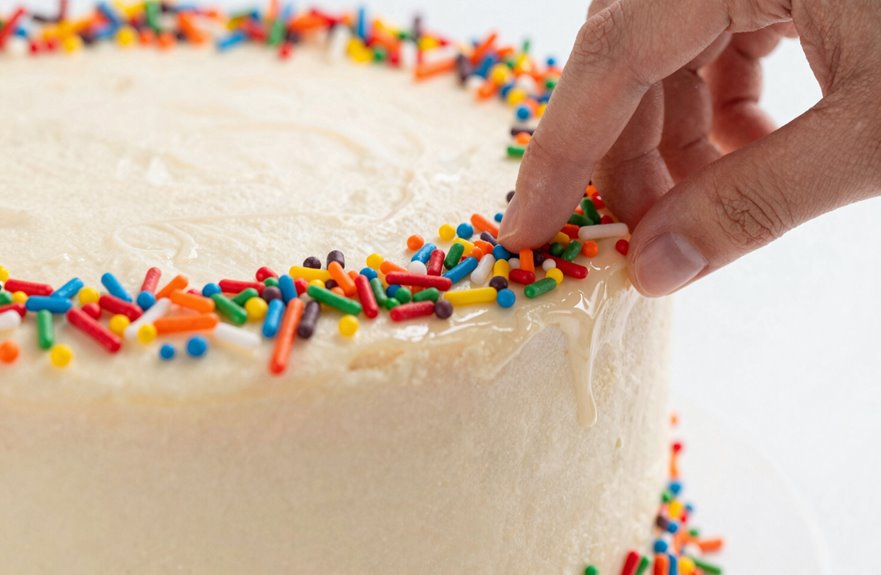
Chilling the cake first makes a significant difference. I pop it in the freezer for about 30 minutes until the frosting firms up.
This creates the perfect sticky surface needed for sprinkles to adhere to the sides without sliding off.
I work over a sturdy raised surface with a cookie sheet underneath to catch any fallen sprinkles. If my frosting has crusted, I brush on clear piping gel to refresh the tackiness around the rim.
I cup a generous handful of sprinkles and press them firmly against the side with my palm cupped appropriately. I rotate the cake and repeat this process, section by section, maintaining that crucial stickiness as I go.
I flip or reposition when needed to align everything evenly, adding final touches along the sides until I achieve full coverage that looks intentional.
Use Parchment Paper Strips When You Need Fast, Clean Results
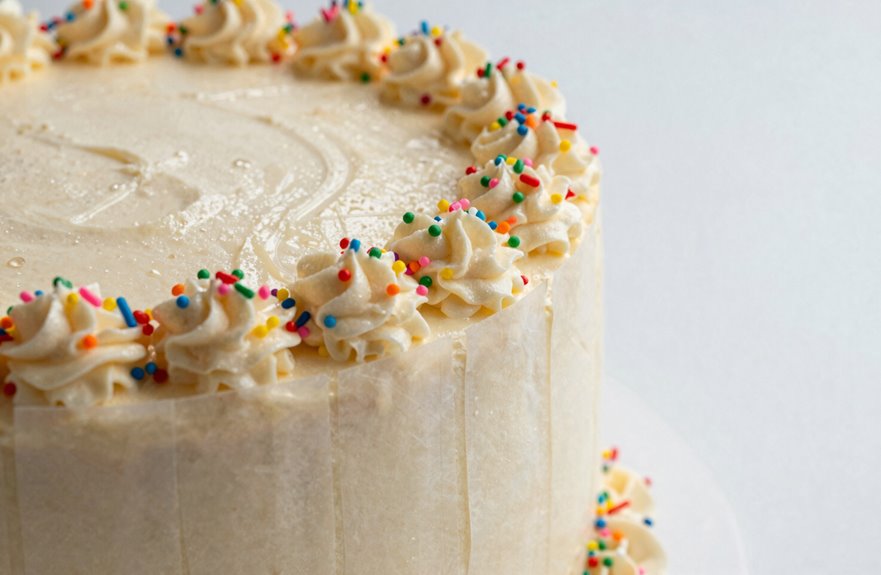
When I need sprinkle coverage that’s both speedy and neat, I use parchment paper strips instead of working freehand.
I cut parchment strips about two inches wide and lay them on lip-edged cookie sheets, creating a contained workspace that catches every stray sprinkle.
I lightly mist the parchment strips with non-stick spray to ensure the sprinkles transfer cleanly without sticking to the paper. I pour sprinkles onto the sprayed surface, press my cake sides against them, and watch the clean transfer happen instantly.
After peeling away the parchment, I touch up any sparse spots by hand. I always rest my cake board on a cookie sheet during this process; it keeps my workspace tidy and organized.
| Step | Action | Purpose |
|---|---|---|
| 1 | Cut 2-inch parchment paper strips | Fit cake sides properly |
| 2 | Spray with non-stick spray | Prevent sticking to parchment strips |
| 3 | Pour sprinkles onto paper | Prepare for sprinkles transfer |
| 4 | Press cake against sprinkles | Achieve clean transfer |
| 5 | Peel away and touch up | Finish with even coverage |
Flip Your Cake Upside Down for Perfect Full-Edge Rims
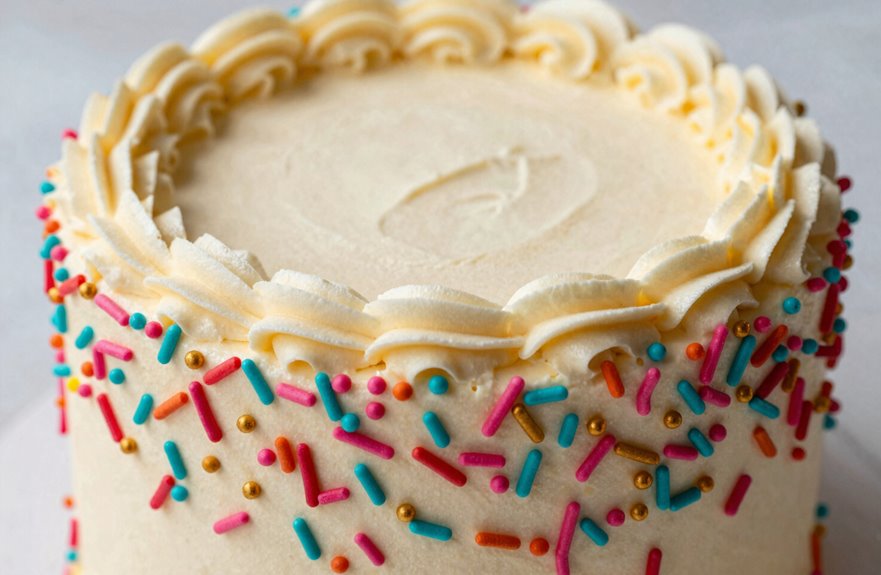
Why struggle with uneven sprinkle rims when there’s a simpler way? The rim technique pros use starts with one bold move: flip the cake upside down.
Chilled buttercream frosting firms beautifully in just 30 minutes, providing the perfect canvas for sprinkle adhesion. I place my cake onto a raised plastic plate, keeping my hands steady, with a cookie sheet waiting below to catch any stray pieces.
This positioning transforms the cake sides into accessible horizontal surfaces, making a significant difference.
Here’s my method for achieving consistent results:
- Chill thoroughly so frosting grips sprinkles without smudging.
- Position over a cookie sheet to contain the inevitable cascade.
- Press sprinkles in cupped-hand sections for even coverage across one-third segments.
- Flip back quickly once rimmed, smoothing imperfections with a light touch.
Enjoy clean edges.
Hand-Place Sprinkles One by One for Names and Patterns
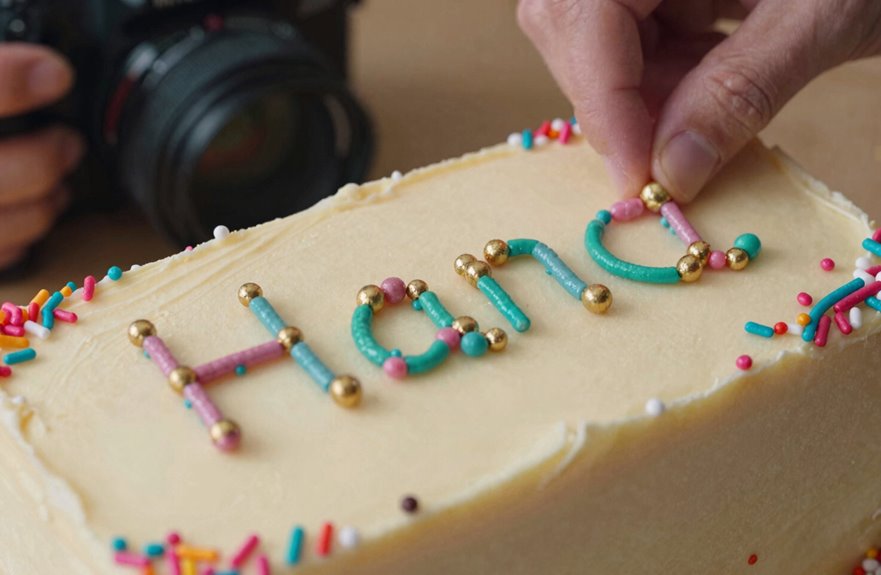
Full-edge rims provide a polished foundation for your cake. To elevate your sprinkle decoration, hand-placing sprinkles on the sides allows for unique names and custom designs.
I begin by chilling the cake so the frosting remains tacky. Using a simple press technique, I cup a small pile of sprinkles in my palm and gently press them against the side, working in small sections.
For letters or shapes, I place individual sprinkles with my fingertips, ensuring proper alignment as I proceed.
If the design shifts, I turn the cake slightly to view it straight-on. To fill in any gaps, I reapply frosting and press additional sprinkles precisely where needed.
This method connects us to the cake-making tradition: slow, intentional, and entirely personal.
Fix Sprinkles That Won’t Stick or Keep Falling Off
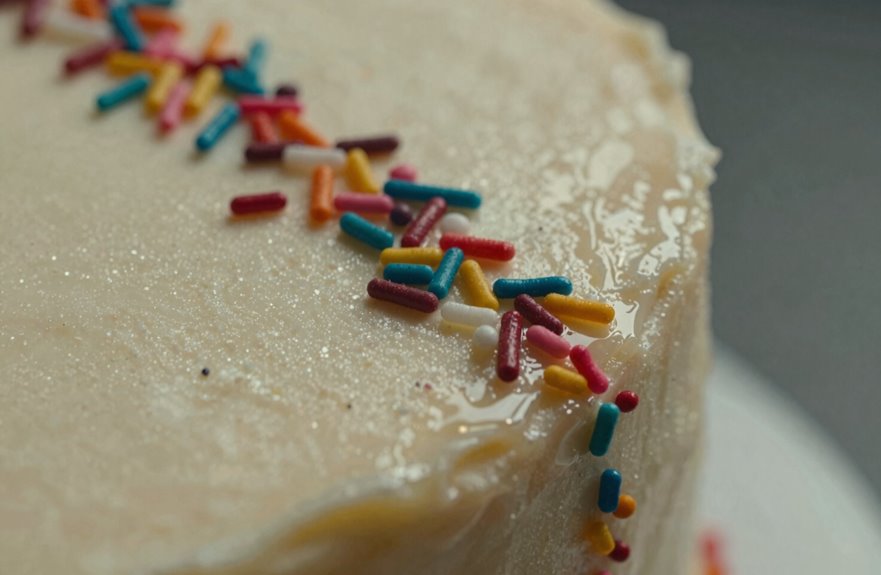
How do you rescue a sprinkle-covered cake when half your decorations end up on the floor? I’ve been there and learned that frosting adhesion is crucial when applying sprinkles to the sides.
- Work with tacky frosting or add a thin layer of fresh frosting or clear piping gel to enhance stickiness.
- Use partial section application, covering about one-third of the cake at a time to maintain control.
- Press and roll sprinkles with a cupped hand using gentle, constant motion for complete coverage.
- Finish with a damp paper towel to wipe hands and press sprinkles again for a neater result.
If sprinkles won’t stick, I flip the cake briefly and rework the top rim, smoothing imperfections before continuing. These techniques help your cake achieve a professional appearance.