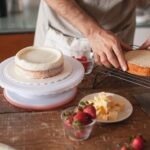
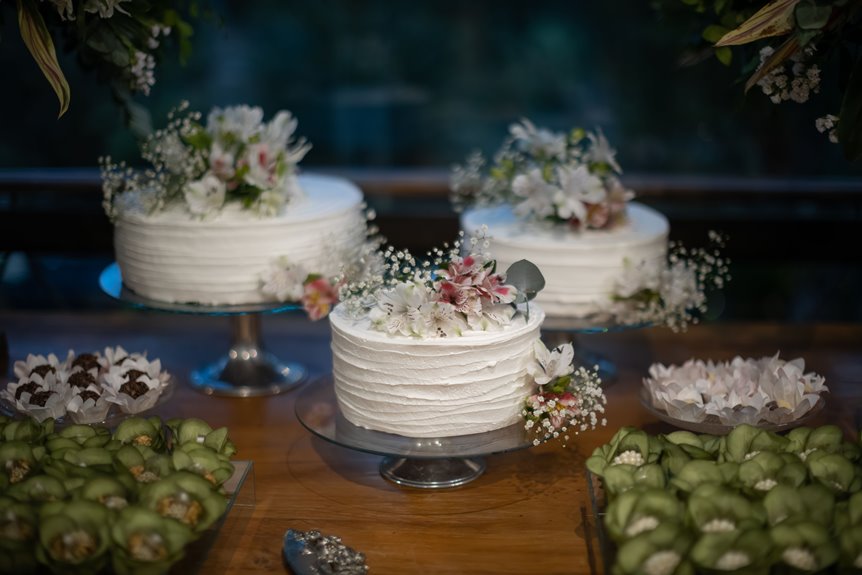
I level my cake layers after they cool completely, then chill them until firm before I start. I spread buttercream between layers, press gently to release trapped air, and stack them evenly.
I apply a thin crumb coat and chill until it’s solid, then add my final layer of frosting.
I smooth the sides with a bench scraper while rotating the turntable, fix any lumps with another chill, and finish with decorations. Follow these steps to achieve a professional-looking finish every time.
Level Your Cake Layers for a Flat Frosting Surface
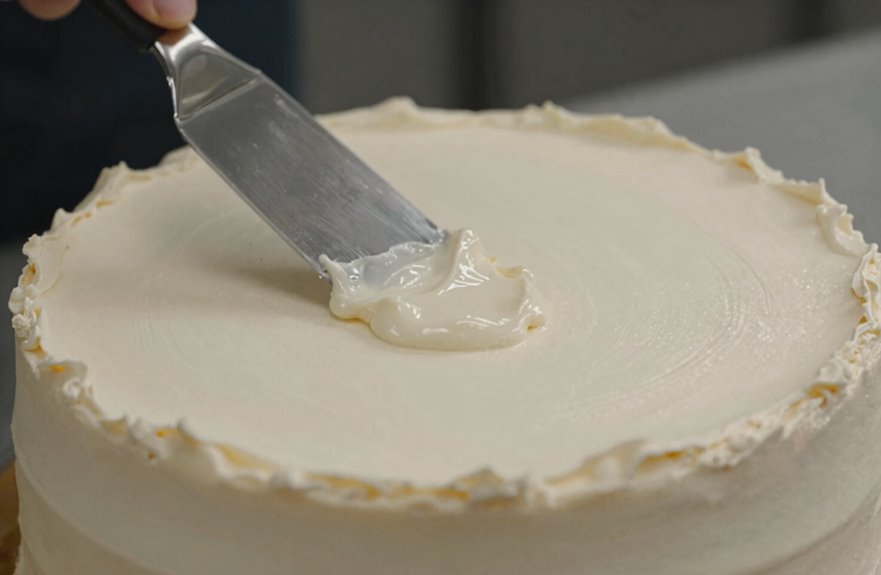
Leveling your cake layers lays the groundwork for professional results, so I always start here before reaching for my frosting spatula. I use a serrated knife or leveler to create flat tops once my cake layers have cooled completely.
This step prevents air pockets and ensures an even frosting surface, making every subsequent step easier.
When I level, I’m setting myself up for smooth frosting success. Those flat tops allow me to align each layer precisely, maintaining straight edges that look polished and professional.
Domed layers can create gaps and wobbly stacks, so I make sure not to skip this. After leveling, I apply my crumb coat; however, I chill the cake layers briefly to firm them up first.
This added stability results in less crumbling and cleaner sides. You’re creating something beautiful here, and it starts with this essential step.
Chill Layers Before You Start Frosting
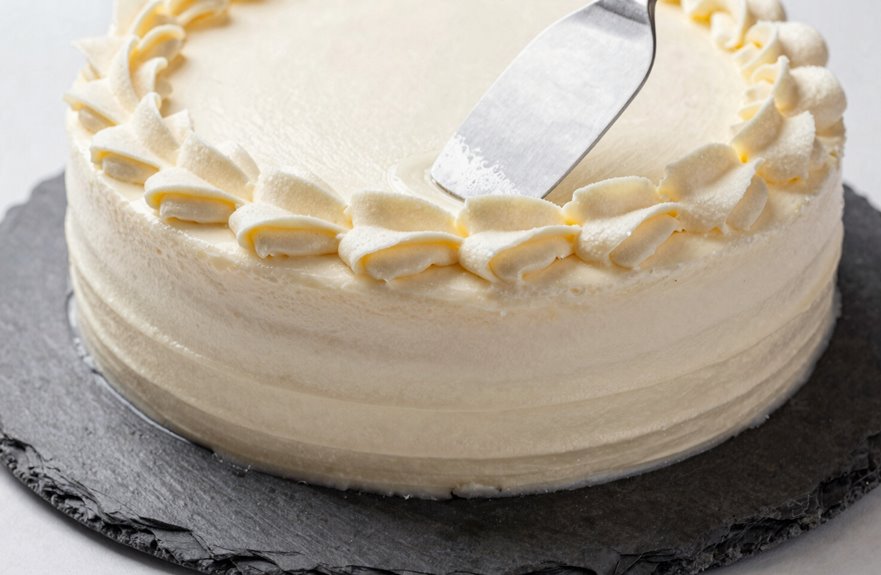
Once my layers are perfectly flat, I pop them into the freezer for about 20 minutes before spreading buttercream. Chilling cake layers stabilizes the surface and prevents crumbling during assembly.
The frosting adheres better, helping to avoid the slide that can disrupt the finished appearance.
After applying my crumb coat, I refrigerate between coats for at least an hour. This helps set the buttercream, creating a crust-free crumb coat that seals everything in.
When I’m ready for the final buttercream coat, that cold foundation allows for clean spreading without air pockets or smudges.
I also briefly return the cake to the freezer between smoothing passes to maintain control. This approach results in a smooth finish that enhances the overall look of the cake.
Spread Buttercream Between Layers for Even Stack
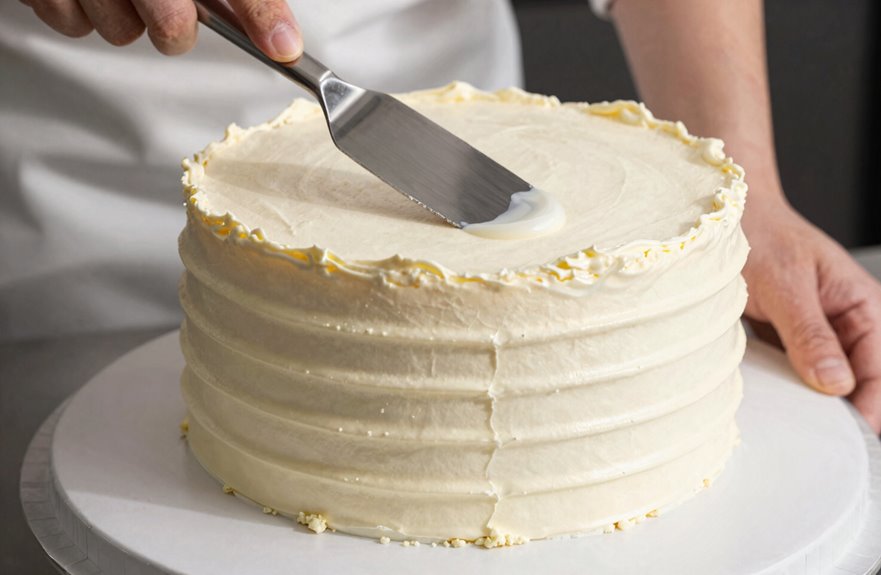
I pipe a spiral of buttercream from the outside toward the center of each layer, then spread it with an offset spatula to achieve thick, even coverage that extends slightly past the edges.
I align each new layer carefully before pressing down gently to release any trapped air bubbles that could weaken the stack.
Using a bench scraper as my guide, I maintain level edges throughout the process to prevent gaps and ensure stability.
Thickness and Distribution
How do you keep a cake from toppling or showing uneven layers? I spread buttercream between layers with intention, creating a thin layer that extends slightly past the edges.
I dollop frosting on top with my spatula, then smooth it outward into a consistent base. When I place the next layer, I press gently to release trapped air and check side alignment immediately.
I always apply a crumb coat first, which locks in crumbs and provides a clean foundation. I chill until set, then add my final thicker layer for a smooth, stable finish.
To perfect the sides, I rotate my turntable steadily while running my bench scraper along the edges. This technique ensures everything is level and has a professional appearance.
Layer Alignment Method
Where does a cake’s stability truly begin? It starts with layer alignment, the foundation we build together.
I place my first cake layer on a rotating cake stand and spread a generous dollop of buttercream with my offset spatula, creating an even base that extends slightly past the edges.
I gently press the next layer top-side down into that buttercream, checking the sides for precision before committing. I repeat this process, using consistent buttercream amounts between cake layers to maintain uniform height.
Once stacked, I apply a thin crumb coat with my bench scraper, capturing stray crumbs before they ruin our smooth frosting finish. I chill to set the buttercream firm, locking everything in place.
This method transforms wobbly stacks into professional-quality creations that anyone can master.
Air Bubble Release
Why do so many cakes end up with unsightly bulges between layers? It’s usually trapped air bubbles pushing through later.
Let’s address that.
I place my first cake layer on a base and spread a generous amount of buttercream frosting, pushing it thin and even with a slight overhang.
As I stack, I grab my bench scraper and rotate the turntable to smooth the sides and squeeze out air gaps before they become hidden. Each even layer locks flat against the next.
Next comes the crumb coat, which is thin, quick, and purposeful. Then I chill the cake for thirty minutes to set everything firmly.
For my final coat, I pile buttercream on top, spread it toward the edges, let it overhang, and coat the sides. I fill gaps with extra buttercream, scrape again with my bench scraper, and appreciate the smooth finish achieved.
Press Layers Together to Release Trapped Air
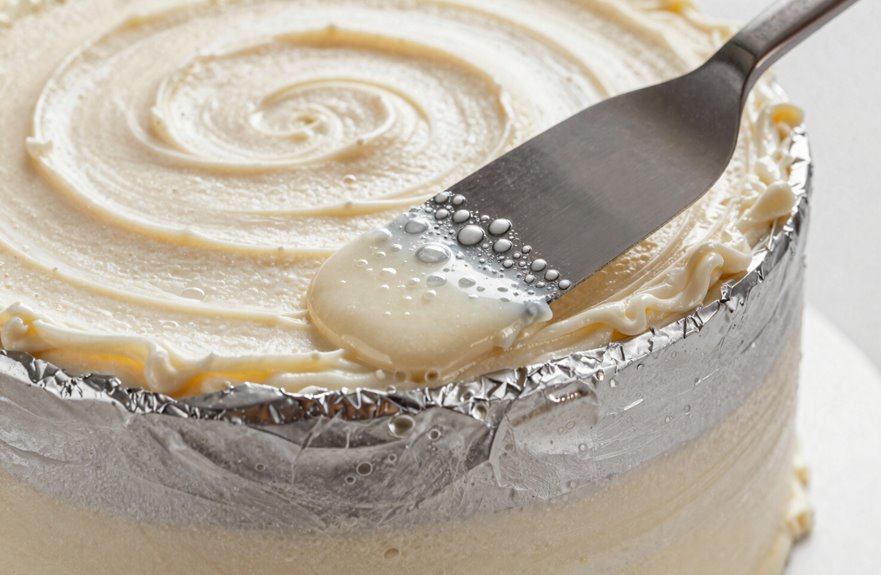
I press the top layer down after stacking to release trapped air and let the layers settle into place. You’ll feel the cake compress slightly as pockets of air escape between the buttercream and sponge.
This layer compression technique creates a denser, more stable foundation before I move on to the crumb coat.
Air Bubble Release
Press your stacked cake layers together firmly to release trapped air that can ruin your finish.
I spread buttercream on my cake board as a central glue layer, align my tiers carefully, and then press down to settle the cake into place. This pressing eliminates air pockets that cause bulging later.
I use my bench scraper during stacking to apply even pressure and maintain levelness as the top layer sinks into position. If I spot bulges, I press around them with a spatula and recheck alignment before moving forward.
Once stacked, I chill the cake for about twenty minutes to set everything firmly. This prevents shifting during crumb coating, making smoothing easier and keeping my crumb coat clean before final frosting.
Mastering these techniques will elevate your cake-building skills.
Layer Compression Technique
A small amount of pressure makes all the difference when settling my cake layers into place. I use layer compression by pressing down firmly after stack alignment, releasing trapped air that would ruin my smooth frosting later.
I apply a central dollop of buttercream, spreading outward for consistent contact between tiers. My bench scraper guides each layer, helping me maintain even pressure and level edges throughout assembly.
I check alignment constantly, running my scraper along the sides to catch any shifts before they become issues.
Once stacked, I chill the cake for twenty minutes to set everything solid. This step locks my buttercream in place before I apply my crumb coat, preventing bulging and keeping tier edges uniform.
A perfectly compressed foundation holds steady under the final decorative touches.
Apply a Thin Crumb Coat of Frosting to Trap Crumbs
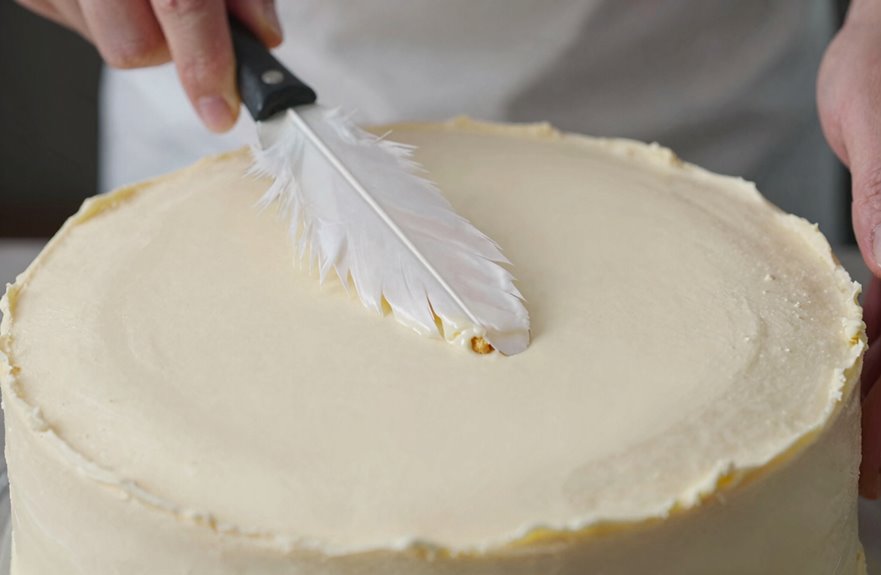
Before I add the final layer of frosting, I’ll apply a thin crumb coat to lock in the crumbs. This step is essential for achieving a smooth, professional finish.
I ensure my buttercream is at room temperature so it spreads easily without tearing the cake.
I dollop buttercream on top and spread it thinly, allowing the overhang to drape down the edges. Then, I rock my spatula to distribute the excess down the sides, sealing every stray crumb in place.
I set my cake on the turntable and hold my bench scraper flush against the sides while rotating steadily to create smooth sides. After each pass, I scrape frosting into a separate bowl to maintain cleanliness.
Once I’m satisfied with the finish, I chill the cake to firm everything up.
Chill the Frosted Crumb Coat Until Firm
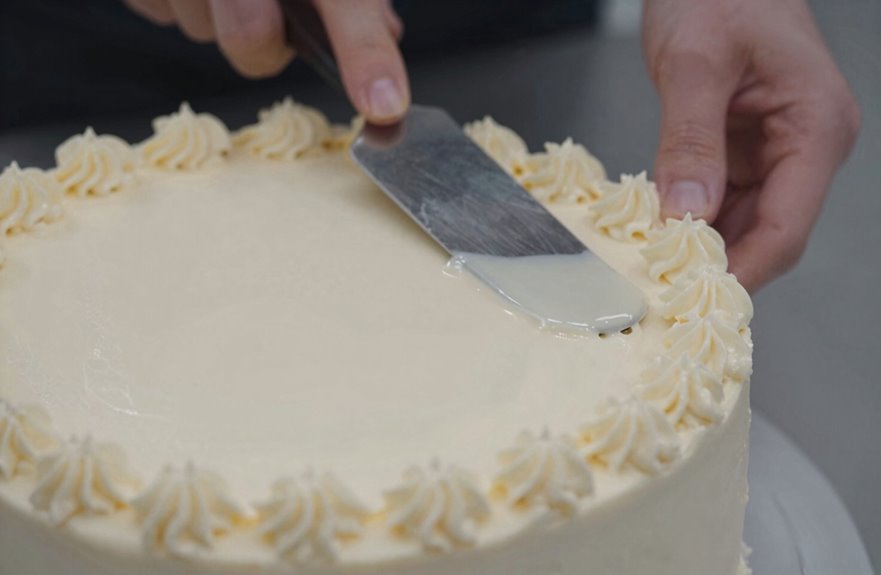
Once I’ve smoothed the crumb coat, I transfer the cake to the fridge for at least an hour or pop it in the freezer for five minutes if I’m pressed for time.
The chill hardens the butter in the frosting, locking every crumb in place so nothing budges when I frost again.
I check that it’s firm before moving forward; wobbly frosting can compromise our work. That cold sets my smooth base, achieved through careful bench scraper work against the spinning turntable.
This step distinguishes home bakers from professionals. Patience is essential.
When that crumb coat turns solid, I’m ready to layer on the final coat without a single speck breaking through.
Spread the Final Layer of Frosting Evenly
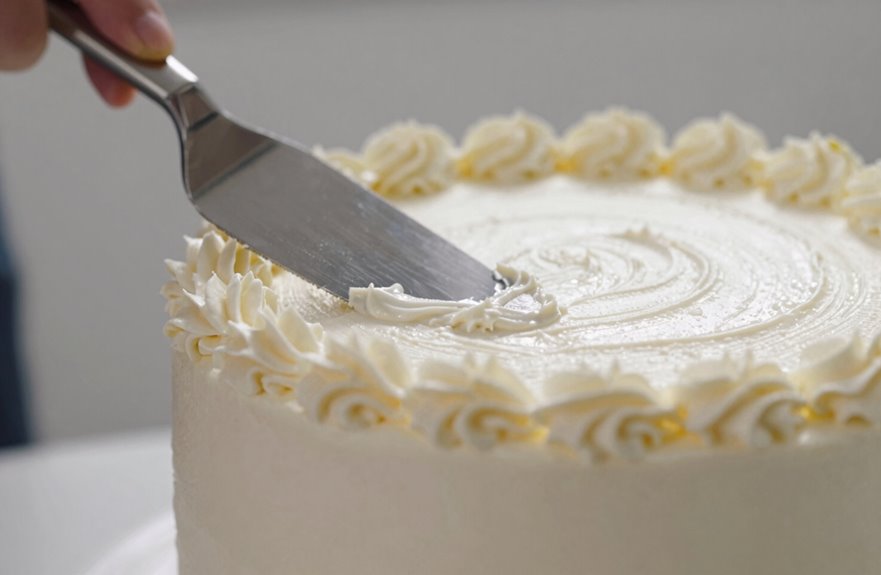
The final coat is crucial for achieving a polished finish, so I start by piling a generous mound of frosting on top of the cake.
I grab my offset spatula and push the frosting toward the edges, creating an even spread across the entire cake surface before addressing the sides.
I keep my frosting at room temperature, soft enough to glide but firm enough to hold its shape without tearing.
I rotate the turntable steadily, holding my bench scraper against the sides to guide each layer into place. I apply light, continuous pressure, filling any gaps with extra frosting to maintain a smooth surface.
Once I achieve uniform coverage with this final layer, I chill the cake for at least an hour to ensure everything sets perfectly.
Smooth Frosted Sides and Sharpen Edges With a Scraper
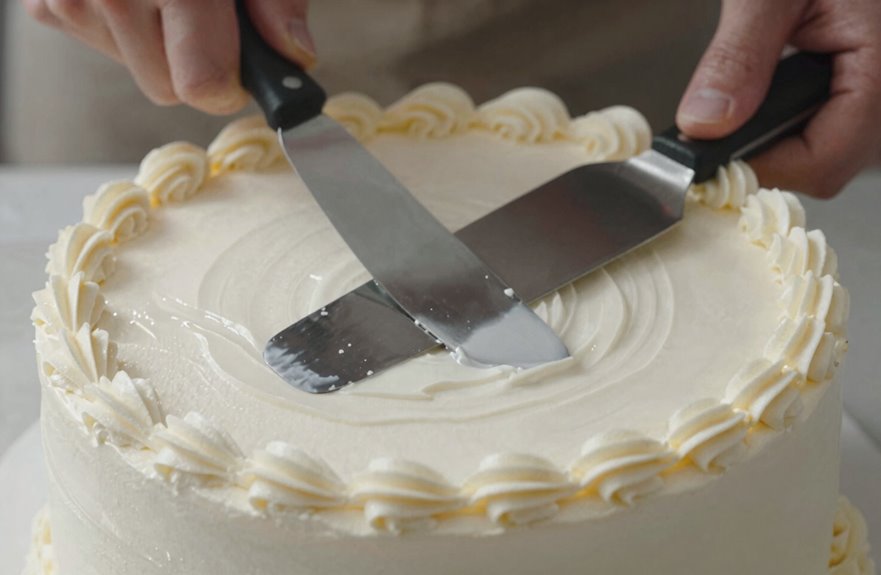
I smooth the frosted sides by holding my bench scraper vertically against the cake and giving the turntable a steady spin, allowing even pressure to erase every imperfection.
If you don’t have a bench scraper, a frosting knife can be held the same way to achieve beautiful results.
Follow these steps for a professional finish:
- Spread frosting across the top and let it cascade down the sides of the cake before scraping for seamless coverage.
- Lightly drag your scraper from the top edge toward the center to sharpen those crisp edges.
- Refrigerate for at least one hour to set the frosting and secure your hard work.
This process builds skills that will enhance your cake decorating abilities.
Fix Lumpy Frosting and Wavy Sides (Troubleshooting)
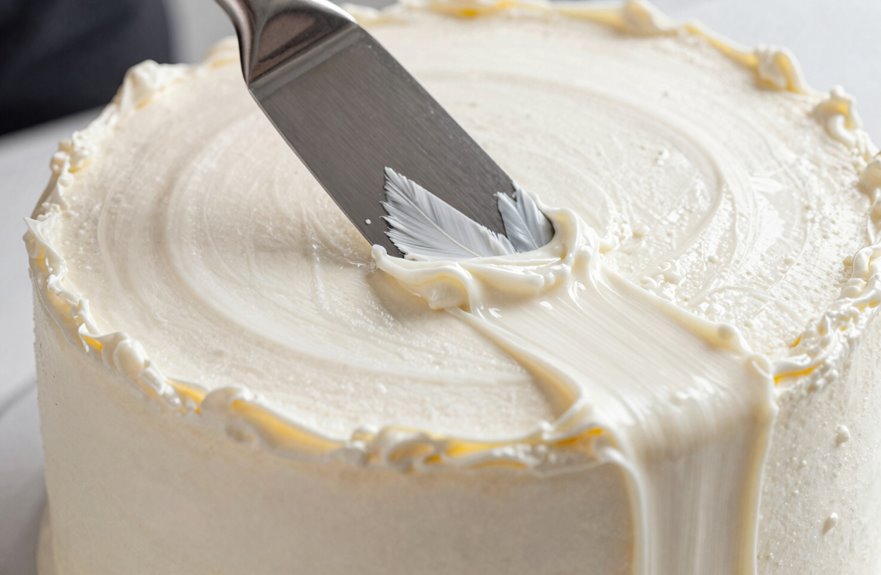
Even a careful smoothing job can leave you with lumpy frosting or wavy sides.
To fix those issues quickly, hold your bench scraper vertically against the cake and rotate the turntable for smoothing; a frosting knife works well too if you don’t have a turntable.
Spread frosting across the top, allowing it to cascade down the sides, then scrape from the top towards the center to refine and remove excess.
To manage lumps, refrigerate the cake for at least an hour to set the frosting before each frosting iteration.
For a flawless final look, use a warm scraper, heated with hot water and dried, to melt away tiny lines during your final pass. This method results in even sides and a bakery-style finish.
Decorate the Frosted Cake and Do a Final Chill
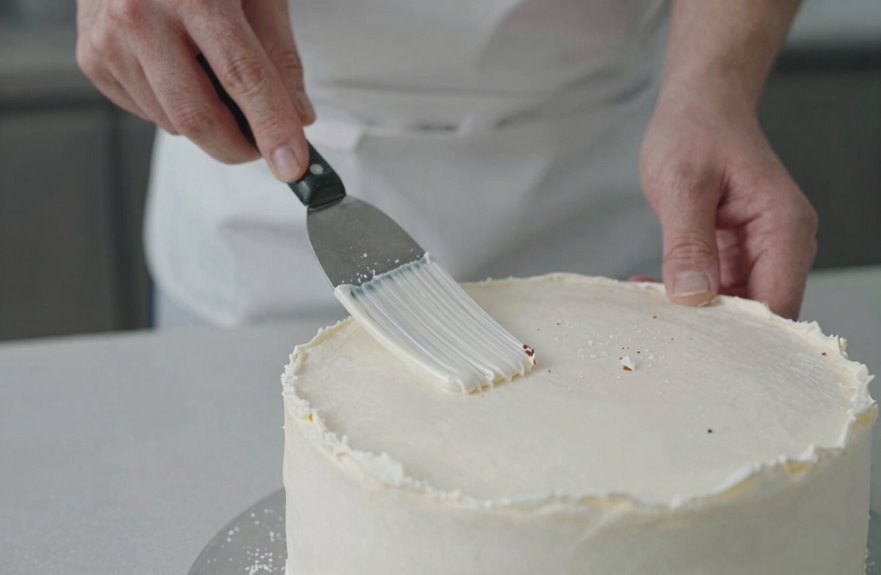
I’ll guide you through the sprinkle application technique and final chilling steps to ensure your decorations adhere properly and your cake sets well.
Once you’ve piped your swirls or dollops, add the sprinkles immediately before the buttercream develops a dry skin. Next, chill the cake for about 30 minutes to harden the frosting and secure everything in place before serving.
Sprinkle Application Technique
Why rush the finish when you’re this close? Timing transforms sprinkle application from messy to magical.
First, I smooth the sides with my bench scraper, applying gentler pressure than during the crumb coat. I spread frosting across the top, allowing it to cascade down, then scrape toward the center for clean edges.
The turntable spins as I perfect that final coat. I add a top swirl with my knife at a 45-degree angle for satisfaction.
Here’s what I’ve figured out:
- I place a rimmed sheet beneath my turntable before any sprinkle application so nothing goes to waste.
- I work quickly after the final buttercream layer to prevent any dry skin from forming.
- I gather my community’s extra sprinkles to press gently where needed.
Welcome to the proud decorator’s circle.
Final Chilling Steps
Once the sprinkles settle into place, I’m ready to lock in my work with cold. After the crumb coat, I chill the cake for at least an hour to set the frosting before applying my final buttercream.
I spread a thicker layer over the top and sides, ensuring the top remains level while pushing frosting toward the edges.
As my turntable spins, I hold my bench scraper against the sides with lighter pressure than before, building that smooth finish we all desire.
For a flawless texture, I warm my bench scraper with hot water, dry it, then make one final pass to eliminate tiny lines. I refrigerate the finished cake for at least another hour.
When I remove those parchment strips, I see a cake that is ready to be shared with loved ones.