I start by sketching my design and anticipating problems like bubbles or wrinkles.
Then, I gather my tools and fondant, ensuring I have extras on hand.
I prepare a firm ganache or chilled buttercream base and let my cake settle completely.
I choose climate-appropriate fondant and roll it to 1/8 inch without overworking.
I drape it carefully, taking care not to stretch it, then smooth, trim, and address any issues immediately.
Finally, I buff to a shine and store at room temperature.
I will walk you through each step with the techniques that make a significant difference.
Sketch Your Design and Anticipate Problems
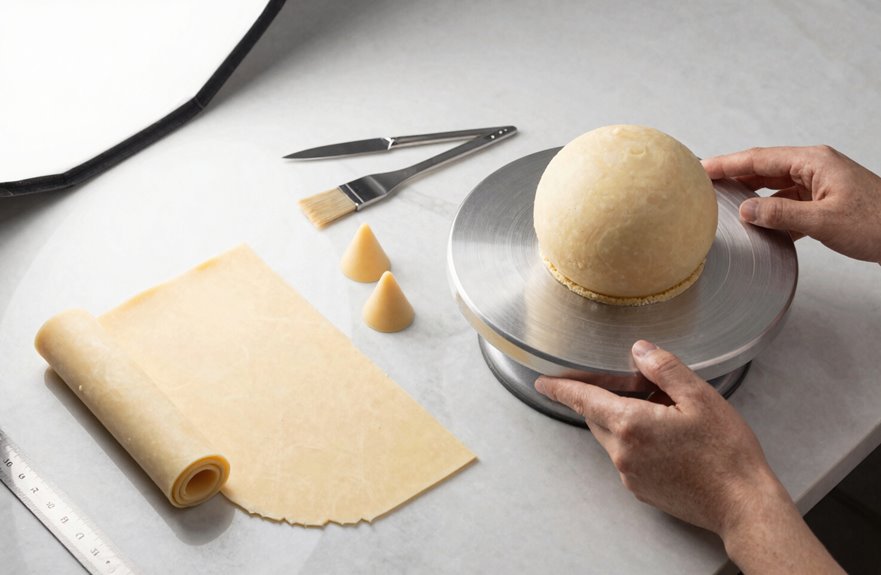
Before I even touch fondant, I visualize the finished cake in my mind, considering how thick the covering needs to be, where seams will land, and whether they will be visible. This design visualization shapes every choice I make.
I begin every fondant project with a clear mental image of the finished cake, letting that vision guide every decision.
Fondant planning allows me to address potential issues before they arise. I anticipate air bubbles, wrinkles, and tears, deciding where to conceal flaws with plaques, ruffles, or paneling.
This anticipation helps me remain calm when unexpected challenges occur.
I also monitor humidity and temperature, as sticky or dry fondant requires quick adjustments. I schedule settling and refrigeration to ensure my buttercream remains workable beneath.
Precision during planning helps prevent problems later. When you visualize success and prepare for potential setbacks, you are ready for any challenges that fondant may present.
Gather Tools, Fondant, and Contingencies
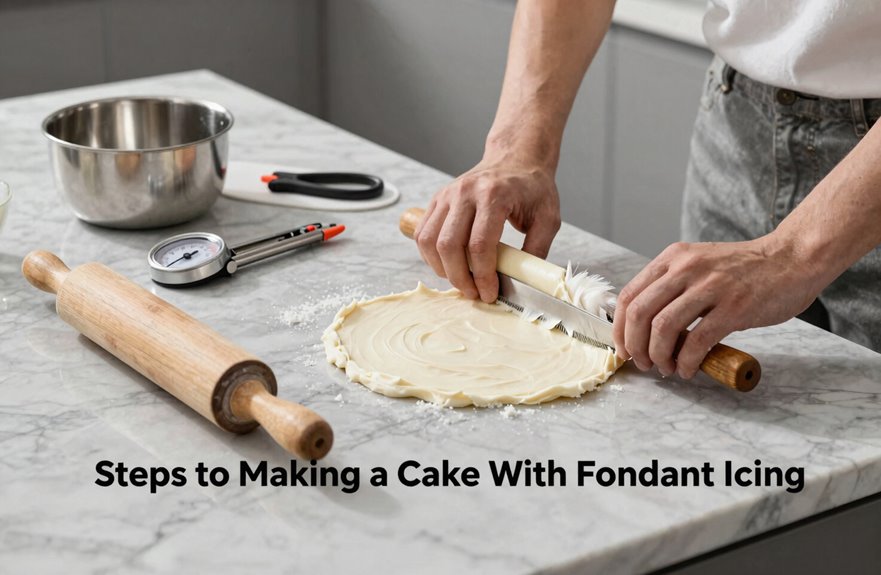
What do I need within arm’s reach before I begin? Preparation builds confidence, so I gather everything first.
For a 6-inch cake, I need about 12 ounces of fondant, a rolling mat, a rolling pin, a needle or sharp knife, and shortening to prevent sticking.
I keep my rolling surface clean and lightly oiled, never chilled, so my fondant stays pliable.
I knead it into a smooth ball, pop bubbles with my needle, and roll it to about 1/8 inch thickness, leaving at least four inches around all edges. I use shortening, not cornstarch, to avoid drying and cracking.
Troubleshooting starts here; I keep extra fondant nearby for tears or seams. Flexible plans ensure we are prepared for any situation.
Prepare a Fondant-Ready Base With Ganache or Buttercream
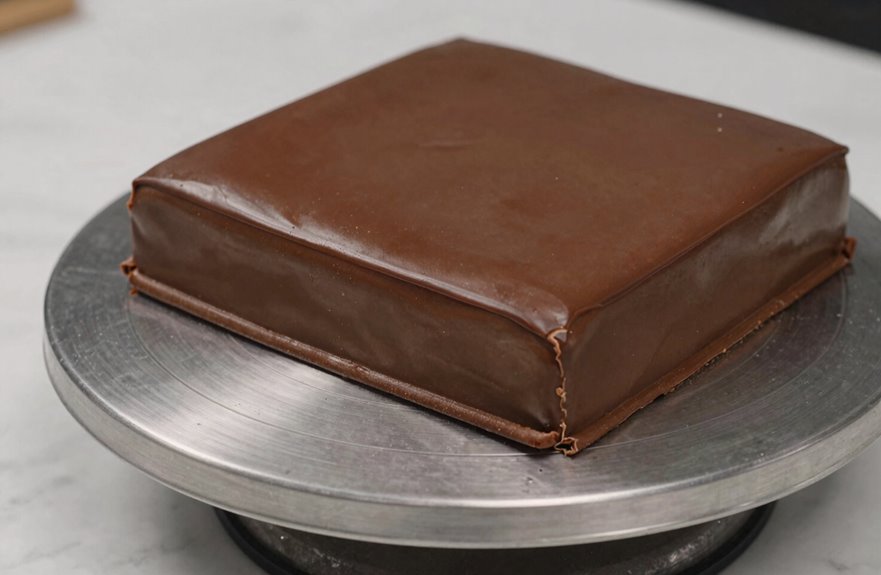
How do I ensure my fondant sits flawlessly smooth? I start with the right foundation, and you can master this too.
I prefer ganache for achieving sharp edges and superior stability. It firms beautifully, providing a reliable base for professional-looking fondant coverage.
When I choose not to use ganache, I opt for an all-butter buttercream base. I chill it until solid, creating a dependable surface for that flawless finish.
I let my cake settle with its filling first, keeping it covered to avoid ridges. I monitor my timing with perishable fillings and refrigerate only when necessary.
I keep extra fondant handy and my tools ready. Together, we are building the perfect stage for a stunning finish.
Let Fondant-Covered Cakes Settle Before Final Covering
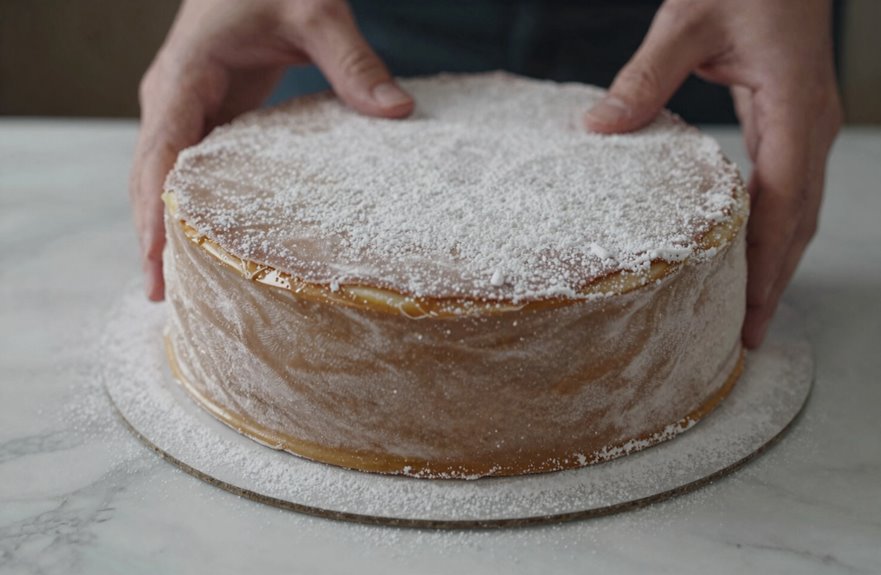
Once I smooth the fondant over my cake, I step back and let it settle for five to ten minutes. This brief pause allows the fondant to conform to the ganached base beneath.
I don’t rush this step; it’s where we differentiate between amateur results and professional finishes.
During this time, air bubbles rise and escape before they become trapped issues. I keep my fondant-covered cakes lightly covered to protect moisture without sealing too tightly.
Avoid refrigerating at this stage, as chilling hardens the buttercream and compromises the adhesion we have worked to achieve.
The firmer ganache layer I prepared earlier rewards this patience with cleaner edges and smoother surfaces. This settling period significantly enhances the overall appearance of the cake, resulting in a finish that garners admiration from fellow decorators.
Choose the Right Fondant for Your Climate and Project
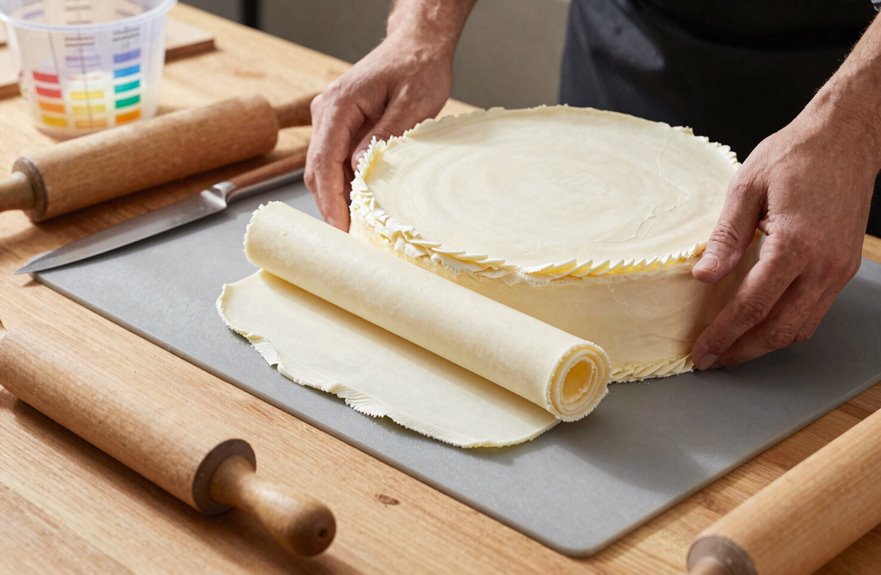
Not all fondants perform equally across climates or purposes, so I match my choice to both the project and my working conditions. My working climate dictates whether fondant stays workable or becomes unmanageable.
In humid environments, some brands turn sticky; in dry spaces, others crack before I finish.
For covering cakes, I choose Sugar Geek Show fondant because it drapes smoothly and holds its shape. I use Satin Ice for decorations since it can dry too quickly for large surfaces.
I have experimented with several options to find what handles well in my kitchen. Firmer fondant brands provide cleaner edges, especially over ganache where adhesion is important.
Testing what works well in your conditions can prevent frustration later.
Use the Paneling Method for Square or Tricky Shapes
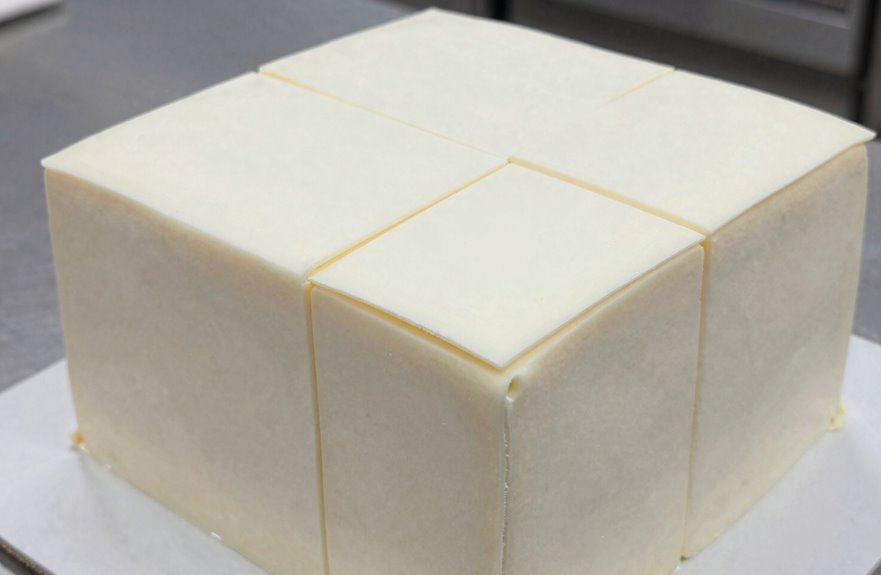
Paneling makes covering tricky shapes much easier than dealing with one large sheet.
I cut fondant into manageable squares sized to my cake’s faces, then attach them in sections while tucking seams along less visible edges for a cleaner finish.
This approach allows me to fit each panel precisely to corners and edges, which significantly reduces the chances of air bubbles and folds.
Why Paneling Helps
Why struggle with a single unwieldy sheet of fondant when paneling makes square cakes much more manageable? Using fondant panels transforms what feels impossible into something we can master together.
For square cake coverage, I cut separate rectangular pieces that match each face and apply them individually. This approach results in cleaner paneling seams and significantly fewer wrinkles than draping.
I can control tension on each section, which helps eliminate air bubbles and ridges that often occur with single-sheet methods.
For round cakes, I wrap one long panel around the sides and cap the top separately, positioning seams away from the front view. Many YouTube tutorials demonstrate how fellow decorators achieve crisp, professional edges using this method.
Paneling Technique Steps
How do I tackle a square cake without fondant tearing at the corners? I use fondant paneling, and I invite you to join me in mastering this essential technique.
For square cake coverage, I cut fondant into squares that roughly match each side. I attach them in stacked panels, ensuring the seams align at the edges rather than the center; this hides them effectively.
On round cakes, I wrap a long piece around the sides first, then add a top piece for a cleaner finish.
- Precision beats perfectionism—measure twice, cut once.
- Seams become scars that tell our baking story.
- Every panel connects us to decorators worldwide.
- Your “imperfect” cake belongs in this community too.
I skip the stressful single drape and embrace control. You will find numerous tutorials walking you through each step.
Roll Fondant Without Drying or Cracking
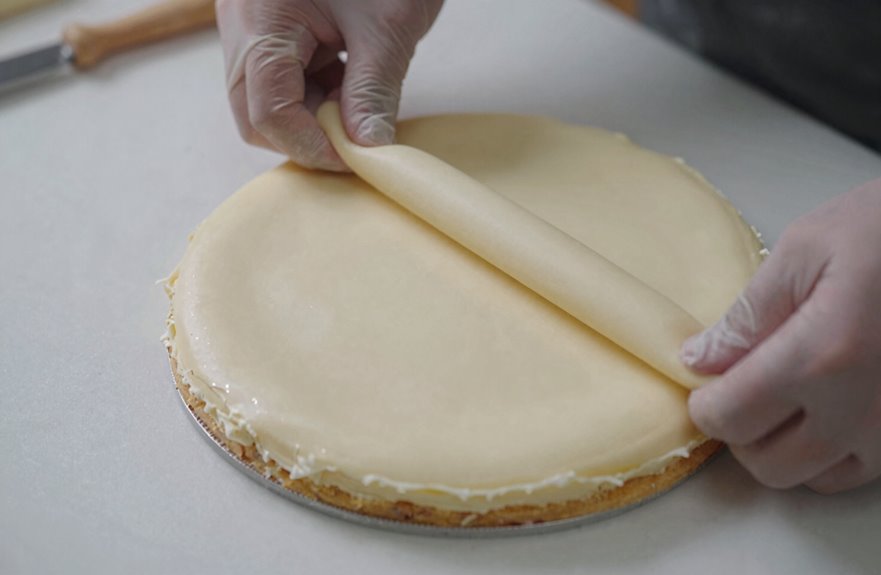
When rolling out fondant, I start by kneading it until it’s pliable and smooth.
I rub a little vegetable shortening on my hands first to prevent sticking, and that same shortening helps lock in moisture to prevent drying or cracking as I work.
I roll it to about 1/8 inch thick on a surface lightly dusted with cornstarch or confectioners sugar, ensuring the thickness is even.
I pop bubbles with a thin needle and then smooth the surface with my fingertips and a fondant smoother. I aim for a disc large enough to cover my cake with four inches of excess around the edges.
I avoid over-dusting, as too much can dry and crack the fondant, affecting adhesion.
| Stage | Action | Purpose |
|---|---|---|
| Prep | Knead with shortening | Prevent sticking, lock moisture |
| Rolling | Dust lightly, roll evenly | Avoid drying, ensure uniform thickness |
| Finishing | Pop bubbles, smooth surface | Flawless, crack-free result |
Drape and Position Without Stretching
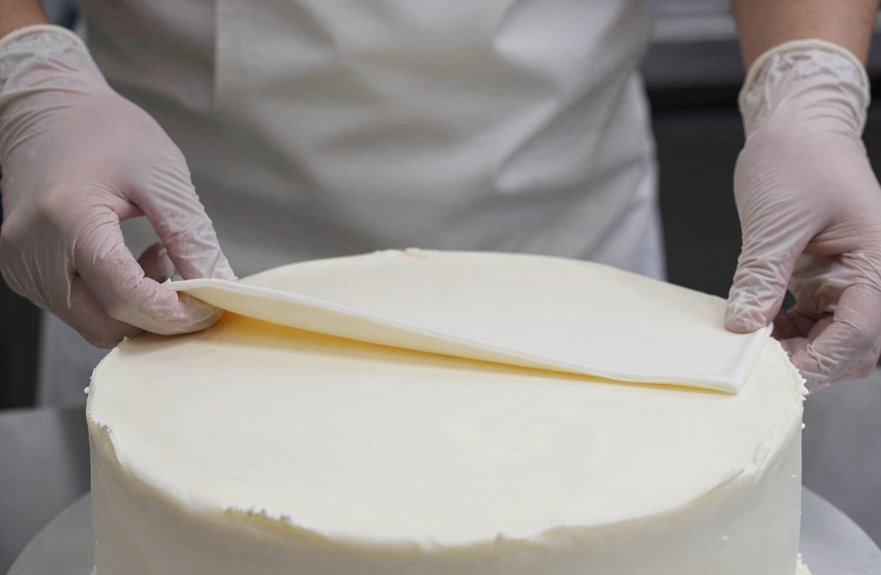
Once I’ve rolled my fondant, I position my ganached cake right next to it so I don’t have to carry it far; any distance invites stretching and tearing.
Proximity is my safeguard; even a short journey risks ruin.
I lift the fondant with my forearms, letting it drape over the cake like fabric. I smooth the top first, then work downward, allowing gravity to extend the fondant drape over the sides.
I never pull or force it, as that can cause tears.
- Rolled thick and wide, my fondant forgives small mistakes.
- Gravity becomes my partner, not my opponent.
- Patience now saves me panic later.
- Clean joins create a seamless appearance.
I trim excess cleanly and join edges with a damp brush for smooth seams. I’m building something we can share with pride.
Smooth, Trim, and Fix Cracks or Bubbles as You Go
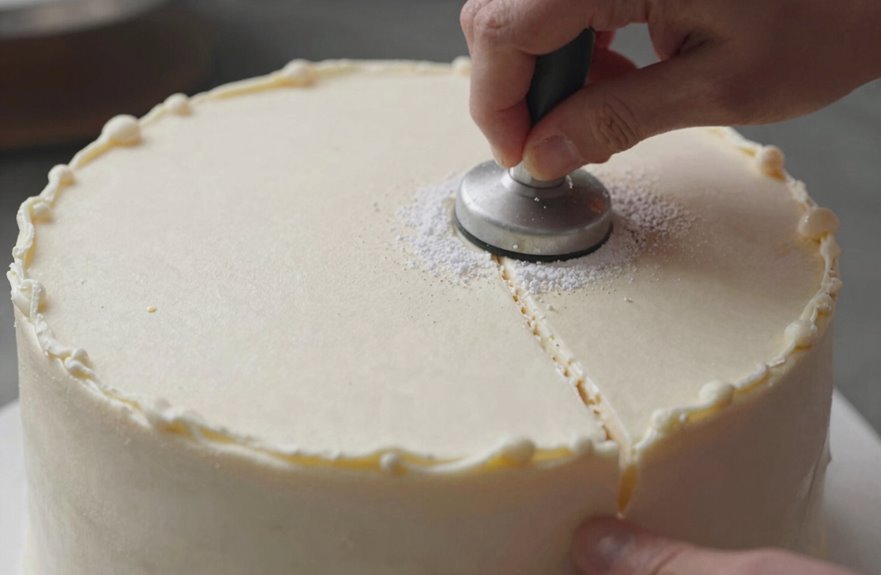
With the fondant draped over my cake, I focus on the details that enhance the finish. I watch for air bubbles and poke them immediately with a clean pin, releasing the air and smoothing the spot with my finger.
If cracks appear, I patch them with color-matched fondant and rub in shortening to restore pliability. I trim excess with a sharp knife held flat against the cake, saving those trimmings to re-knead later.
After smoothing the top, I press the bottom edge downward to eliminate wrinkles, then work around the sides with a fondant smoother using steady, medium-to-hard pressure. When my fondant feels dry, I add vegetable shortening and rework it until soft.
Each careful touch contributes to a beautiful result.
Buff to a Shine and Store Without Refrigeration
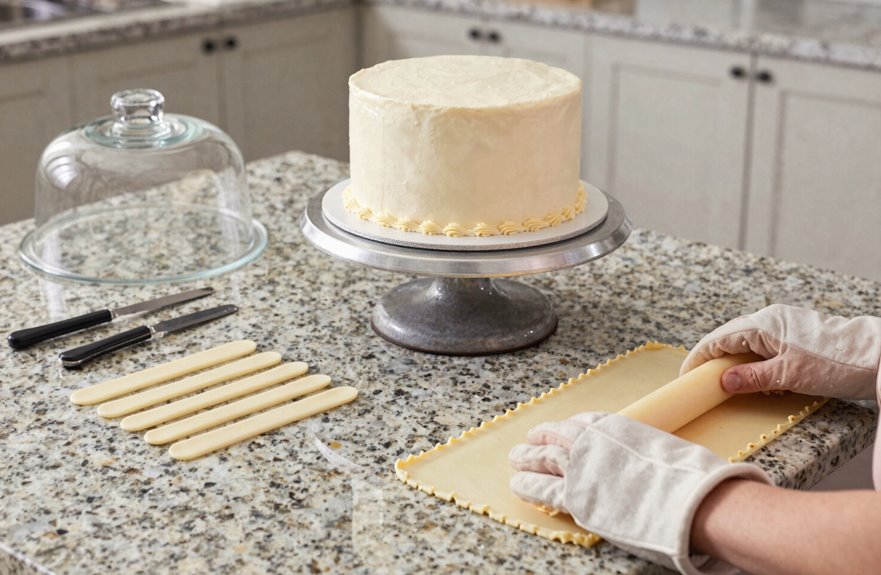
How do I achieve that impeccable finish? I buff the surface with cornstarch and powdered sugar, working gently until the fondant smoothness emerges.
For a professional gleam, I lightly rub with my finger as the adhesive dries; water or vodka works perfectly, blending every seam into invisibility.
- Trust the process; imperfection is temporary, polish reveals purpose.
- Your hands hold more skill than you recognize.
- Patience transforms pressure into artistry.
- Every creator deserves a cake that reflects their dedication.
Room-temperature storage protects what I’ve built. Refrigeration invites condensation and steals my shine.
Instead, I tuck my cake into a clean box and shield it from light, allowing it to rest. Ganache underneath provides a firm foundation.
When I’m ready to share, we both arrive at our best.