
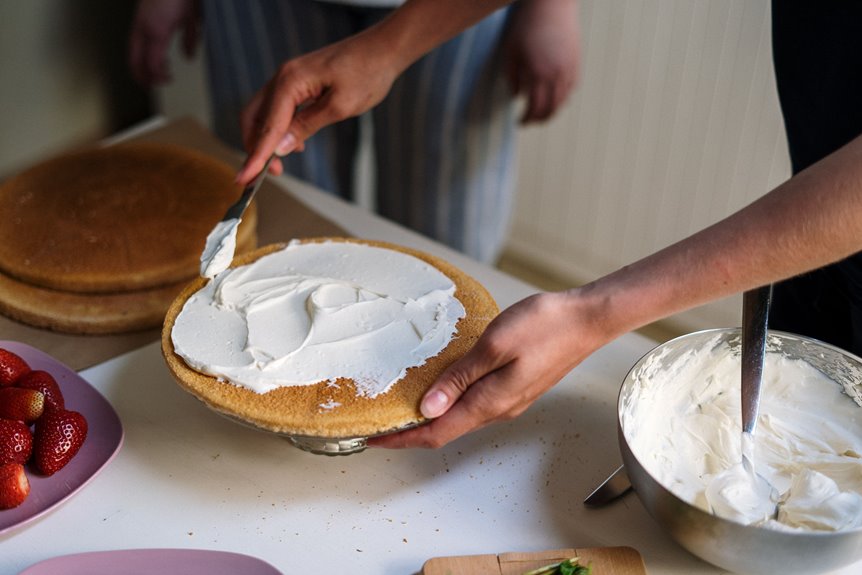
I start by choosing a filling that tastes great and holds its shape, like ganache or homemade jam.
Then I whip cream cheese with powdered sugar, heavy cream, and instant pudding until it’s fluffy and pipeable.
I pipe a thick frosting dam around each layer’s edge to keep everything contained, chill until the filling firms up, and stack with confidence.
Follow along, and I will show you how to nail each step.
Choose a Cake Filling by Stability and Flavor
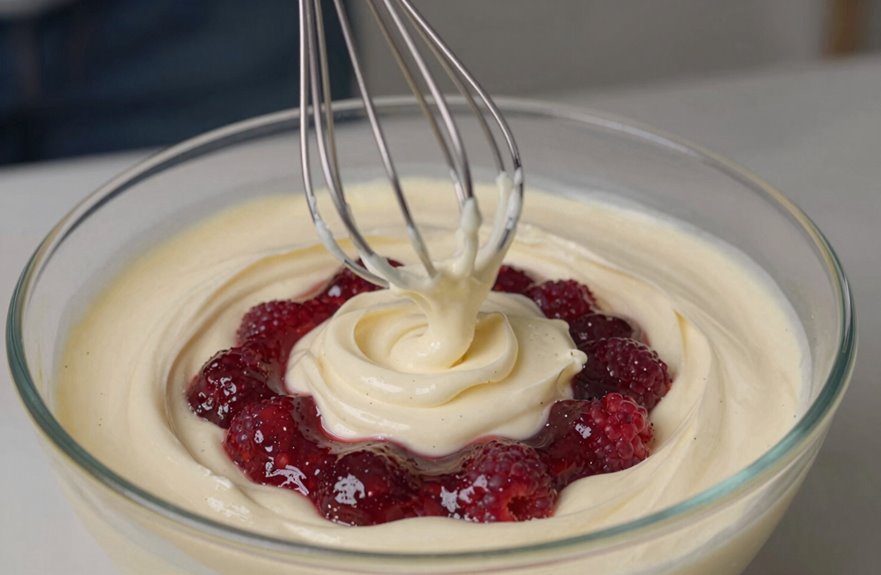
When deciding on a cake filling, I prioritize two factors: stability and flavor. Filling stability starts with smart construction.
I build protective borders using dam frosting around each layer’s edge, sometimes adding multiple dams between layers to keep everything contained. This seals the edges and prevents oozing when I slice.
I alternate dam frosting with my chosen center—frosting, then filling, then frosting again. Fresh options like lemon curd, jam, or mousse outperform canned versions for flavor and reliability.
Ganache and homemade jams hold their shape beautifully. If whipped cream feels too soft, I reinforce it or switch to buttercream dams for firmer barriers.
Achieving this balance ensures my cakes look professional and taste excellent.
Whip Cream Cheese Filling to Mousse Texture
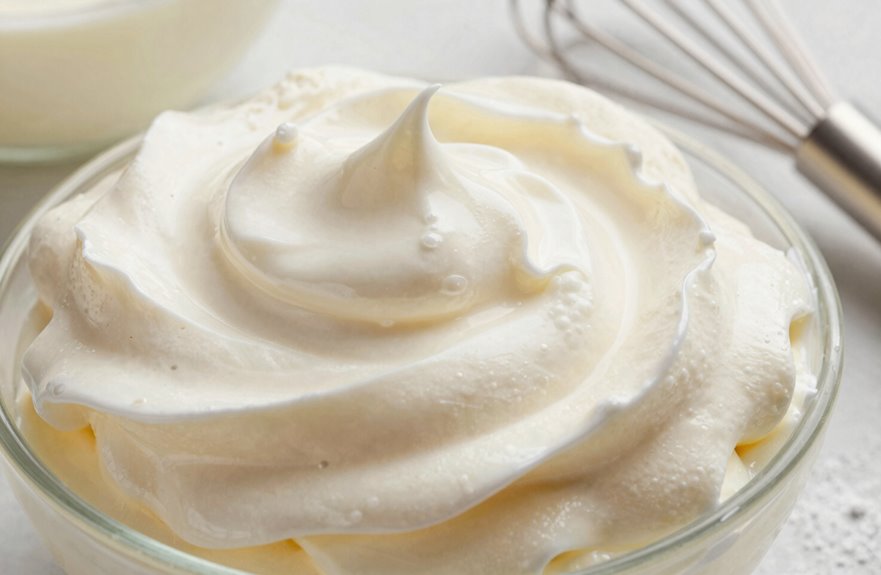
How do I transform cream cheese into something airy and luxurious? Let’s create that cloud-like mousse texture together.
I start by beating 8 oz of room-temperature cream cheese with ½ cup of powdered sugar until silky smooth. Then I fold in 2 cups of heavy cream gradually, building our light, mousse-like base.
Next, I add one 3.4-ounce package of dry instant vanilla pudding mix slowly, whipping for 2–3 minutes until thick. This vanilla pudding mix gives our frosting filling the structure we need without heaviness.
- Start on low speed, then increase to high; over-whipping causes graininess.
- Add extra heavy cream in ¼ cup increments if it becomes too thick.
- Chill for up to 5 days, stirring before use to restore smoothness.
- Follow your instincts; we are crafting this cake filling together.
This cream cheese filling becomes our shared secret for unforgettable desserts.
Pipe Frosting Dams to Hold Filling In
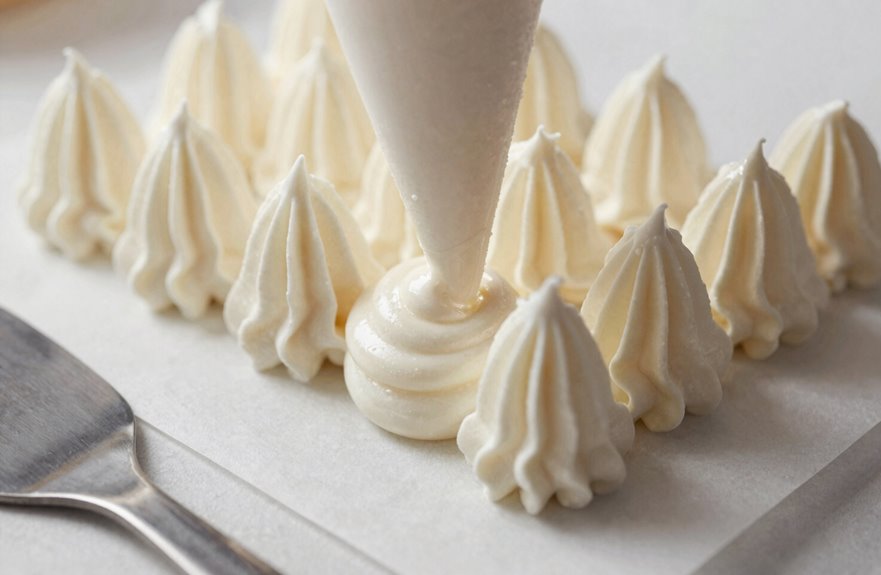
I pipe a thick ring of frosting around each cake layer’s edge, building a sturdy wall that keeps our filling from escaping. This border serves as a dam, containing the deliciousness we’ve prepared.
I ensure my piping is continuous and seamless, with no gaps where filling could sneak through. When constructing taller cakes, I pipe alternating dams of frosting between layers: frosting, filling, frosting, filling.
This technique locks everything in place and adds structural stability.
Once my borders are set, I apply a thin layer of frosting over the dams and filling to seal any irregularities. This extra step reinforces our containment system during assembly.
These frosting walls ensure every slice remains intact from the first cut to the last bite.
Chill Until Firm Enough to Layer
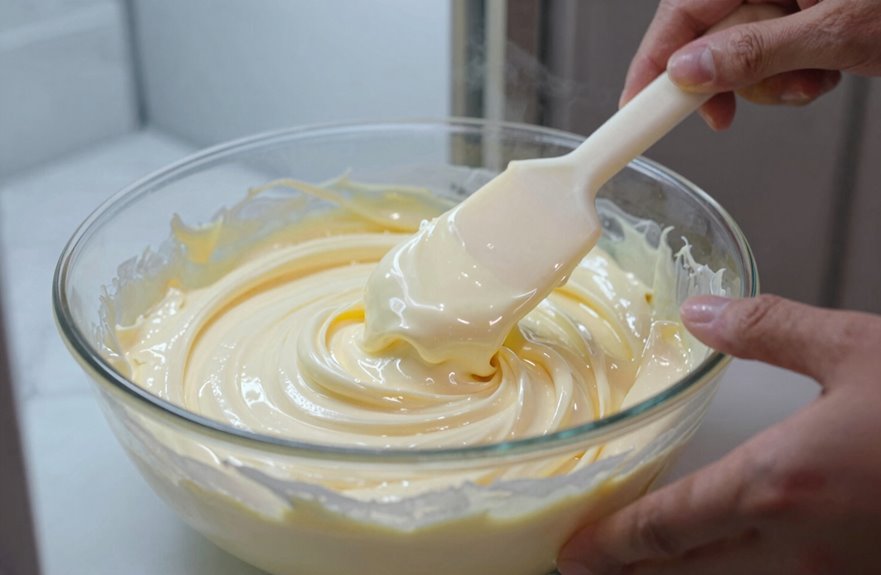
Why risk a slippery filling sabotaging your beautiful layers? Patience transforms good cakes into great ones.
When I chill my filling, I’m building insurance against disaster.
Chilled filling is your insurance policy against sliding layers and ruined cakes.
- Refrigeration activates the cream and pudding to create structure.
- Lift a spoonful to confirm peak-holding consistency before building.
- Pair your firmed filling with a frosting dam for clean edges.
- Re-chill or adjust when texture falls short.
I never rush this step. The filling must reach a scoopable, stable thickness where it won’t slump between layers.
Once firm, I’m ready to assemble with confidence, knowing each tier stays precisely in place.
Stack Without Slipping or Bulging
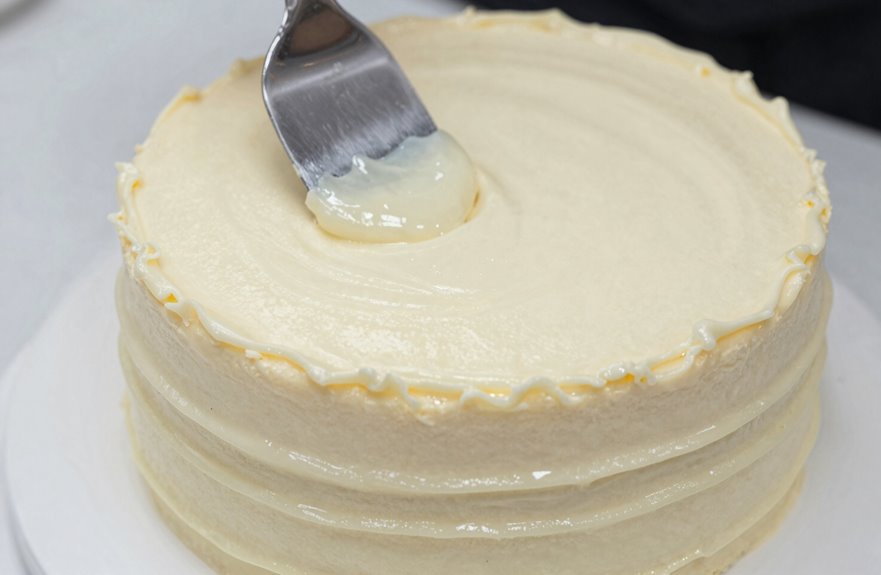
Stability starts at the edges. I build a frosting dam around each cake layer before adding filling; this barrier contains the cake filling and prevents slipping when I stack.
I use multiple dams between layers, alternating frost-fill-frost-fill so borders reinforce each other and enhance stability during layering.
| Technique | Purpose |
|---|---|
| Frosting dam | Contains filling, prevents oozing |
| Multiple dams | Extra stability, clean edges |
| Chilling layers | Firms filling, stops shifting |
I chill filled layers for ten minutes before crumb coating; this hardens the thickened filling and locks everything in place. I also choose firmer fillings or thicken runny ones to prevent bulging.
Together, these steps ensure my cakes remain pristine and professional-looking.