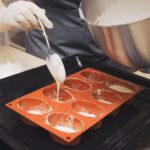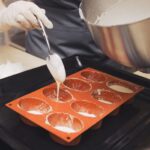
I start by lightly oiling every surface of my cake pop mold and placing it on a cookie sheet for stability.
I pre-mix my dry ingredients, fill each cavity to the rim with a 1 mm headspace, and bake for 15 to 20 minutes until a toothpick comes out clean.
While they are still warm, I unmold them onto a wire rack and let them cool completely.
I dip each stick in melted chocolate before inserting it, then chill everything for at least 30 minutes.
Finally, I dip into cooled coating using a deep measuring cup, tap off excess, and decorate immediately.
Each step has its own importance in achieving the best results.
Pick and Prep a Cake Pop Mold That Releases Cleanly
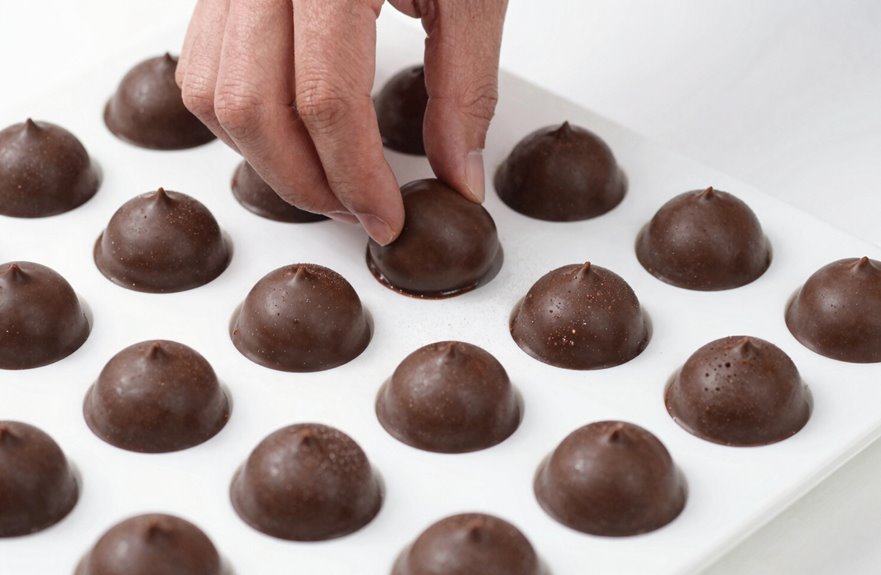
Why struggle with stuck cake pops when the right prep makes a significant difference? A quality cake pops mold paired with proper nonstick prep transforms baking from frustrating to straightforward.
Start by lightly oiling every interior surface—both top and bottom halves—with spray or brush-on oil. This nonstick prep creates the foundation for clean release.
Place the oiled mold on a cookie sheet for stability during baking.
Timing is crucial. Bake for approximately 20 minutes, then let the mold cool for just five minutes before opening.
Waiting longer can lead to sticking and crumbling, so release promptly. If a cake resists, check that you haven’t overfilled the cavity, then gently peel the mold open rather than forcing it.
Mix and Fill Batter to Prevent Overflow and Dense Texture
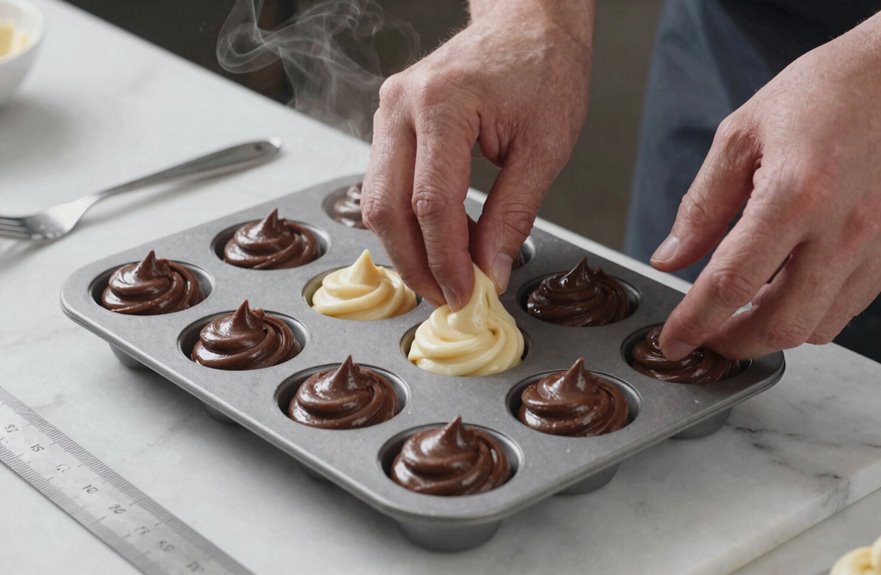
How do you get cake pops that are light, round, and never overflow? I start by pre-mixing my dry ingredients—flour, baking powder, salt—so everything is evenly distributed before adding the wet ingredients.
This step is essential for achieving that tender crumb we all want.
Here’s how I nail mold filling every time:
| Ingredient Prep | Filling Level | Result |
|---|---|---|
| Pre-mix dry ingredients | Leave 1 mm headspace | No batter overflow |
| Even distribution | Fill to rim, not over | Perfect spheres |
| Proper leavening | Consistent cavity fill | Light texture |
| Room temperature ingredients | Don’t pack batter | No dense centers |
| Gentle folding | Watch for air pockets | Uniform bake |
That tiny bit of headspace prevents flat, lopsided pops. Taking this extra minute helps avoid rushed filling, messy overflow, and disappointing results.
With these techniques, making cake pops becomes an enjoyable process.
Bake, Unmold, and Cool Without Cracking or Sticking
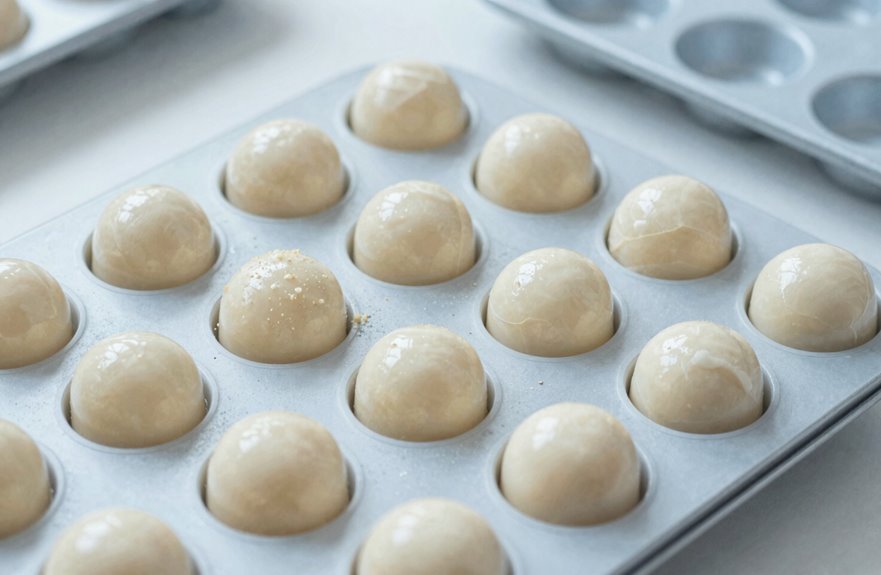
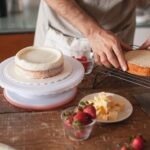
Once I have my batter perfectly prepped and filled, I focus on the baking process.
I set my timer for 15 to 20 minutes, then test with a toothpick to ensure it’s fully done; no one wants raw centers in our circles.
I’ve learned to move quickly: I pull the mold and let it rest briefly, then unmold while everything is still warm.
Waiting too long can lead to sticking issues, and the oil-release I applied earlier acts as my insurance for clean, intact pops.
For cooling, I gently transfer the pops to a wire rack. Rushing this stage can create cracks, and neglecting it may ruin the smooth finish that we aim for.
Patience is key in this process.
Secure Sticks With Chocolate and Chill Until Firm
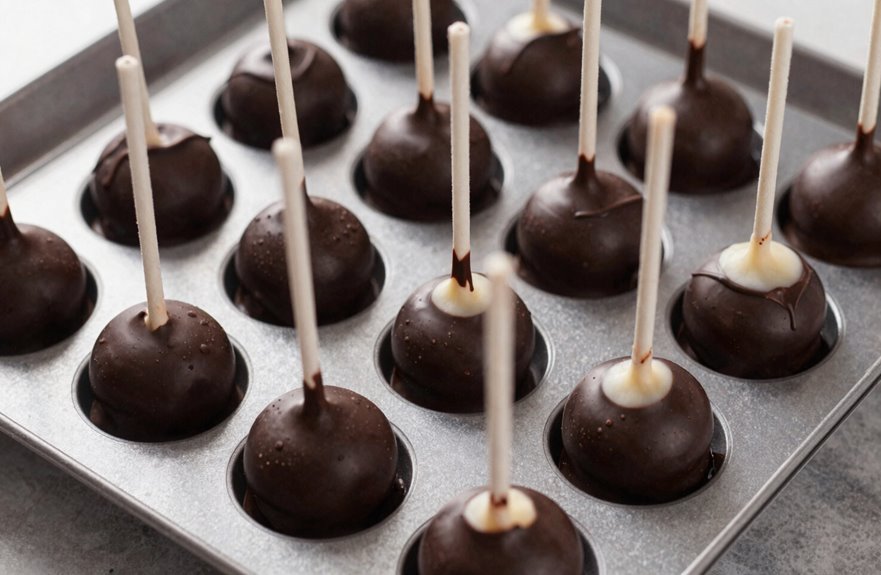
Where’s the trick to keeping sticks from sliding out? It starts with melted chocolate coating.
I dip each stick’s end before pushing it into the cake ball; this creates a glue that bonds everything together.
Patience pays off. I refrigerate my cake pops for about 30 minutes after inserting sticks.
This hardens the chocolate into a solid anchor, providing the stability needed for confident dipping later.
I also chill my shaped cake balls for at least two hours before this step. Cold firmness prevents crumbling when I insert sticks and handle them.
When I’m ready to coat, I use a deep 2-cup measuring cup for full immersion around the stick joint. I stand finished cake pops upright in styrofoam while setting; this prevents leaning or falling, ensuring consistent results.
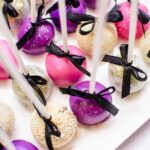
Coat and Decorate Cake Pops Without Cracks or Falls
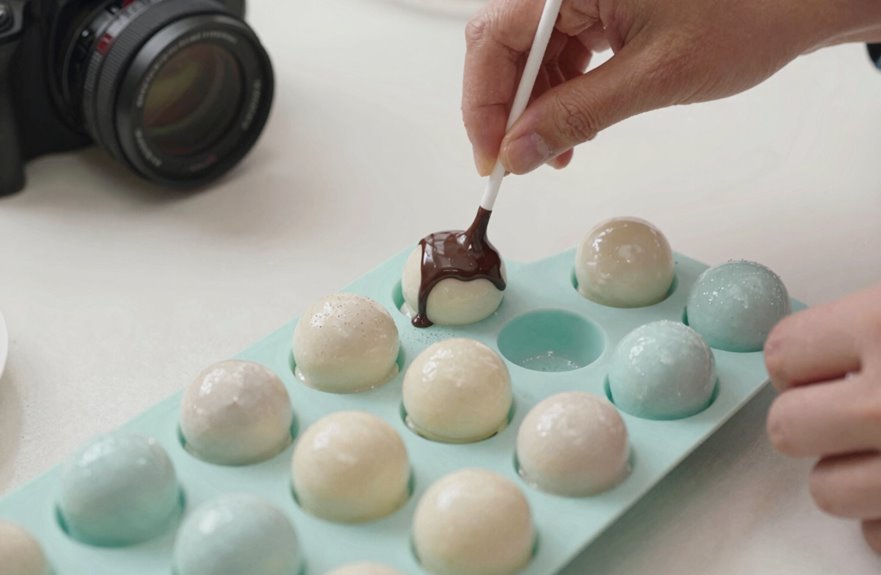
The secret to flawless coating starts with temperature control. I chill my cake pops for two hours before dipping, and I cool my coating to prevent hairline cracks as everything sets.
Using a deep 2-cup glass measuring cup provides even coverage without trapping air pockets that cause cracks. After dipping, I tap off excess coating to stop drips that could ruin the shape.
| What I Do | Why It Works | What I Avoid |
|---|---|---|
| Chill pops first | Reduces moisture for smooth coating | Warm cake meets hot coating |
| Tap off excess | Prevents heavy drips | Skipping this step |
| Decorate wet | Sprinkles stick perfectly | Waiting until coating hardens |
For decorating, I work quickly while the coating is still wet, then stand each pop upright in styrofoam. Follow these steps, and you’ll achieve crack-free cake pops every time.