I frost frozen cakes by letting layers sit out for 30–60 minutes first. Then, I rewhip my buttercream until it’s silky and spreadable.
I apply a thin crumb coat to seal in moisture and trap any crumbs, chilling for 30–60 minutes between coats. If the layers need extra moisture, I brush simple syrup on slightly thawed layers.
I keep everything cold until the final decoration is done, then let the cake warm to room temperature before serving. Each step is designed to ensure a smooth and successful frosting process.
Thaw Frozen Cake Layers for 30–60 Minutes Before Frosting
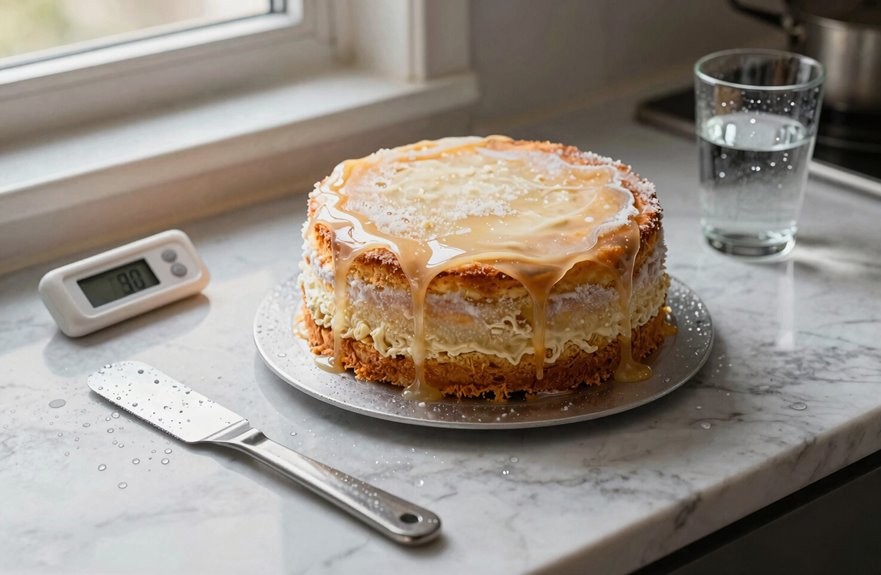
I take my frozen cake layers out of the freezer about an hour before I plan to frost them. Proper thawing is essential for assembling a layer cake that holds together well.
I unwrap the layers and place them on my counter, allowing surface moisture to develop without letting them become completely soft.
If I see any caramelization or edge browning, I trim those areas lightly while the cake still feels firm, as this is easier to handle.
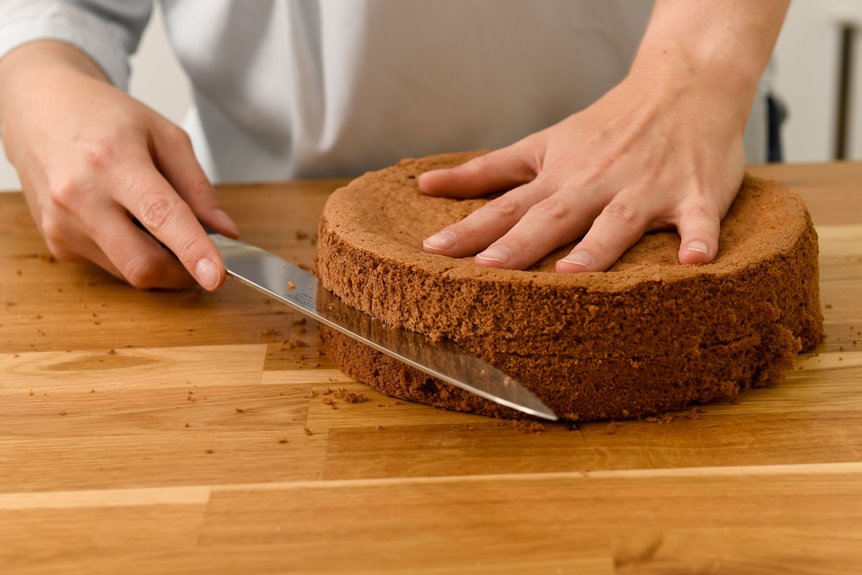
After about thirty minutes, I level the tops while they are still chilled. This prevents crumbling and creates stable stacking surfaces.
I take my time frosting at this stage, allowing my layers to gradually reach room temperature. This process locks in moisture and maintains the tender texture we want.
A well-prepared layer cake will remain visually appealing and delicious from the first slice to the last.
Why Slightly Frozen Cake Frosts More Smoothly
Why does a chilled cake take frosting better than one that’s fully thawed? The secret lies in texture and control.
When frosting from frozen, the cake layers remain firm and crumb-free. Freezing cakes transforms soft, fragile sponge into a solid canvas that doesn’t resist.
I apply my crumb coat to frozen cake layers, then let them become partially thawed before adding the final layer. This approach provides the stability needed without sacrificing a smooth finish.
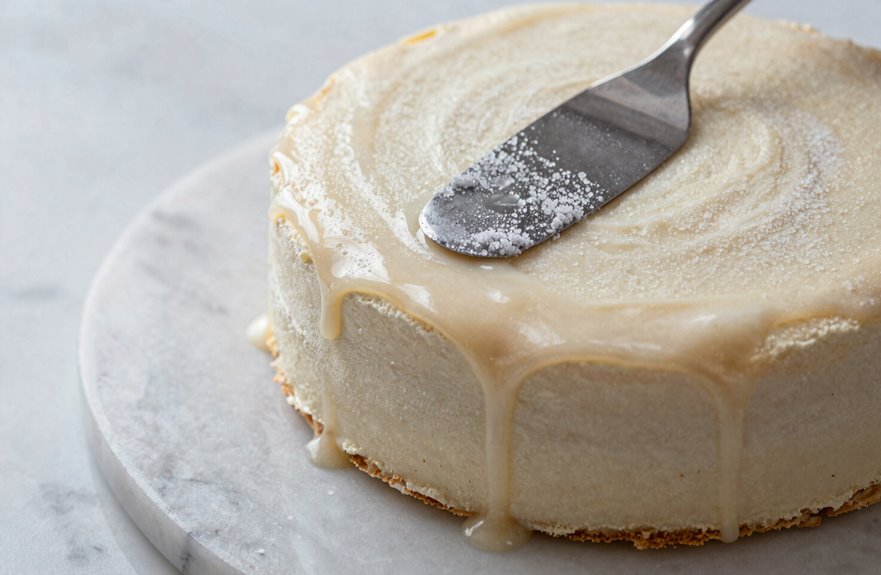
The cold temperature hardens the butter in the cake, creating a barrier that seals in moisture while I work. My spatula glides along the surface, allowing for smooth frosting without dragging crumbs into every swirl.
Mastering this technique elevates your baking skills significantly.
Rewhip Buttercream for Spreadable Consistency on Cold Cake
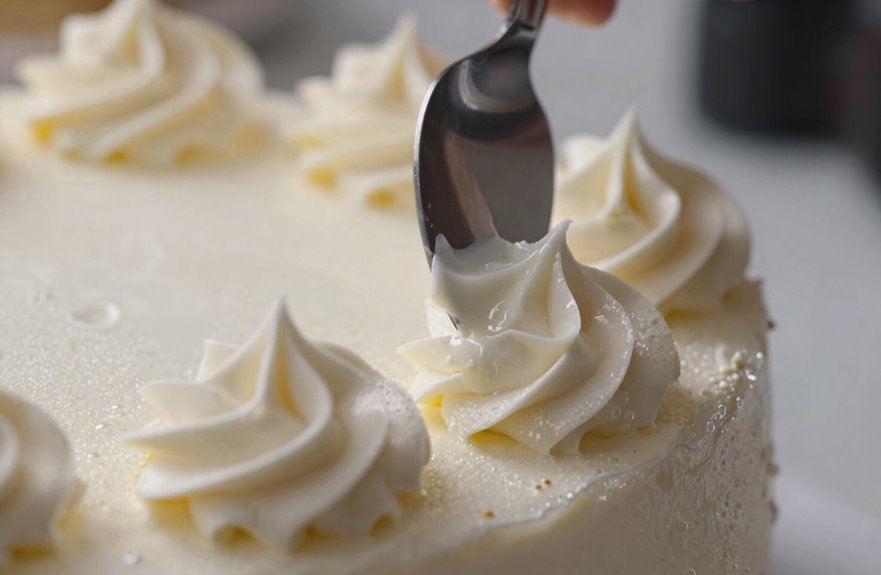
The buttercream stored in my fridge often needs a second life before it’s ready for a cold cake. I let it reach cool room temperature first; this temperature control prevents cracks when I spread it on frozen cake.
If it’s stiff, I briefly rewhip it until it holds a silky, spreadable peak. Sometimes, I place the bowl over warm water for a moment, then rebeat it—just enough, without overworking.
The goal is to achieve a consistency where the buttercream glides smoothly without tearing. Mastering this technique ensures your crumb coat seals effectively.
With practice, you can create frosting that works well with your cake.
Apply Crumb Coat to Seal Moisture and Prevent Crumbs
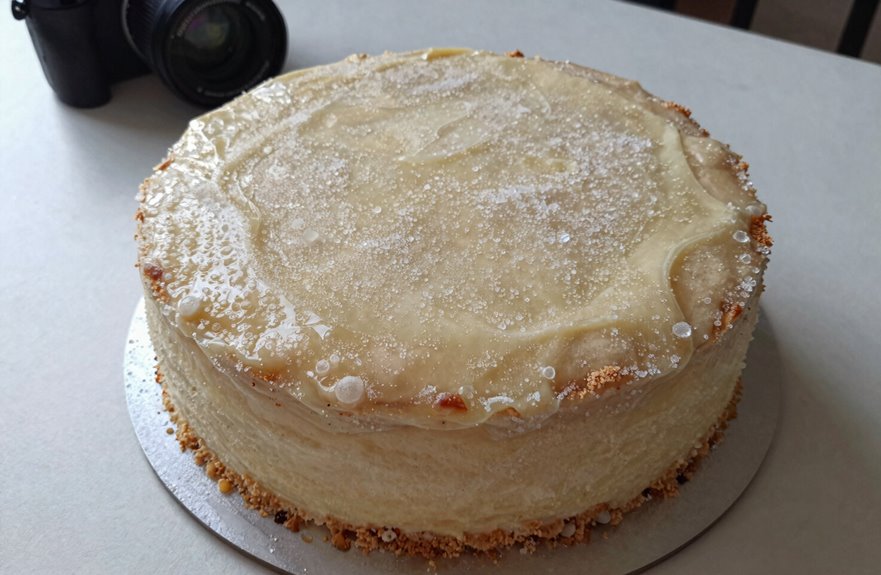
Once my buttercream’s ready, I apply a thin crumb coat to my frozen cake, sealing in moisture and trapping those pesky crumbs before they interfere with my finish.
The cold firms everything up, so I’m not struggling with loose bits while I work.
| Challenge | How the Crumb Coat Helps |
|---|---|
| Dry cake | Locks moisture inside |
| Visible crumbs | Traps them in thin frosting layer |
| Unstable base | Creates solid foundation for decoration |
| Handling damage | Frozen structure prevents breaks |
| Time pressure | Lets me work ahead on large orders |
This step improves my frosting process significantly. Starting with a frozen cake is a smart choice that sets the stage for polished, professional results.
Chill Between Coats for Better Frosting Adhesion
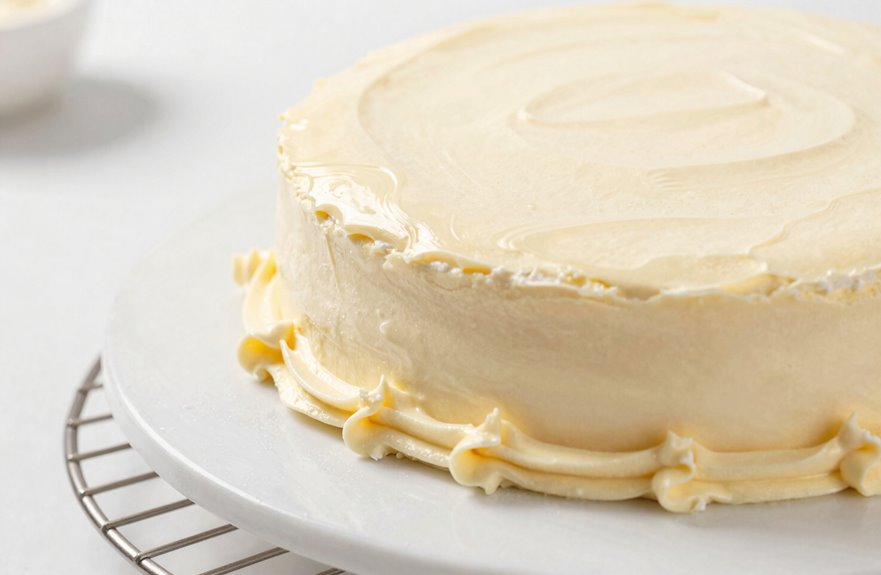
I have found that temperature control is crucial when building up layers of frosting on a frozen cake. I chill between coats, allowing each layer to set firmly before adding the next.
This timing prevents smudging and maintains a smooth finish. The brief freeze locks my crumb coat in place, leading to better adhesion when I apply the final coat.
Temperature Control Matters
Why does frosting slide off or crumble so easily? It all comes down to temperature control, so let me share what works for me.
I always start with a frozen layer as my base. This solid foundation keeps crumbs locked in place and gives my buttercream something firm to grip.
I apply the first coat, then chill the cake for 30–60 minutes until the frosting sets hard. This creates my crumb coat foundation.
I follow a consistent process: coat, re-chill, repeat. Each time I pull the cake from the freezer, that previous layer has hardened into a smooth surface ready for more.
I work quickly yet patiently, as slightly warm frosting can soften too much against the cold.
Initially, I skip syrup on frozen layers, adding moisture only after thawing if needed. This careful approach transforms my cakes from crumbly messes to polished creations.
Timing Between Layers
How do I get frosting to actually stick instead of sliding around? Chilling layers between coats is essential.
When I work with a frozen cake, I apply the crumb coat while it’s still cold and then return it to the freezer for 30 to 60 minutes. This hardens the buttercream enough to lock everything in place.
After thawing for about 20 to 30 minutes, I apply my final coat. This brief warm-up prevents cracking and allows the frosting to adhere evenly.
If the edges pull or the frosting becomes stiff, I rebeat it slightly to restore smoothness. Proper timing, including chilling layers and controlled thawing, creates a solid foundation for achieving professional-looking results.
We are enhancing our skills that yield effective outcomes.
Crumb Coat Benefits
Applying a crumb coat to frozen cake layers locks in loose crumbs before they can scatter through your final finish. Freezing between coats enhances your decorating technique.
Freezing after applying that thin layer of frosting sets the moisture, creating cake stability. When I chill the cake, I am ensuring that crumb movement does not disrupt my work.
The cold firms everything, improving adhesion for the next layer.
You’ll notice the difference immediately: no drag, no crumbs breaking free, and no frustration. Your spatula glides instead of sticking.
This solid foundation allows you to achieve a flawless final finish with smooth sides and clean edges that make your cake look professionally crafted. This step distinguishes home bakes from polished results.
Prevent Buttercream Cracking on Refrigerated Surfaces
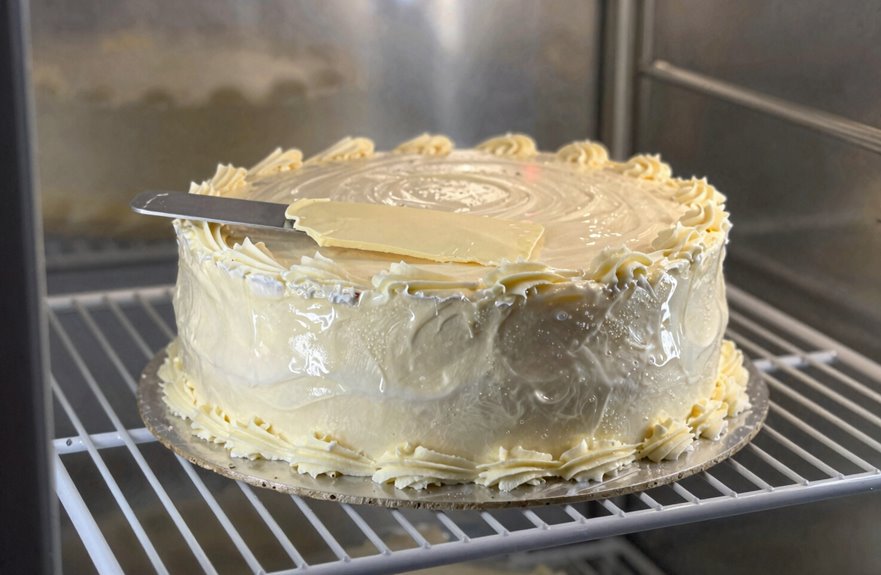
Where does buttercream cracking start? It occurs when warm buttercream meets cold refrigerated surfaces or when thawing creates tension in your finish.
After experiencing this issue, I want to share effective strategies to avoid it.
First, I always chill my crumb coat until firm and then let the cake sit out for 15–20 minutes before adding more buttercream. This brief rest prevents the shock that causes cracking.
Frosting directly onto frozen layers can lead to problems due to the significant temperature difference.
I build my frosted cake in thin, even layers using stabilized buttercream. After the final coat, I refrigerate briefly to set it and then allow the cake to thaw slowly to room temperature before serving.
This approach helps maintain a smooth, crack-free buttercream finish.
Smooth Final Frosting Techniques for Cold Cake
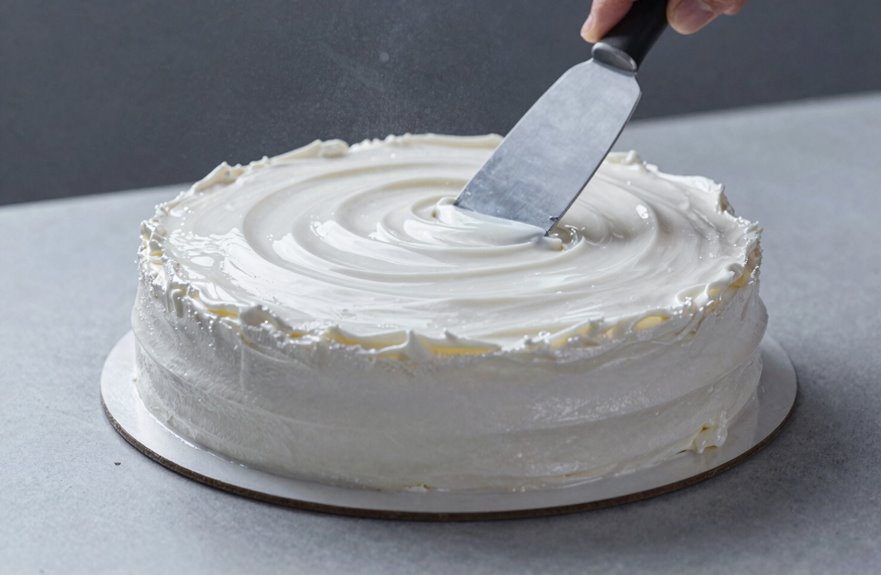
A smooth final coat on a cold cake requires patience and the right timing. Working with a frozen cake offers control that room-temperature layers simply can’t match.
Working with a frozen cake offers control that room-temperature layers simply can’t match.
Here’s a structured approach for success:
- Apply your crumb coating directly to the frozen cake and chill briefly to lock everything in place.
- Keep chilling between coats whenever your buttercream feels too soft; this helps build a flawless foundation.
- Add your final coat in stages, allowing each layer to set before continuing.
- For fondant on a frozen cake, roll and drape while the cake is still partially frozen to prevent sticking and tearing.
You’ll know it’s working when the edges look crisp and professional. Focus on the cold, take your time, and you’ll achieve impressive results.
Brush Simple Syrup on Thawed Layers for Extra Moisture
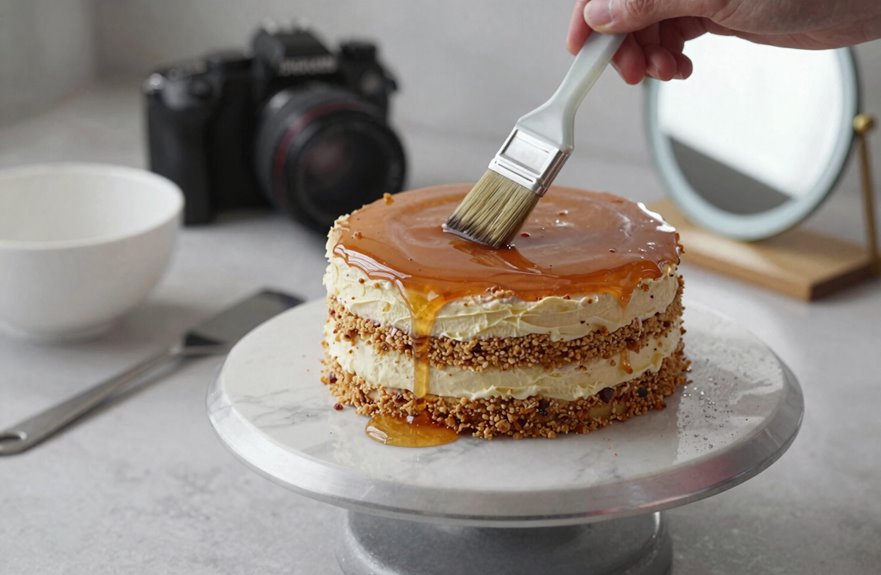
Simple syrup gives thawed cake layers an extra boost of moisture that freezing can diminish. I apply it only after thawing, never before; adding syrup to a frozen cake before storage creates sogginess.
For my layer cake projects, I brush simple syrup onto slightly thawed layers, not fully frozen ones, so the liquid permeates properly without leaking.
This step is particularly important with chocolate cakes or large sculpted creations where moisture recovery is essential. Standard layer cakes often skip this, but I find it useful when preparing in advance and needing that extra assurance.
I align my thawing and syrup application with my frosting timeline, ensuring each step flows smoothly into the next.
The simple syrup restores what freezing takes away, helping to ensure that my finished cake tastes as fresh as the day I baked it.
Maintain Cold Temperatures During and After Decorating

Why fight the cold when it works in your favor? Keeping things chilled transforms decorating from stressful to seamless.
Here’s how I maintain that frosty advantage:
- I start with a frozen cake—no thawing needed.
- I apply my crumb coat directly to that solid base.
- I practice freezing between coats for 30–60 minutes to let the buttercream set firm.
- I finish frosting while cold, only warming to room temperature when the decoration is complete.
This chilling routine allows my buttercream to stay put and my finishes to remain flawless. Cold is a valuable ally in achieving bakery-worthy results every time.
Store and Transport Frosted Frozen Cakes Without Damage
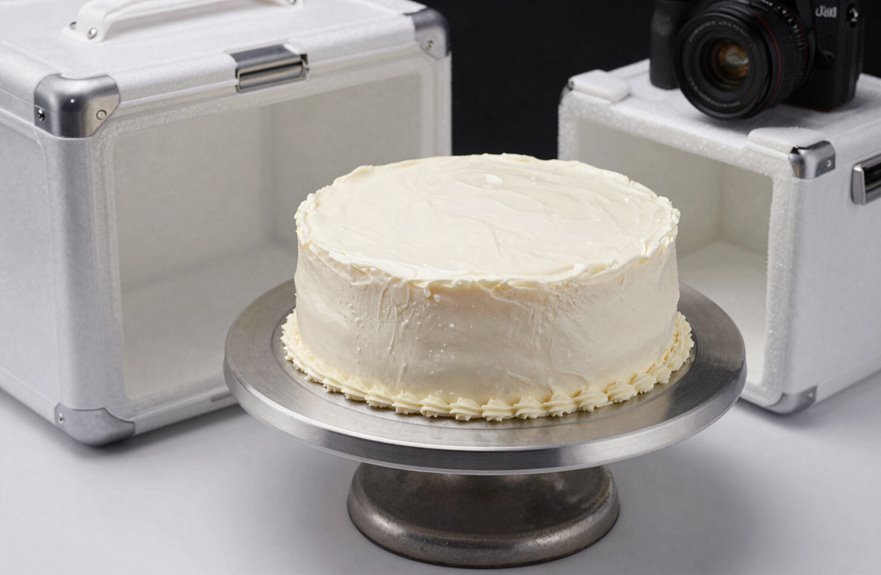
I’ve mastered the art of moving decorated cakes without damage, starting with strategic freezing at every stage.
I remove my frozen cake from the freezer about thirty minutes before applying frosting, allowing it to thaw just enough for easier handling while keeping the sides chilled to prevent crumbling.
I apply my crumb coat while the cake is still partially frozen, then chill that layer before adding the final coat.
Once I finish frosting, I freeze the cake for another thirty to sixty minutes to set the buttercream.
For transport, I move the cake to the refrigerator, not the freezer, and place it in a sturdy box on a larger board to ensure nothing shifts.
I wrap the cake during thawing to lock in moisture, protecting every detail I’ve perfected.
Bring Cake to Room Temperature Before Serving
After all the careful work of frosting and transporting, I’m ready to serve my cake at its best. Patience with thawing significantly enhances both texture and taste.
Patience with thawing transforms a good cake into an unforgettable one—texture and taste worth every careful moment.
Here’s my approach:
- I freeze layers flat, then pull them out the morning of decorating, keeping them wrapped to lock in moisture.
- I let them sit at room temperature for about 30 minutes before frosting; they are cold enough to handle and warm enough to hold icing.
- I trim and level while slightly chilled for clean edges, then brush with simple syrup to boost moisture before assembling.
- I finish decorating, then refrigerate briefly before bringing the cake back to room temperature for serving. This final rest allows flavors to develop and ensures every bite is inviting.