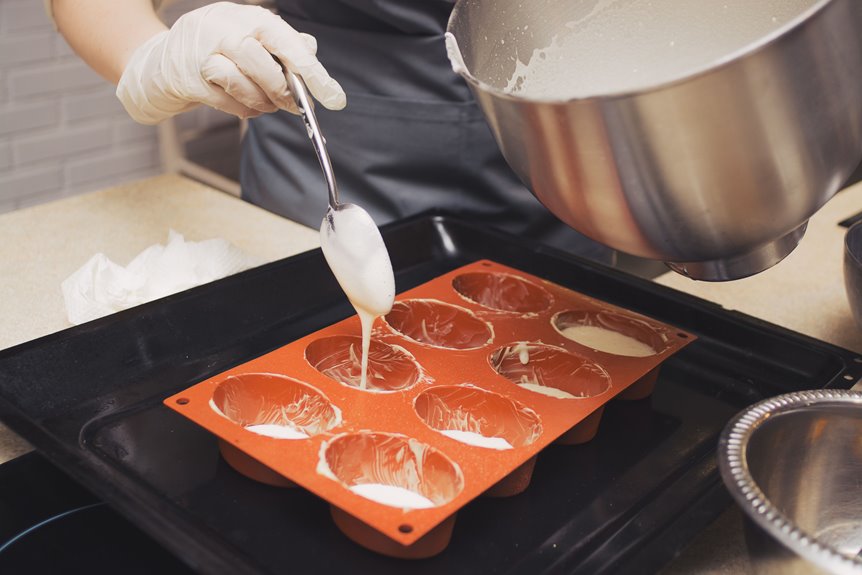
I start by mixing smooth, moldable dough that holds its shape without chilling. Then, I lightly oil my silicone mold and fill each cavity carefully with a piping bag, stopping below the rim.
I bake at 350°F for about 20 minutes, cool the mold briefly, and trim any excess for perfect rounds.
Next, I dip my sticks in chocolate before inserting them, coating at 92–98.5°F, and decorate while the coating is still wet. Prop them upright to set.
There are many details to consider for perfecting each stage.
Prepare Cake Pop Dough That Holds Its Shape
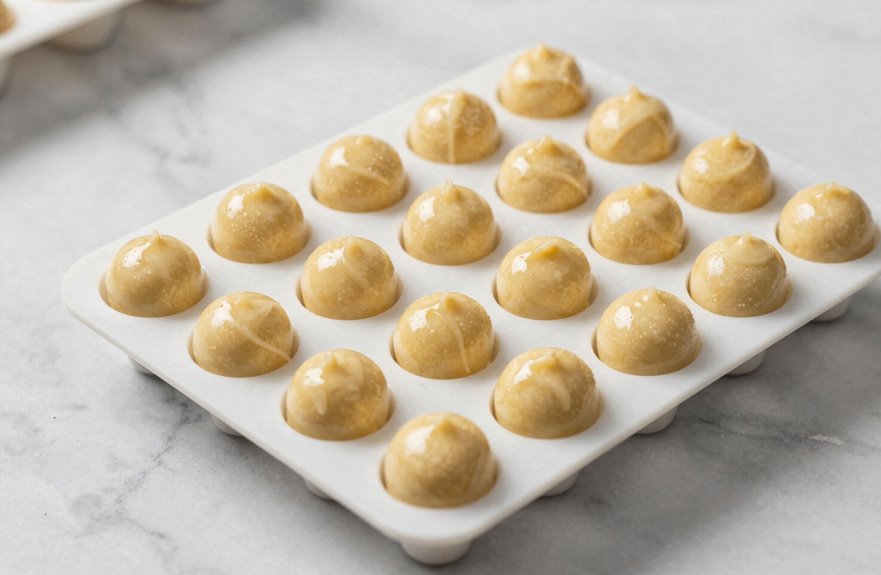
Start by building your dough around a base that is smooth, soft, and moldable, similar to Play-Doh. Create cake pop dough that your community will enjoy.
Do not overbake your cake; remove it promptly, then let it cool and blend until you achieve smooth, cohesive dough. You can use the instant pudding technique or blend warm cake in a mixer.
In either case, aim for that perfect Play-Doh consistency. If your moldable dough feels sticky, dust it with cornstarch before shaping.
Your dough needs to hold its shape without chilling. When it is firm enough, press it into your cake pop mold.
After baking, it will pop cleanly every time, allowing you to create flawless treats.
Fill Your Silicone Mold Without Overflows or Seams
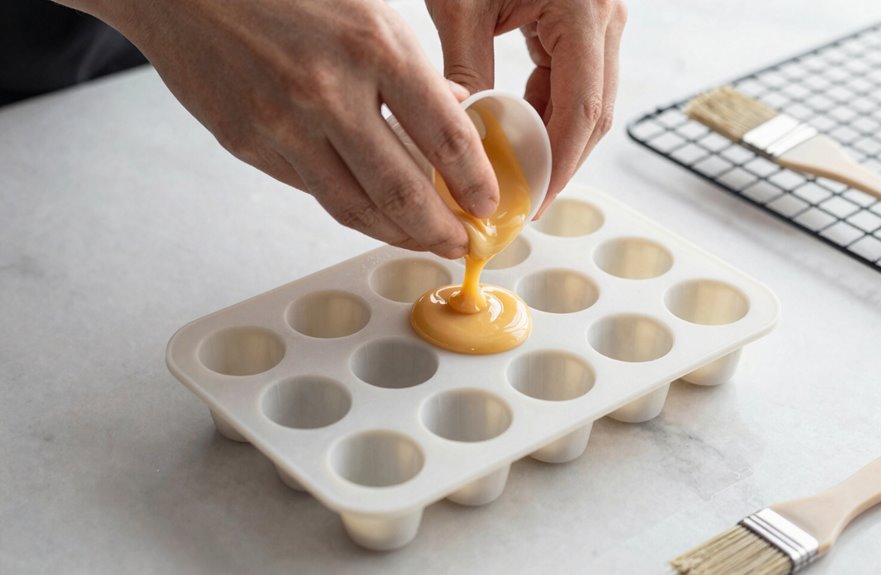
How do I get perfectly round cake pops without messy edges? Here are my mold preparation secrets that ensure consistent shapes.
- Prep your silicone cake pop mold by lightly oiling both halves so nothing sticks.
- Fill batter carefully using a spout piping bag for clean cavity filling; stop below the rim to avoid overflows.
- Control the batter level by leaving a 1 mm gap when closing to prevent seams and flat spots.
Monitoring the batter level is crucial because it determines whether your cake pops turn out smooth or lumpy. With the right cavity filling technique, you can eliminate concerns about bake time surprises or last-minute adjustments.
Following these straightforward limits will lead to smooth seams and well-shaped cake pops.
Bake, Cool, and Trim for Rounded Pops
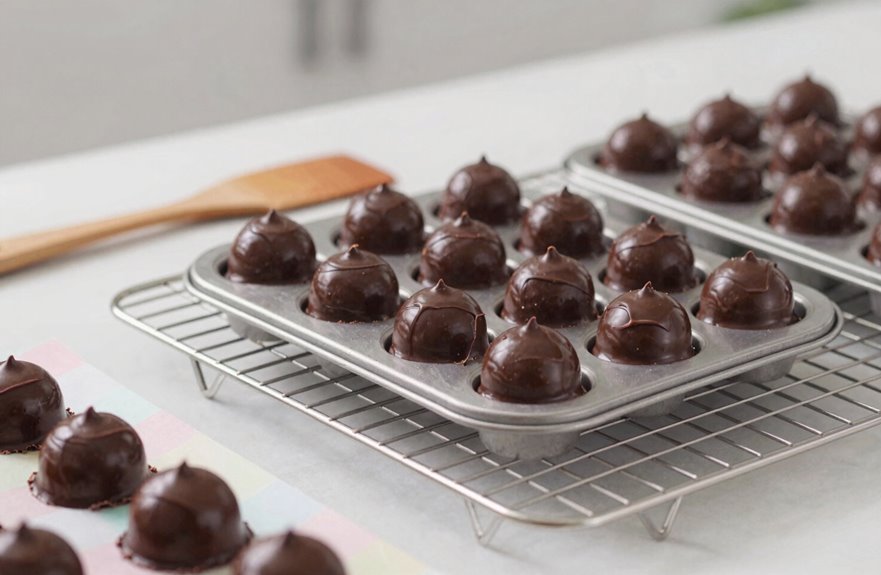
Pop your filled mold onto a cookie sheet and slide it into a 350°F oven for roughly 20 minutes until a toothpick comes out clean. I always use the toothpick test; no wet batter means we’re ready.
Slide the filled mold into a 350°F oven for about 20 minutes, then trust the toothpick test—no wet batter, no problem.
Don’t rush this part. I let my cake pop mold cool for five minutes before opening.
Hot steam escapes, which helps avoid cracked rounded pops. Once open, I cool the pops another five to ten minutes on a rack until they’re firm to the touch.
Next, I trim. Extra batter often seeps from mold cavities during baking, creating rough edges.
I quickly slice these off with a small knife for smooth, professional-looking cake pops.
We’re almost ready for sticks, but first, ensuring complete cooling prevents cracks later. Patience here is crucial for a successful outcome.
Dip Sticks and Coat Without Cracking
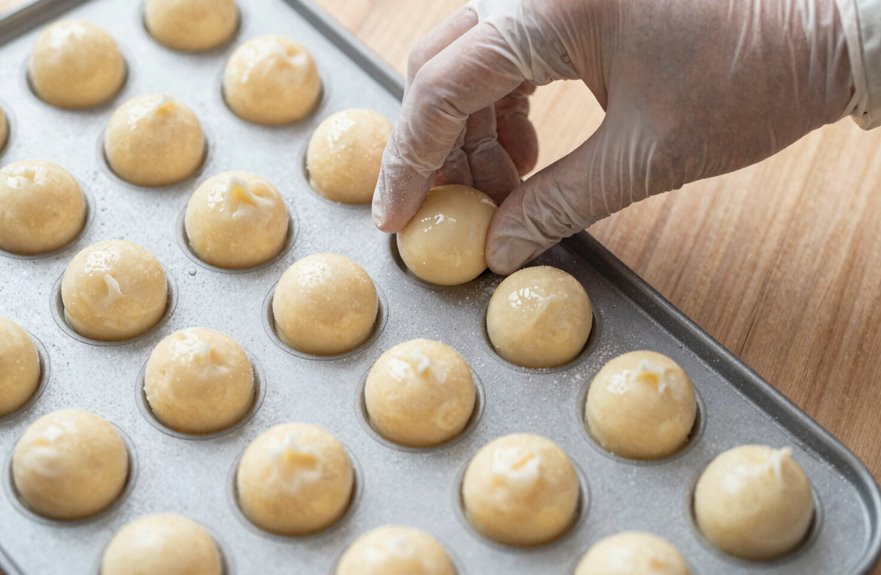
The coating stage requires patience. I’ve learned that preventing cracks starts with allowing proper cooling time after baking at 350°F; rushing can lead to issues.
Here’s how I ensure my cake pops look flawless:
- Seal base properly. I dip each cake pop stick into melted chocolate before inserting it, creating a bond that prevents sliding.
- Control coating temperature. I maintain 92–98.5°F for smooth coverage without thick clumps.
- Master dipping technique. I submerge completely, tap gently, and let excess drip off evenly.
Using your cake pop mold correctly from the start—softening batter, filling evenly, and baking at 350°F—sets you up for successful coating. By following these steps, bakers can achieve a perfect, glossy finish with no cracks.
Decorate, Set Properly, and Store Your Cake Pops
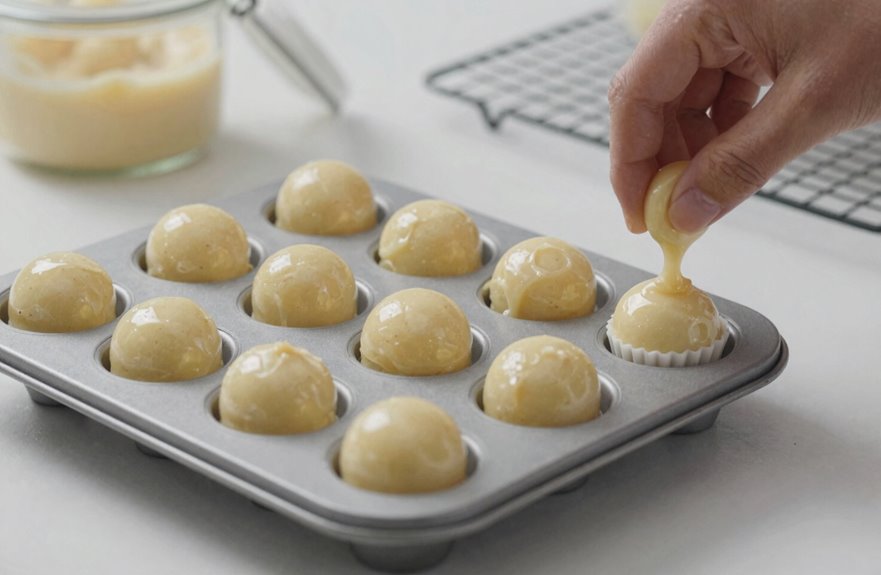
Once my cake pops are smoothly coated, I quickly decorate them before the chocolate sets. I grab sprinkles and scatter them over the melted chocolate while it’s still wet, as that’s when they stick best.
Timing is crucial to avoid toppings sliding off.
I insert sticks into the pops after they’ve cooled slightly, then give them about 30 minutes of chilling to ensure everything seals tightly.
To set properly, I prop them upright in a stand or egg carton; no one wants flat-sided cake pops.
When I’m ready to store cake pops, I make sure they’re fully hardened first. I layer them between parchment paper in the fridge for up to one week or freeze them for three months.
My cake pop mold journey is fulfilling when I pull out a perfect treat weeks later.