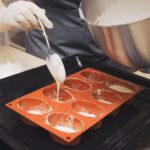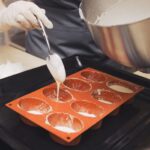
I make cake pops with a mold by starting with smooth, Play-Doh-like dough and a lightly oiled mold to prevent sticking. I fill each cavity to the rim, seal tightly, and bake at 350°F for 15-20 minutes until set.
After cooling slightly, I smooth any seams with a stick and chill everything before dipping.
I warm my coating until silky, dip each pop fully, and stand them upright to dry.
Store them refrigerated for up to a week or frozen for six weeks.
Below, I will detail how to master each step.
Prep Your Cake Pop Mold and Master the Dough Texture
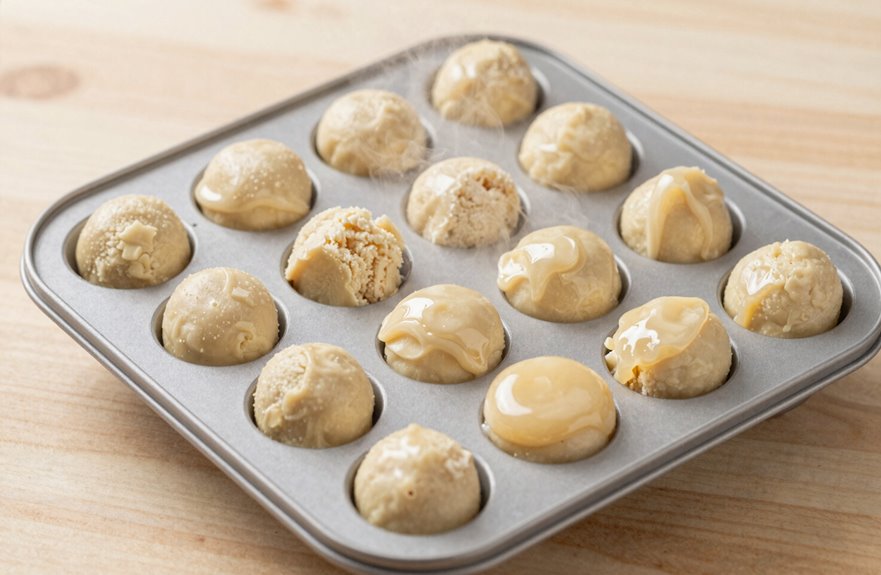
Before mixing anything, I prepare my mold by lightly oiling the inside to ensure the cake pops release cleanly without sticking or tearing. This step is essential for achieving smooth edges.
For the dough texture, I aim for a consistency similar to Play-Doh—smooth and soft, without being dry or oily. I mash my cake and frosting together until no lumps remain, then chill the mixture.
Chilling firms it up, making rolling much easier.
When filling the cavities, I leave about 1 mm of space at the top to prevent overflow and flat bottoms. With an open-bottom mold, I use a double-molding technique: mold, remove, smooth edges, then re-mold to flatten seams.
This technique results in professional-looking cake pops.
Fill, Seal, and Bake Molded Cake Pops Without Leaks
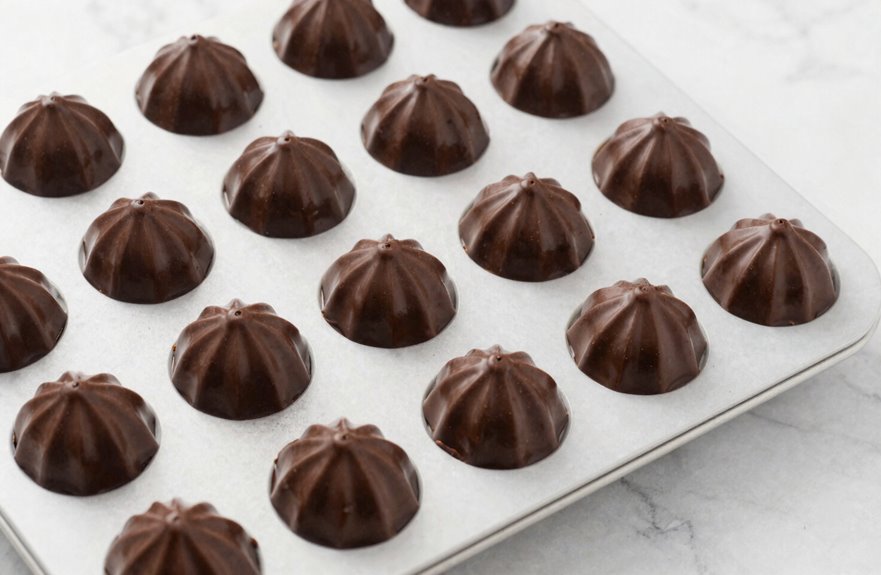
I fill each cavity to the rim, ensuring the vent hole remains uncovered so steam can escape. I seal the silicone mold tightly to prevent leaks during baking.
I also oil the interior surfaces first for easy release later.
I bake at 350°F for 15 to 20 minutes until set. If I use an open-bottom mold, I employ double molding: I fill, bake, then unmold, smooth, and remold to eliminate seams that could crack.
A secure seal on the cake pop mold is essential; gaps can lead to failure. Vent holes help prevent pressure buildup, and proper filling ensures round shapes.
This method turns tricky molds into reliable tools for successful baking.
Release, Smooth Seams, and Chill Before Dipping
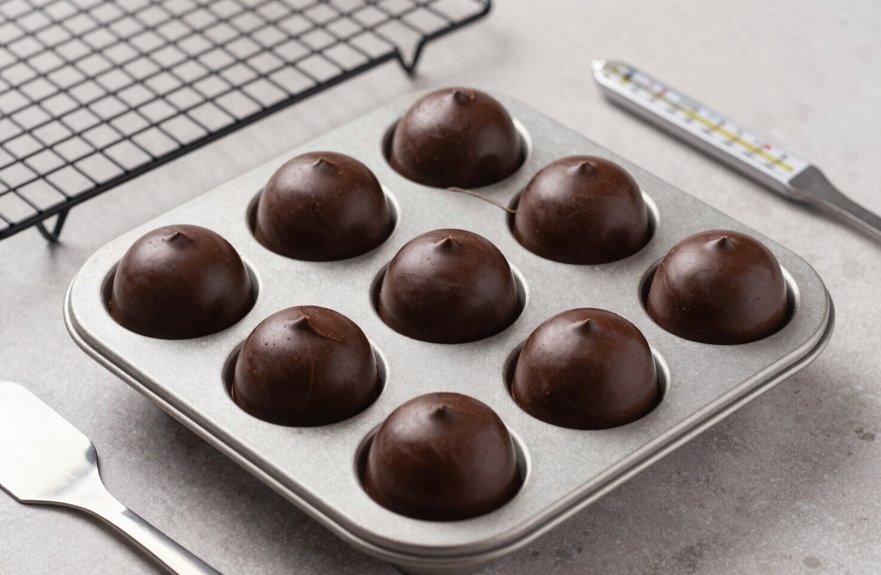
Once the cake pops have baked and cooled slightly, remove them from the mold and address any seams that formed during baking.
I gently roll each pop along its edges with a cake pop stick; this seam smoothing step significantly enhances the professional look we want.
For open-bottom mold users, double molding works well: mold, remove, smooth, then re-mold to flatten seams completely. I maintain clean edges by brushing away stray batter before sealing the next cavity.
Chill the dough for at least two hours before forming, and always refrigerate finished cake pops until they are completely firm. This cooling before dipping is essential for achieving glossy, even coatings every time.
Cold pops yield better results when dipped.
Dip and Decorate Cake Pops for a Flawless Finish
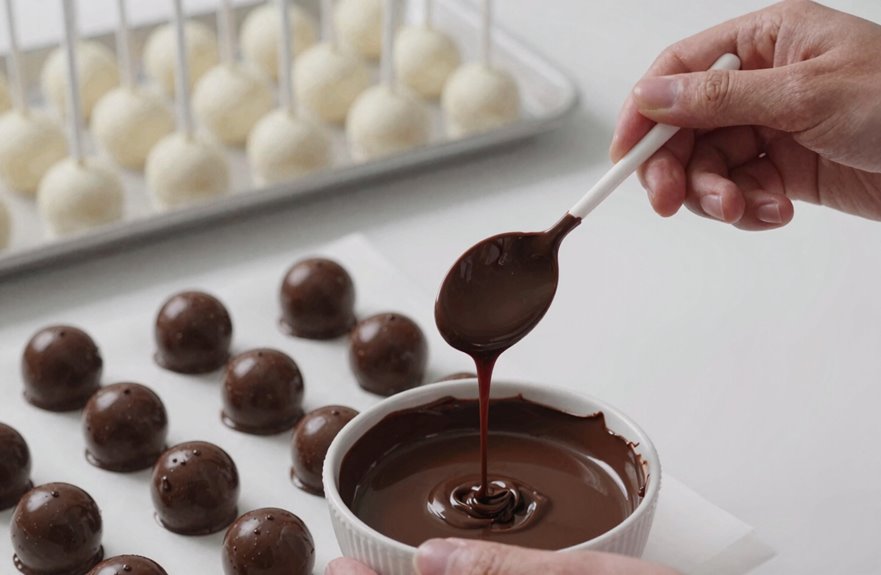
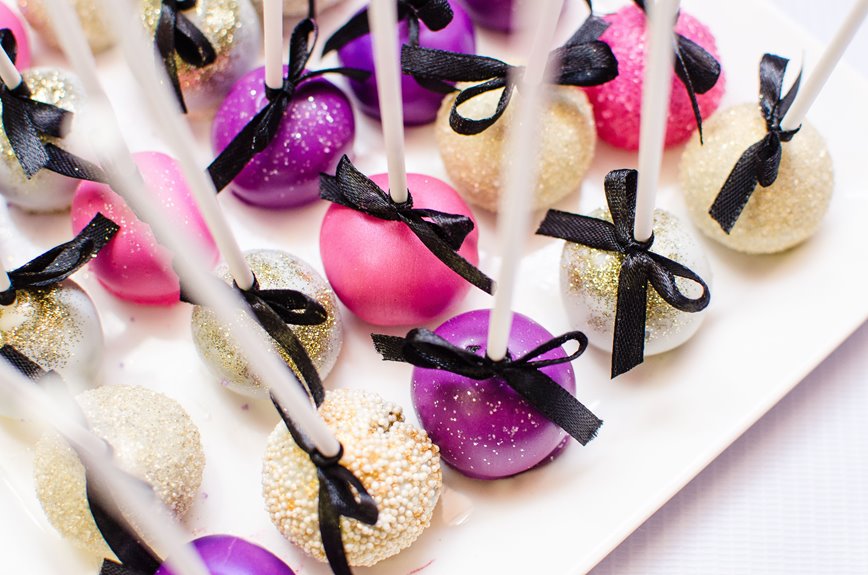
After the chilling phase converts my cake pops into firm, ready-to-dip treats, I warm my coating until it’s silky smooth; overheating will cause it to thicken and become unusable.
Chocolate melts work beautifully, but any candy coating suits this technique. I dip one end of my sticks into the coating before inserting them into the balls molded earlier, which anchors everything securely.
For dipping, I use a deep vessel so my cake pops submerge completely without excess buildup. Once coated, I decorate immediately with sprinkles before anything sets.
I stand my finished pops upright in styrofoam to ensure proper drying. This method transforms simple molded shapes into professional treats that can be proudly shared.
Store Cake Pops Fresh for Up to One Week
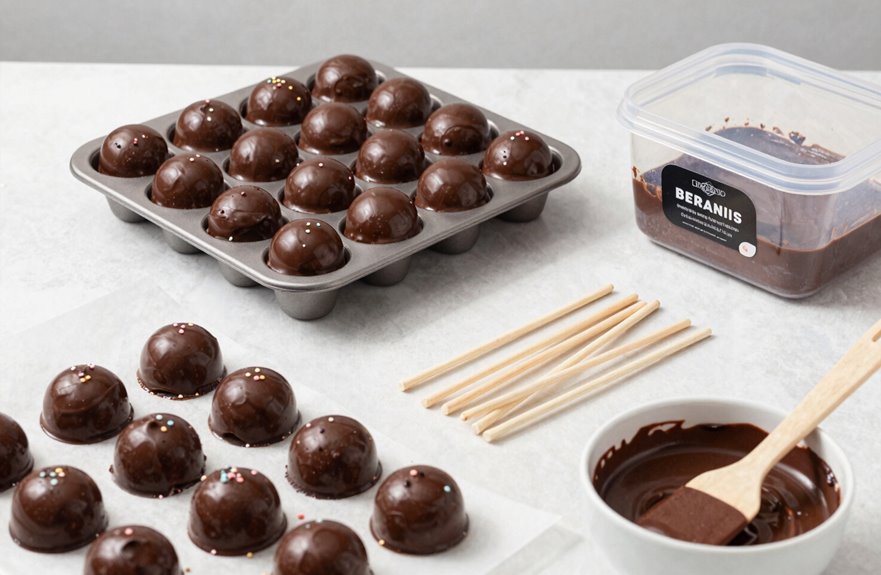
Whichever way you’ve finished decorating, proper storage keeps your cake pops tasting fresh for days.
I always let my coating dry completely before I store them; if it hasn’t dried, condensation can ruin the finish I’ve worked hard to perfect.
Once my coating dries, I place my cake pops upright in a stand or styrofoam block. This prevents smudging and maintains that polished look we all want to share with friends.
Refrigeration locks in freshness without sacrificing texture.
You can store finished cake pops in the fridge for up to one week. If I’m planning ahead, I freeze them for six weeks and thaw overnight.
Using a mold ensures consistent sizing, which helps them fit neatly in my stand. Proper storage allows me to enjoy my creations longer.