I frost cakes in five simple steps that always work. First, I prepare level, chilled layers by wrapping damp strips around pans before baking and trimming domed tops.
Then, I apply a thin crumb coat and chill it for thirty minutes so the buttercream hardens.
Next, I pile generous buttercream on top and work it down the sides for the final layer.
I smooth everything with a scraper and hot spatula for clean edges.
Finally, I decorate and chill once more before storing properly.
Stay tuned as I demonstrate each technique in detail.
Prepare Your Cake: Level, Chill, and Stack the Layers
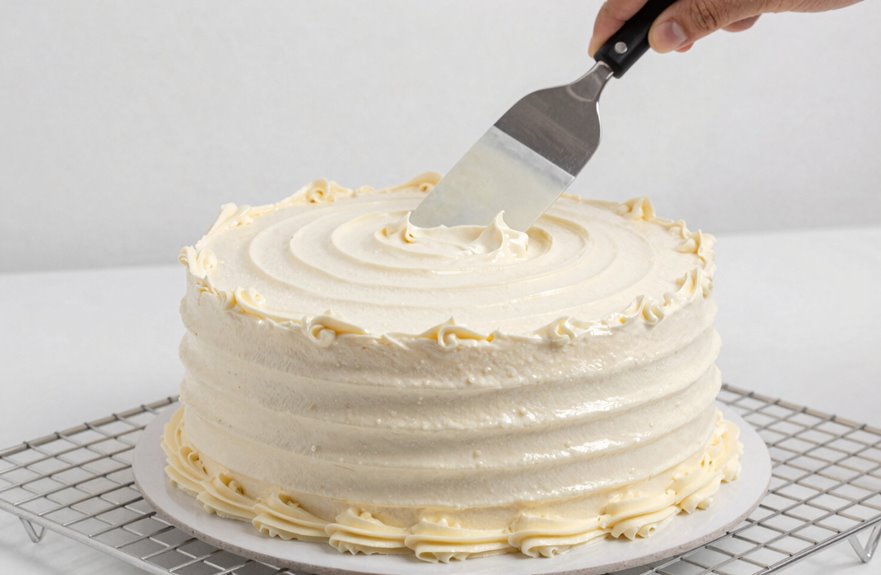
Why start with a lopsided cake when a little patience sets you up for success? I wrap damp cake strips around my pans before baking to prevent severe doming and promote an even bake.
Still, some rise happens, so I chill my baked cakes in their pans on a cooling rack for at least two hours. Once they’re firm, I turn them out and let them cool completely.
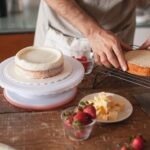
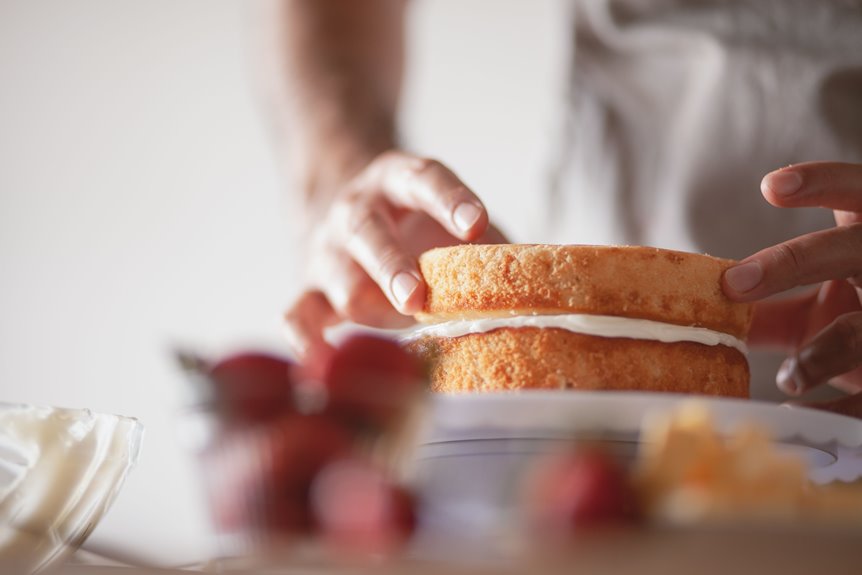
I level the domed tops with a cake leveler, creating flat, even cake layers that stack beautifully.
Taking the time to ensure those even sides now makes your crumb coat glide on effortlessly, and your final frosting achieves a smooth finish. Always chill before frosting.
Lock in Crumbs With a Thin Coat and Chill to Set
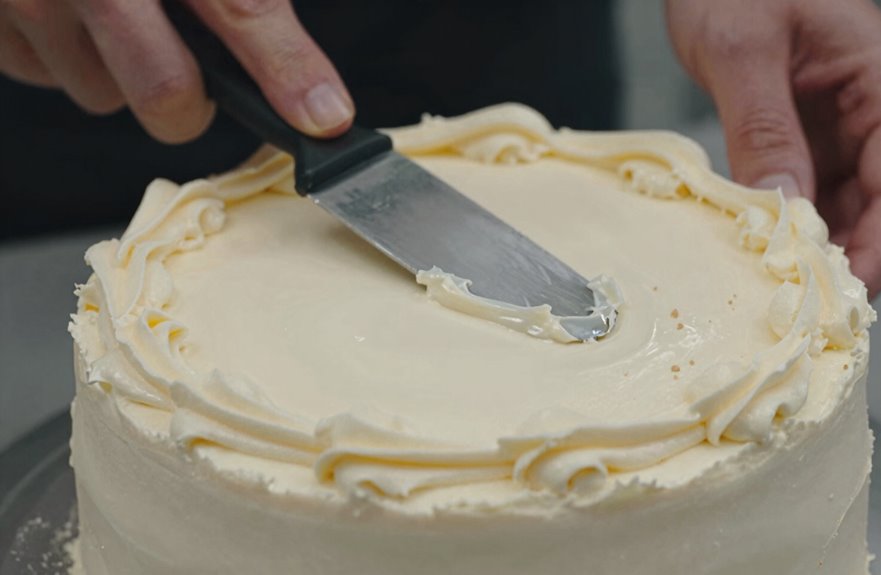
A crumb coat is an essential tool against a messy finish. I spread a thin layer of frosting across the entire surface to seal in stray crumbs before they affect the final look.
Working on a turntable, I rotate the cake while gliding a cake scraper along the sides to smooth away excess and maintain an even surface.
Once I’ve covered every inch, I place the cake into the fridge to chill for at least thirty minutes. This hardens the buttercream and allows the coating to set completely.
If I notice crumbs peeking through after this, I’ll add a light second layer, ensuring that the initial coat remains thin.
A properly chilled crumb coat allows the subsequent frosting layer to glide on smoothly without dragging crumbs into the finish.
Frost the Final Buttercream Layer From Top to Sides
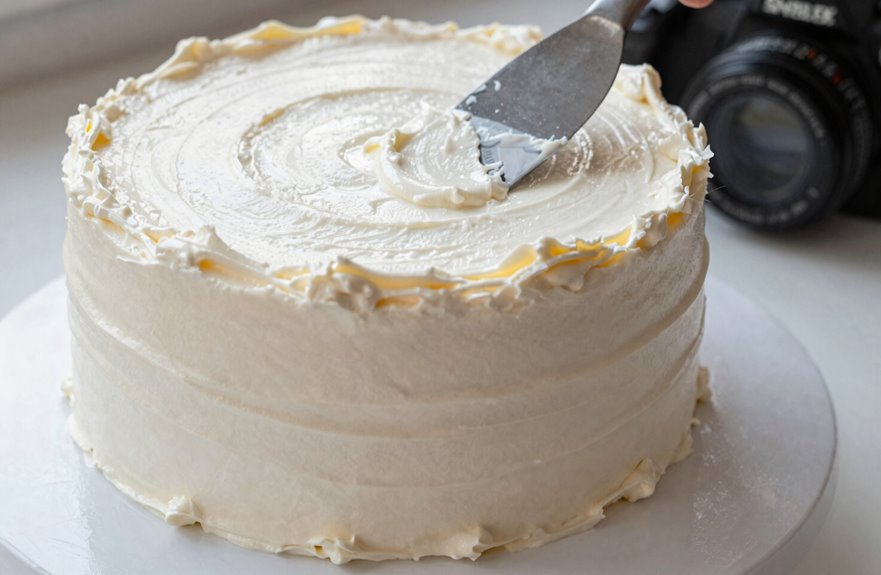
Once the crumb coat has firmed up in the fridge, I’m ready to build the finish.
I pile a generous mound of buttercream on top and spread it toward the edges, creating a level surface that sets the foundation for everything that follows.
Working from the top to the sides, I extend the frosting down the cake’s edges while maintaining that flat surface.
I spin the turntable slowly, pressing my cake scraper gently against the sides—lighter than I did for the crumb coat—to protect my work without damaging the finish.
I fill gaps with extra buttercream where needed, then make another pass with the scraper to even things out. Once I have it smooth all around, I add my final decoration and chill briefly so the buttercream sets before serving.
Smooth Your Frosting for Clean Edges and a Polished Look
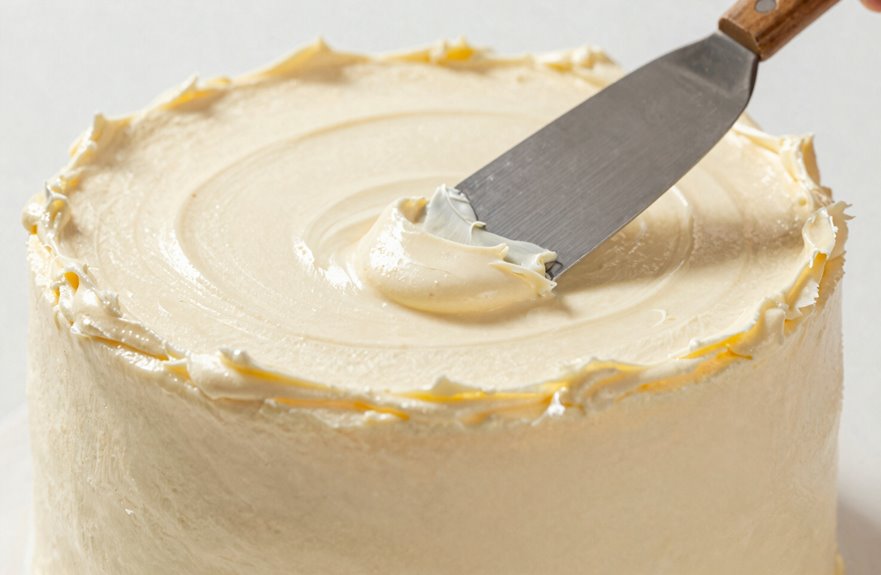
How do you achieve that flawless finish everyone aims for? It comes down to technique and the right tools.
| Technique | Tool |
|---|---|
| Rotate while smoothing sides | Cake scraper + turntable |
| Fill gaps and even spots | Offset spatula |
| Level top with consistent pressure | Offset spatula or scraper |
Start by piping frosting in thin rows, then run your offset spatula across to smooth. For stubborn ridges, dip your spatula in hot water; the slight heat melts the buttercream just enough for easier leveling.
Place your cake on a turntable and use your cake scraper with gentle pressure, softer than your crumb coat, to avoid denting. Fill any gaps with your offset spatula, then go around again.
Level the top carefully, keeping it flat as you rotate. Finally, chill for 30 minutes to set a firm shell.
This method results in polished edges and a professional look.
Decorate, Then Store Your Finished Cake Right
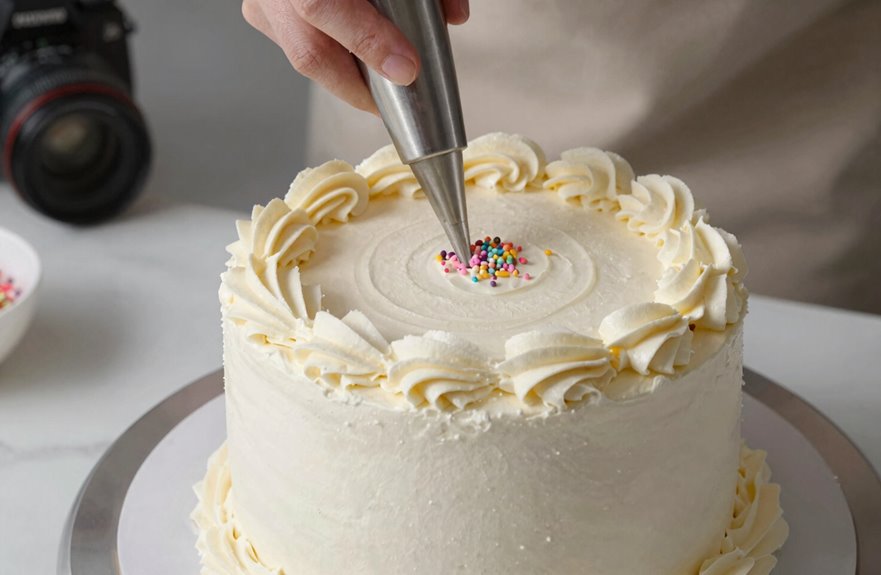
I’ve smoothed my frosting to a polished finish and am ready to add those final touches that make my cake shine.
Chilling the cake for 30 minutes after the final buttercream layer helps create a smooth surface that holds decorations perfectly.
For cake decorating, I slide a large rimmed baking sheet under my turntable and add sprinkles immediately, before the frosting develops a dry skin. I enjoy piping with a large French star tip for elegant borders.
Once satisfied, I smooth any imperfections with my offset spatula. If I’m serving today, I refrigerate the cake uncovered until slicing, then wrap exposed areas with plastic.
For longer storage, I place my masterpiece in an airtight container, ensuring the crumb coat and all my hard work are protected.