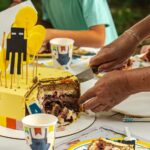
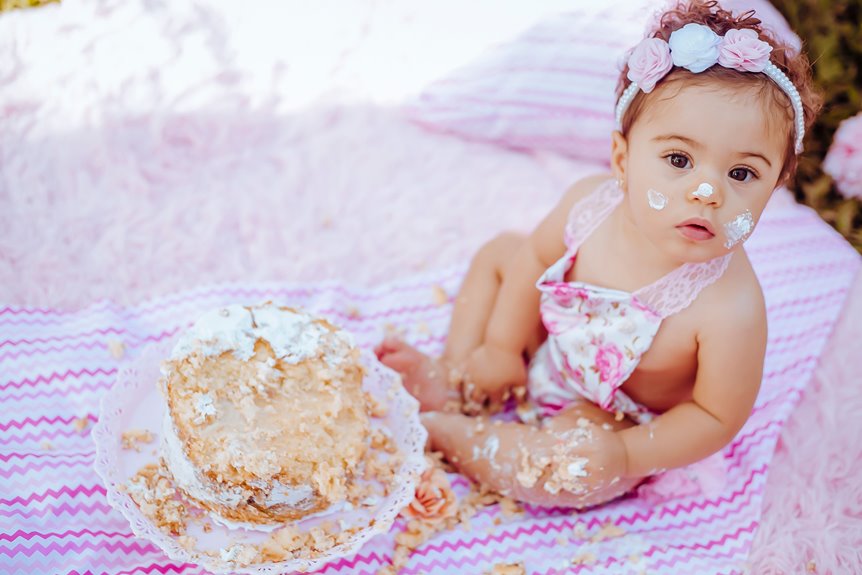
A smash cake is a small first birthday cake made just for my baby to enjoy. It focuses on capturing that unscripted joy and messy milestone moment.
I take photos of tiny hands exploring frosting and textures while the family celebrates together. Some may view it as wasteful, but I find real value in making memories.
If you’re curious about sizes, healthy ingredients, or smarter alternatives, I have plenty more to share.
What Is a Smash Cake (and Should You Make One)?
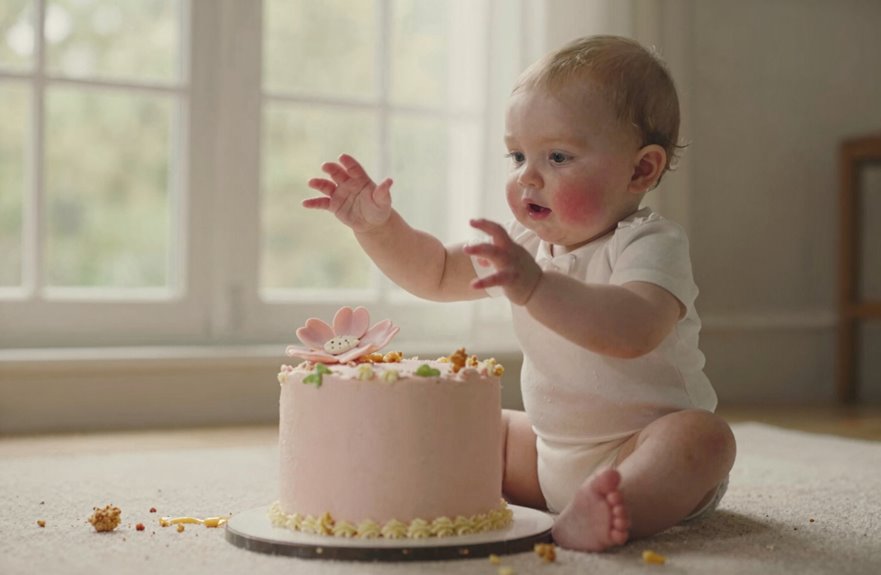
Why do so many parents hand their one-year-old a cake and step back with a camera? I have wondered this until I understood what a smash cake actually offers.
It is a small first birthday cake designed specifically for your baby to destroy—digging tiny fingers into frosting, smearing chocolate across chubby cheeks, and creating messy, unforgettable moments we all want to capture.
This tradition draws us in. We are not just feeding cake; we are documenting a milestone and inviting family to witness pure, unscripted joy.
Critics may call it wasteful or Instagram-obsessed, but there is deeper value here. When I watch my little one explore textures for the first time, I am building memories that we will treasure long after the frosting fades.
Smash Cake Sizes: 4-Inch vs. 6-Inch vs. Cupcakes
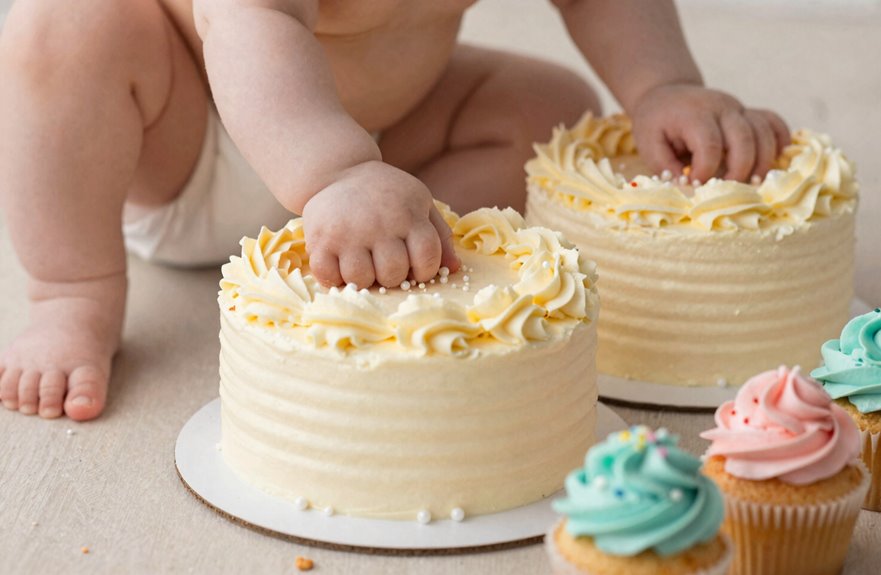
I’ll compare portion sizes, baking times, and smash experiences across these three options to help you choose what works best for your celebration. A 4-inch cake bakes faster and creates an intimate, manageable smash.
In contrast, a 6-inch cake requires more oven time and offers a grander, messier spectacle. Cupcakes are quick to bake and allow you to control exactly how much cake your baby tackles.
Portion Size Comparison
How do you choose between a 4-inch cake, a 6-inch option, or playful cupcakes for your baby’s smash session? The smash cake portion size significantly influences the entire experience.
The 4-inch size is ideal for intimate sessions; it’s baby-sized, fits neatly in highchairs for those memorable photos, and minimizes waste.
For larger gatherings, the 6-inch cake offers greater visual impact and more decorating space, although the cleanup does increase.
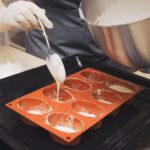
Cupcakes provide another option, with about 3 tablespoons of batter each yielding roughly 16 individual portions. They are playful and easy to share.
Ultimately, I consider the guest count, whether we’re slicing for everyone or allowing the baby to go solo, and the specific memories I want to capture with my camera.
Baking Time Adjustments
When baking smash cakes, timing is crucial for achieving the perfect texture for my little one’s big moment. I’ve learned that bake times vary significantly with size.
My 4-inch smash cake layers finish in 16-18 minutes at 350°F, while 6-inch layers need 20-22 minutes each. If I stack two or three layers, the total baking time can range from 40 to 66 minutes.
Cupcakes typically bake for 18-20 minutes, using three tablespoons of batter per liner.
I always account for pan thickness and quantity. For three 4-inch pans, the baking time remains 16-18 minutes.
Multiple 6-inch pans still adhere to the 20-22 minute range. I test early with a cake tester, looking for clean results and lightly golden edges.
After baking, I cool the cakes completely on a rack before frosting, ensuring we achieve that picture-perfect smash cake.
Smash Experience Differences
Why does size matter so much for a smash cake? It shapes the entire experience we’re creating together.
A 4-inch smash cake keeps things intimate; it’s perfectly petite for your baby’s solo moment, fitting neatly on a highchair tray with minimal waste.
When I want grandparents and siblings included in the memory, I reach for a 6-inch smash cake. That extra surface area photographs beautifully and invites sharing.
Then there’s the cupcake smash option I adore. Individual portions with about 3 tablespoons of batter each create sixteen perfect chances for that money shot without overwhelming your little one.
I always consider who is actually eating. If guests expect slices, size up.
For true smash-and-grin moments, smaller works. Whichever you choose, use soft buttercream and serve at room temperature; your photographer will appreciate it.
Healthy Smash Cake Ingredients Parents Actually Approve Of
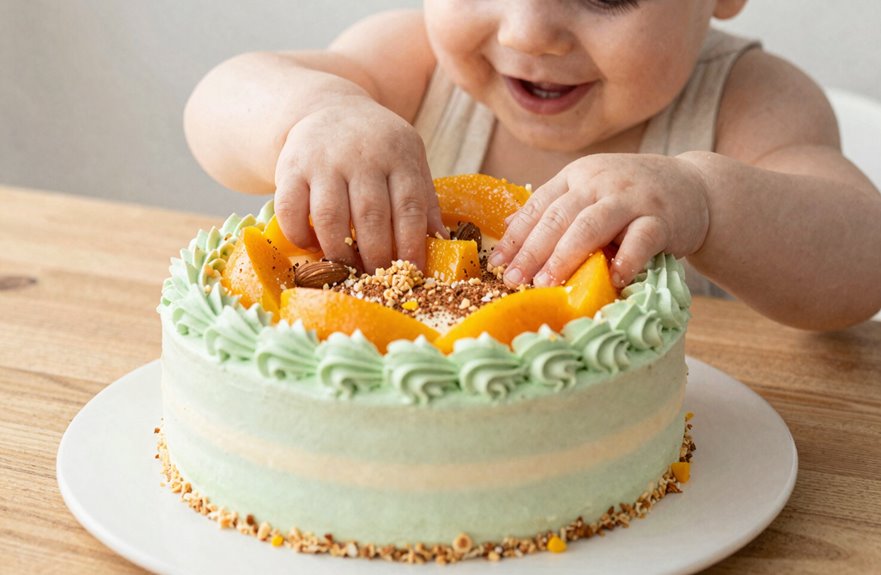
Where do you start when you want a cake that’s safe, simple, and actually good for your baby? I begin with oat flour, which is gentle, familiar, and easy to digest.
When needed, I use certified gluten-free oats to ensure everyone can enjoy it. For dairy-free baking, I choose coconut oil and dairy-free yogurt in place of butter.
I sweeten naturally with maple syrup, avoiding refined sugar altogether. Eggs work well, but ripe bananas along with a bit of regular flour can create a moist egg-free version.
I’ve even made a blueberry smash cake that impressed every parent at the party.
| Ingredient | Purpose | Substitution |
|---|---|---|
| Oat flour | Base texture | Gluten-free certified oats |
| Coconut oil | Moisture, dairy-free | None needed |
| Maple syrup | Natural sweetness | None needed |
| Ripe bananas | Egg-free binding | Large eggs if preferred |
Gluten-Free, Dairy-Free, and Egg-Free Smash Cake Options
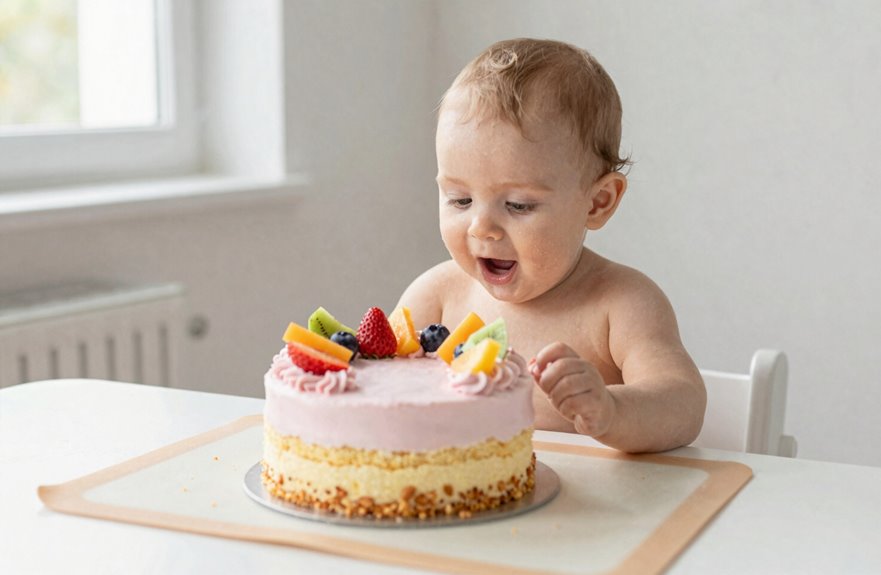
I consider families who need to avoid multiple allergens at once, and I’ve found that combining substitutions is simpler than it seems.
For a fully allergen-friendly smash cake, I rely on certified gluten-free oats or oat flour as my base. I swap butter for coconut oil and use non-dairy yogurt to keep things dairy-free without sacrificing moisture.
When I need to skip eggs, ripe bananas bind everything beautifully. I often add just a touch of regular flour or try an egg-free blueberry variation for natural sweetness.
These gluten-free, dairy-free combinations create a tender crumb that babies can smash and taste. This approach ensures that every little one can participate in the celebration.
Easy Yogurt Frosting Without Butter or Refined Sugar
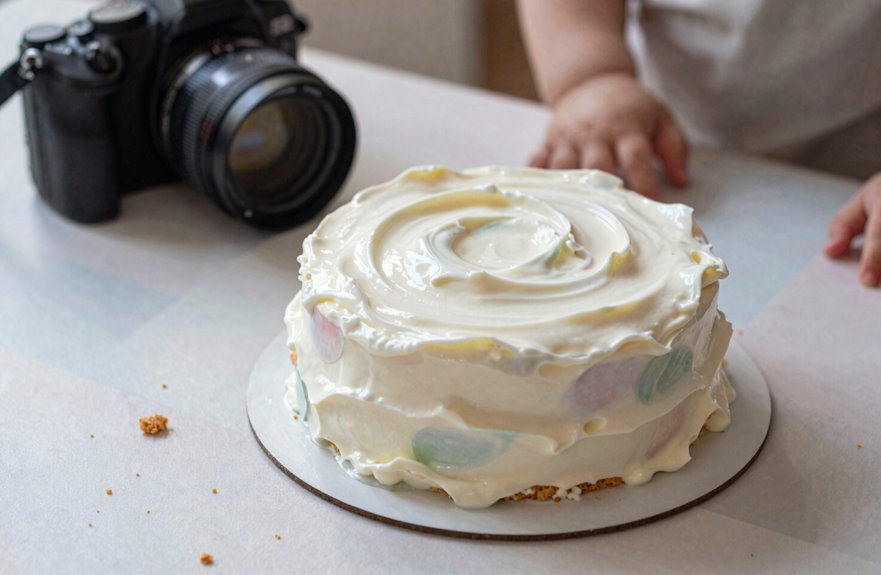
How do you frost a smash cake without using butter or refined sugar? Yogurt frosting works beautifully for this purpose, and many are discovering its benefits.
I start with strained plain Greek yogurt, allowing it to drain overnight or for about thirty minutes. This process concentrates the protein and removes excess moisture, resulting in a stable, spreadable texture.
Then, I stir in maple syrup and vanilla for natural sweetness—no refined sugar needed.
For those avoiding dairy, you can substitute nondairy yogurt with a touch of coconut oil to achieve a similar finish. Remember to strain the yogurt first; runny yogurt can compromise the texture.
This yogurt frosting holds up well for your little one’s big moment, and you can feel confident about every ingredient used.
Step-by-Step: Mixing and Baking Your First Smash Cake
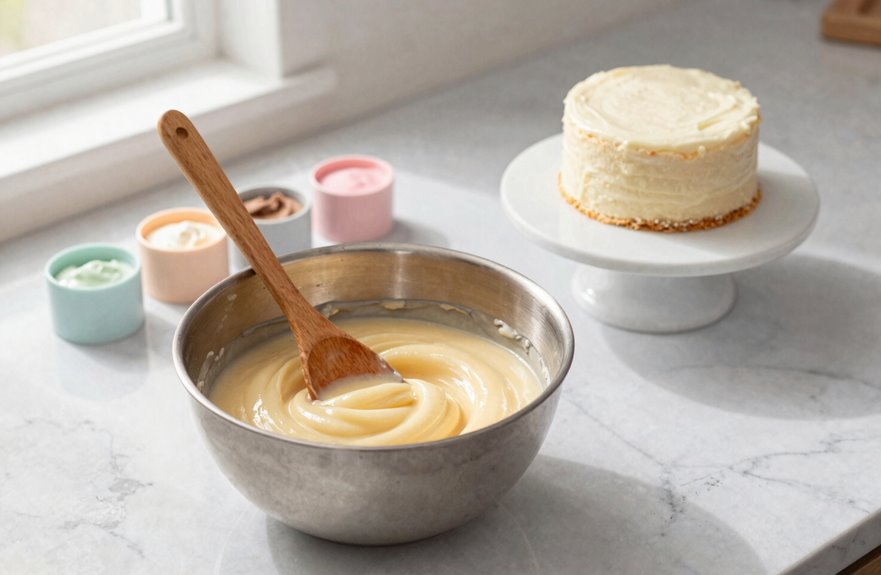
With the yogurt frosting ready, let’s move on to mixing and baking the cake. I start by grinding oats into fine oat flour; it’s simpler than you might expect, and many parents have discovered this wholesome shortcut.
I whisk eggs, melted unsalted butter, maple syrup, and vanilla until smooth, then fold in the oat flour until just combined.
This process is straightforward:
- I blend wet ingredients first for even incorporation.
- I grind my own oats for freshness, though store-bought oat flour works well too.
- I prepare my frosting while the cake bakes to make efficient use of time.
I pour the batter into greased pans and slide them into the oven. The warm scent of vanilla filling your kitchen signals that you’re on the right track.
Pan Sizes, Bake Times, and Batch Adjustments That Work
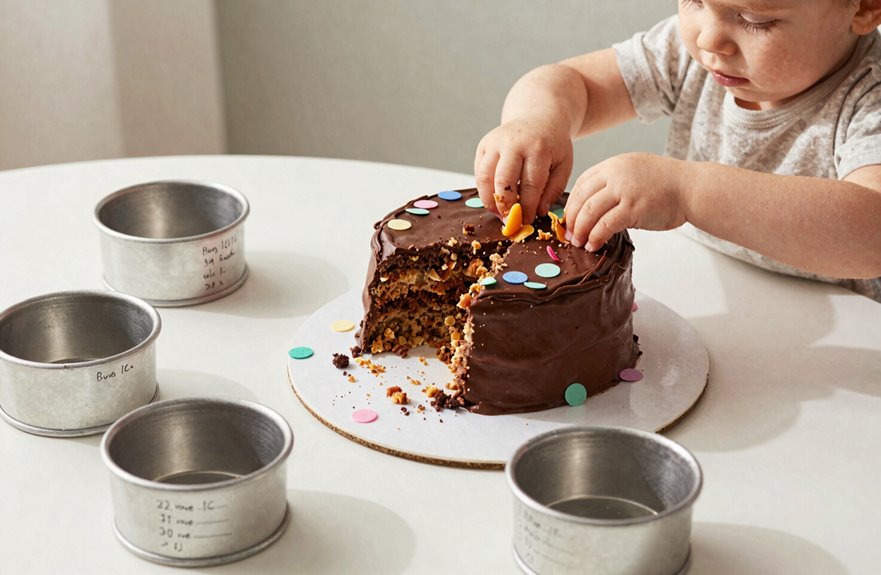
Choosing the right pan size can significantly impact your bake, so let’s clarify what works best. I use three 4-inch pans, halve the batter, and set my bake times to 16–18 minutes.
For slightly thinner layers, three 6-inch pans require 20–22 minutes. Two 8-inch pans run 18–20 minutes per pan.
I always preheat to 350°F and cool layers on a wire rack for ten minutes before removing.
If you don’t have a smash cake pan, you can make cupcakes using three tablespoons of batter each—about sixteen total—for 18–20 minutes.
Using oat flour will result in a denser texture; it still works well for layering with yogurt frosting. Following these pan sizes and bake times will help you create a delicious cake.
How to Assemble and Frost a Smash Cake Like a Beginner
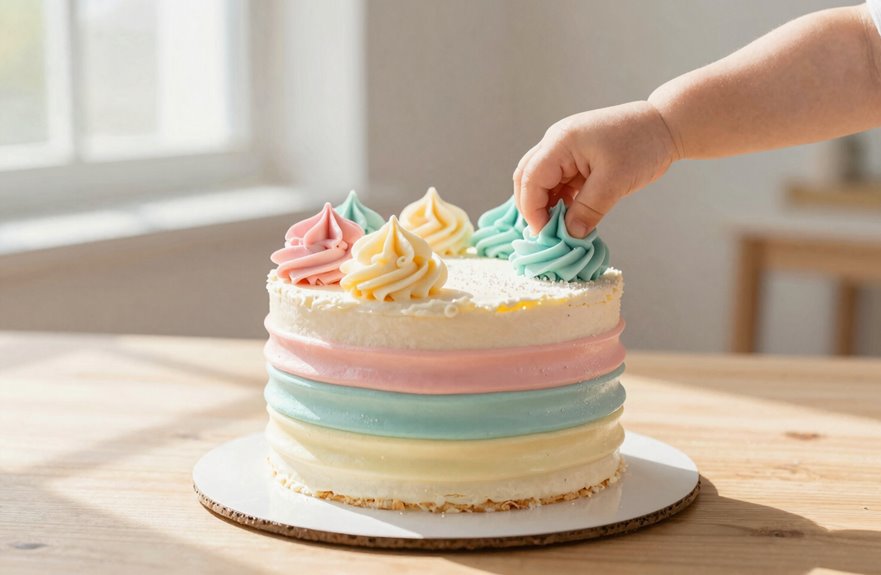
I’ll guide you through frosting preparation and cake assembly step by step. First, I will strain Greek yogurt overnight to thicken it, then mix in maple syrup and vanilla for a stable, baby-safe frosting.
Next, I will level my baked layers, stack them with frosting between each one, and finish with a thin “naked” coat that photographs well.
Frosting Preparation Steps
How do you frost a smash cake without making a mess? Here’s a straightforward approach that will help you feel connected to the parenting community.
First, I strain plain Greek yogurt overnight in a fine mesh sieve to thicken it into an ideal frosting base. Then I mix in maple syrup and vanilla for a touch of sweetness.
Here are the steps to transform your cake:
- Blot the strained yogurt with paper towels to remove excess moisture.
- Apply a thin crumb coat before your final layer to seal everything in.
- Scrape frosting for a naked cake look that photographs beautifully.
I spread the yogurt frosting between layers, chill the finished cake for up to 24 hours, and watch it firm up perfectly. This polished finish is perfect for your baby’s smash moment.
Cake Assembly Method
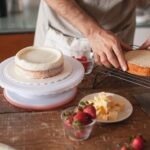
Where do you begin when the cake rounds are finally cool and you face your first assembly? I level my completely cooled layers, place the first on a board, and spread an even layer of frosting.
I stack and repeat to build height, then apply a thin crumb coat. A brief chill sets the frosting before I finish with a final layer, which can be smooth or textured.
For rustic charm, I scrape excess to reveal cake edges. If my frosting is yogurt-based, I strain it first for stability.
| Step | Action | Tip |
|---|---|---|
| Prep | Level cooled rounds | Use 4″, 6″, or 8″ sizes |
| Build | Spread frosting between layers | Keep layers even |
| Finish | Apply crumb coat, chill, then final coat | Strain yogurt frosting for stability |
Your smash cake will look impressive.
Make-Ahead and Storage Tips for Busy Parents
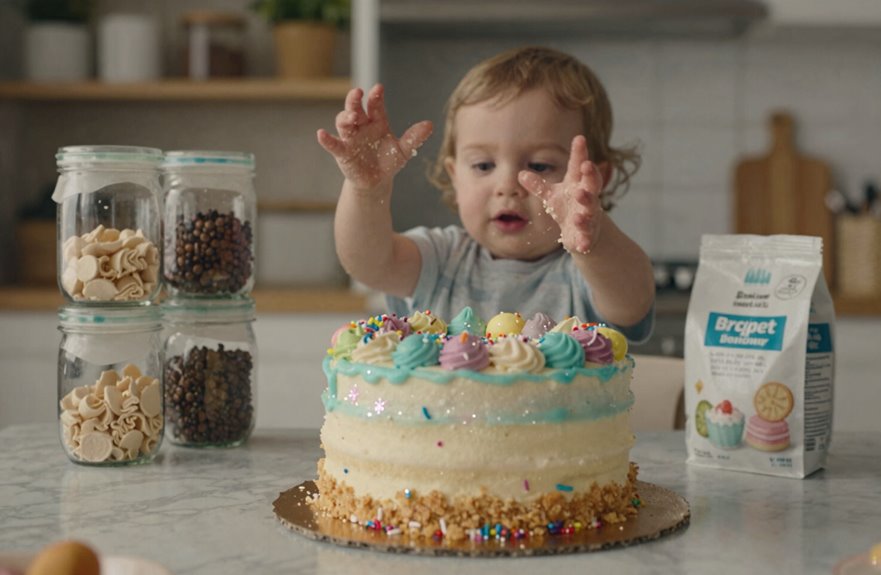
When juggling a baby’s schedule, prepping the smash cake in advance is essential. I bake my smash cakes up to a day ahead and store them at room temperature in an airtight container.
For the frosting, I mix strained Greek yogurt with maple syrup and vanilla, then refrigerate it in an airtight container for up to 24 hours.
Here are some practical tips:
- Cool cakes in pans on a wire rack for 10 minutes before removing. This helps lock in moisture.
- Scale batter to 1.5 times and bake on a large sheet pan, then cut circles for two perfect cakes.
- Strain the yogurt thoroughly; runny frosting negatively impacts the presentation.
These strategies can help streamline the process for busy parents.
Setting Up for Success: Photo Tips Without the Stress
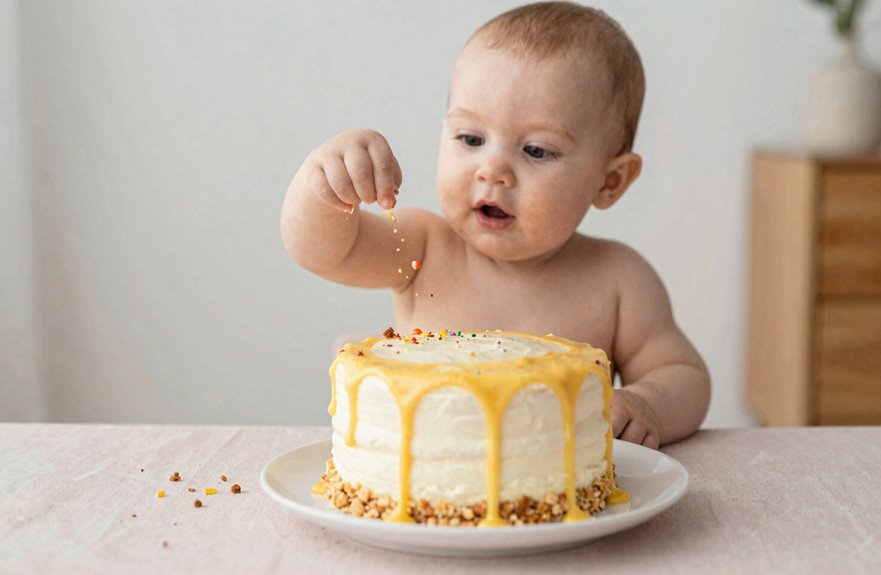
Once the cake is baked and frosted, I focus on capturing photos that I’ll want to keep.
I set up a highchair or spread a clean sheet on the floor to contain the mess, then place the smash cake on a drop cloth for easy cleanup.
I position my camera at eye level or slightly lower to capture every frosting-covered moment. A simple, neutral backdrop and soft natural light help avoid harsh shadows in my photos.
I skip fancy dinnerware and stick to what’s practical. I use thicker yogurt-based frosting so it adheres to little fingers for clearer shots.
I keep water wipes, a bib, and a small towel nearby for quick touch-ups between clicks.
What Actually Happens When Baby Meets Cake
Why do we go through all this setup? Watching your little one discover cake for the first time creates pure magic you’ll never forget.
Here’s what unfolds when that frosting meets tiny hands:
- They’ll hesitate, then plunge both fists deep into buttercream with glorious abandon.
- That first squish sends frosting flying while you capture sticky-fingered wonder.
- Their face transforms from confusion to delight as sugar hits their tongue.
I place the cake on a sheet-covered floor or stripped-down highchair because I know what’s coming: messy hair, frosting-caked eyelashes, and hands coated in blue or pink slime.
Your family cheers, cameras flash, and your baby sits beaming through it all, completely immersed in this messy, perfect moment we celebrate together.
Is Smash Cake Waste Worth It? Three Smart Compromises
I understand why some people view smash cakes as wasteful. However, there are three practical ways to balance this tradition with mindfulness.
You can shrink the portion to a single cupcake or slice, keep the baby’s cake separate from a larger guest dessert, or repurpose leftovers instead of tossing them.
Each approach allows you to capture the moment while minimizing food waste.
Waste Versus Memories
Many parents hesitate before ordering a smash cake, wondering if the mess and leftover dessert justify the price tag. I have wrestled with this tension between waste and memories.
The critics aren’t wrong; much of that frosted creation ends up in the trash after the photo session. Yet I’ve watched friends flip through albums years later, laughing at frosting-smeared cheeks and wild-eyed delight.
Those frozen moments are significant. They anchor us to a time we’ll never reclaim.
I’ve seen families strike a balance without sacrificing the magic:
- Bake a tiny four-inch cake just for the baby while serving guests from a separate, larger dessert.
- Swap the whole cake for a single celebratory cupcake with equal photo impact.
- Pair a simplified smash setup with a non-food activity so nothing feels forced.
We all seek something lasting. Sometimes that means embracing a little mess.
Small Serving Solutions
How do we keep the magic without the mountain of leftovers? I’ve found three smart compromises that let us enjoy the celebration without the guilt.
First, I love swapping a full smash cake for cupcakes. They’re perfectly sized for tiny hands, create equally adorable photos, and leave almost no waste behind.
Cleanup is easier too.
Second, I sometimes order a baby-friendly 4-inch smash cake alongside the main guest cake. My little one gets their moment, and we can share that small cake with family afterward, preventing towering leftovers.
Third, I serve a sliced portion from the main cake to my baby. This provides the same messy joy with zero extra baking.
I always use baby-safe buttercream and serve at room temperature. We capture the memory without wasting the entire cake.
Shared Celebration Options
Why let one messy moment overshadow a celebration everyone can enjoy? A shared celebration allows us to capture those precious smash cake photos while ensuring guests feel included.
Here’s how I balance memory-making with togetherness:
- Pair a tiny smash cake for baby with a full-size shareable cake so everyone is included.
- Offer baby a single slice or jumbo cupcake instead of destroying an entire cake.
- Create a number-shaped cake or cupcake display for guests to enjoy while baby smashes separately.
I always serve room-temperature treats with buttercream textures for easy smashing, coordinating colors with our party theme. This approach allows us to build memories together while minimizing waste.
Your little one’s milestone becomes something we all taste and treasure.
Smash Cake Alternatives That Still Feel Special
When you’re craving those milestone photos without the sugary chaos, there are plenty of smash cake alternatives that keep the celebration special. A mini cake shared with guests cuts waste while still delivering that picture-perfect moment.
Number cakes can work beautifully as well; they are festive and photo-ready without creating a mess.
For something interactive, baby-friendly sheet cakes or single-serve dessert boards allow little hands to explore colorful frosting without the full smash.
Non-destructive sensory play, such as frosting-smeared fingers on a placemat or a fruit-topped cake with minimal icing, captures the cuteness you seek.
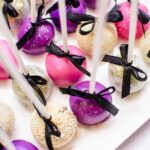
Adding custom toppers, edible glitter, or banner signs helps create the celebratory vibe we want, without the cleanup headache. These options let us honor the milestone together in a meaningful way.
Common Smash Cake Mistakes and How to Avoid Them
Smash cakes may seem straightforward, but many celebrations falter due to easily preventable mistakes.
Smash cakes seem simple, yet preventable mistakes derail countless celebrations.
Achieving that perfect messy moment without regrets requires attention to detail. Here are common pitfalls:
- Using a full-sized cake can overwhelm tiny hands and waste a significant amount of dessert.
- Skipping a drop cloth leads to scrubbing frosting off floors instead of capturing memories.
- Choosing the wrong frosting texture—whether too runny or too stiff—can ruin both the smash action and your photos.
Testing the frosting consistency beforehand is essential. A soft yet holdable texture works best.
Keep the cake at room temperature to ensure the baby is comfortable and always check for allergens. Supervise closely and coordinate your cleanup crew for a successful experience.
Your Smash Cake Questions Answered
How do you decide between a 4-inch or 6-inch cake, or whether to skip the tradition entirely? A 4-inch smash cake is ideal for solo baby smashing, while a 6-inch birthday cake allows family to join in.
Keep in mind that leftovers are likely either way.
If you’re concerned about cleanup, using a drop cloth beneath the highchair is effective. Buttercream frosting looks great in photos, and serving the cake at room temperature makes it easier to smash.
Simple, baby-safe toppers can help minimize stress.
If you’re still unsure, consider a cupcake or small slice as a compromise. This way, you can capture that milestone moment without unnecessary waste.
Whether you fully embrace the smash cake tradition or adapt it, you are creating cherished memories unique to your family.