
I start with a smooth, just-frosted cake in white buttercream so the colors stay true. I bring the edible image to room temperature for about fifteen minutes, then carefully peel the backing away.
I hold the sheet by its ends and lower the center onto the frosting first, smoothing outward to eliminate wrinkles and air pockets.
I apply it to fresh frosting within hours of serving and keep leftovers sealed in a cool, dry spot. I will guide you through all the details for a successful application.
Get Your Cake Surface Ready for the Image
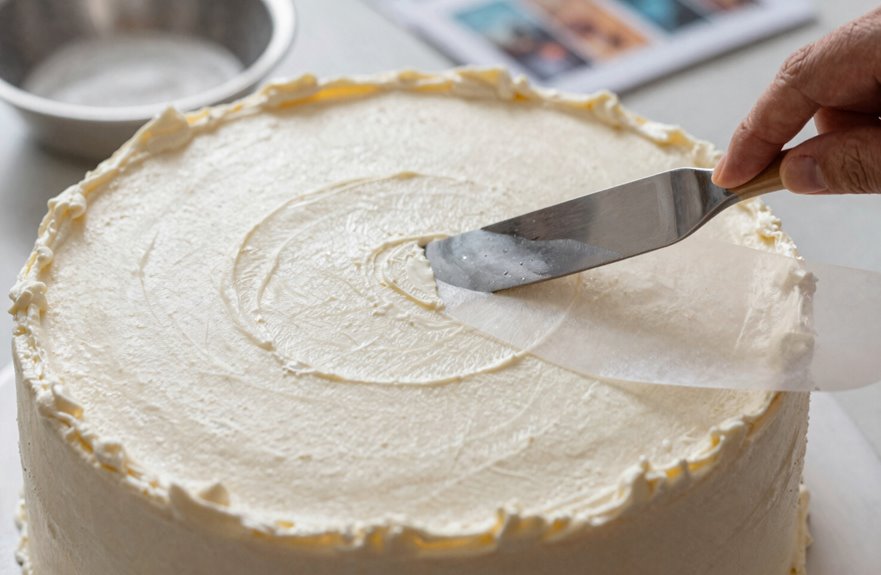
Where should you begin? Start with a plain, just-frosted cake and smooth buttercream spread across the cake top.
You’re creating a home for your edible image, aiming for perfection. Use white frosting where the icing sheet will rest; this ensures your image transfer has the truest colors.
Check that your frosting isn’t dry or skinned over; tacky buttercream grips the backing-free frosting sheets best. Skip decorations for now and keep everything at room temperature since cold can cause color issues on your edible image.
Ensure a straight surface and straight sides to prevent warping. Whether you use homemade or store-bought ready-to-spread frosting, you are building a solid foundation.
Avoid wet whipped cream, as refrigeration can fade images. You’re preparing this space for the next steps.
Bring the Image to Room Temperature and Peel the Backing
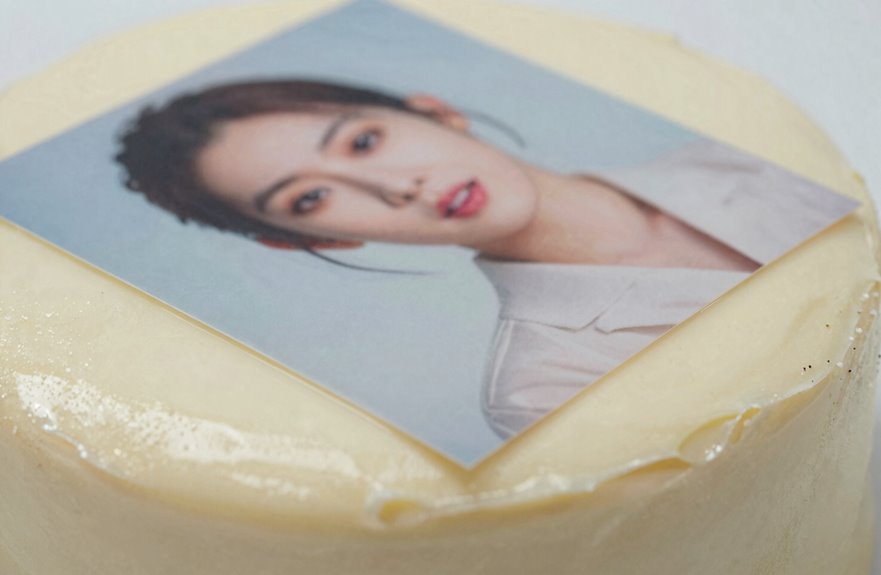
When should you handle your edible image? I pull mine from its bag and let it rest at room temperature for about 15 minutes; never refrigerate it first.
This patience transforms your icing transfer from fragile to forgiving.
Patience transforms your icing transfer from fragile to forgiving—let it rest 15 minutes, never refrigerate.
During this moment of anticipation:
- Feel the edible image soften beneath your fingertips, ready to become art.
- Watch the backing sheet release its hold like trust forming between friends.
- Experience relief when you peel away the paper without tearing your design.
- Celebrate when that perfect image finally surrenders to your cake.
If stubborn spots resist, I slide the clear backing over a table edge to loosen it. For really stuck moments, I grab my hair dryer and apply gentle heat until the image releases.
We’re in this together.
Apply the Image Using the Middle-First Technique
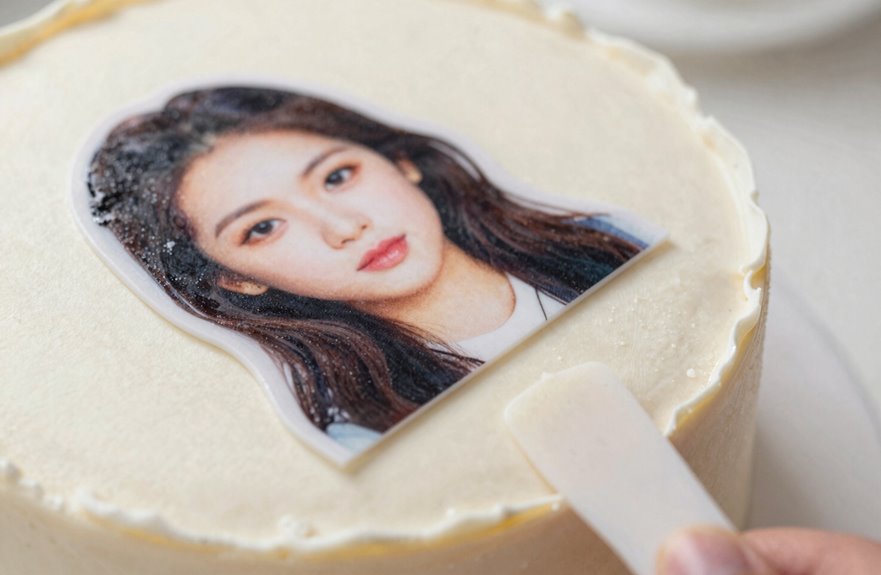
How do I guarantee my edible image lands exactly where I want it? I use the middle-first technique: I hold the edible sheet by its ends, hovering over my smooth frosting, and lower the center down first.
This creates balanced alignment before I work outward. I gently lay the image mid-cake, then smooth toward each edge, ensuring contact throughout.
If I spot wrinkles, I pat them gently. Patience prevents tears.
Once my edible image sits perfectly, I’m ready for final touches.
| Step | Action | Why It Works |
|---|---|---|
| Center first | Lower middle onto frosting | Balanced positioning |
| Smooth outward | Work from middle to edges | Eliminates air pockets |
| Pat wrinkles | Gentle pressure with fingers | Preserves seamless finish |
My cake decoration looks professional, and I have joined countless bakers who trust this method.
Know When to Apply: Timing and Freshness Tips
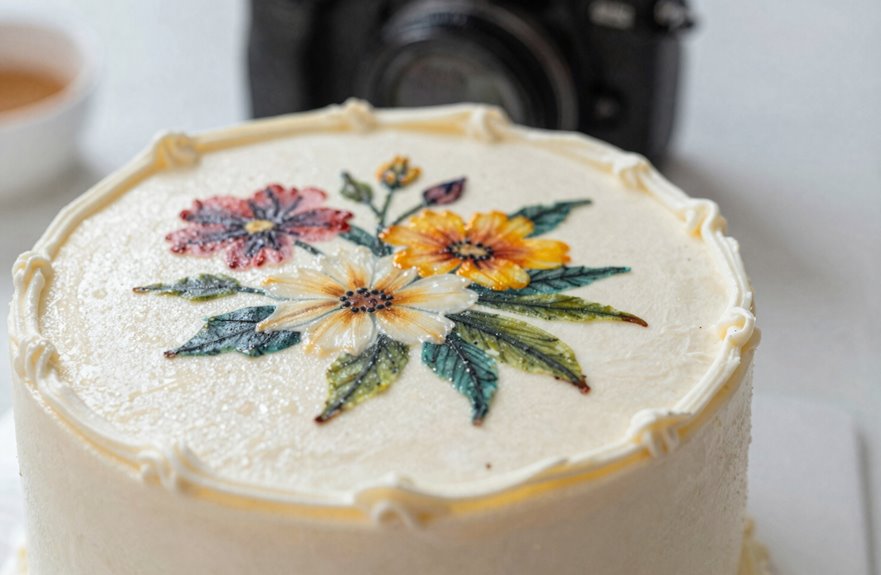
I’ve positioned my edible image perfectly, but timing is crucial. You’re part of a community that pays attention to every detail, so let’s ensure we get this right.
I feel the anticipation when I peel that backing sheet away, knowing freshness relies on pristine frosting adhesion. My heart sinks if I’ve waited too long, watching humidity diminish that crisp beauty we all desire.
I celebrate when smooth cake sides welcome the image like old friends, with no awkward gaps between us. I protect my creation, remembering to avoid refrigeration that would undermine our hard work.
Apply your edible image to fresh frosting within hours of serving for optimal results. High humidity requires gentle dampening or a backing plaque to maintain that bond we value.
Store Leftovers and Fix Stuck Backing or Wrinkles
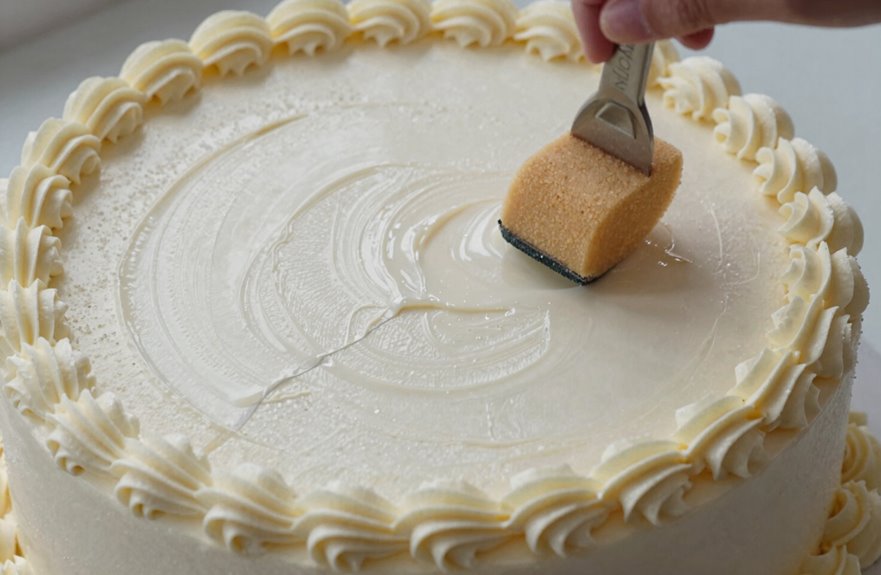
What happens when things don’t go quite as planned? If your backing sheet won’t release, gently warm the edible image or pull it across a table edge to separate it.
Avoid refrigerating beforehand; allow it to reach room temperature for fifteen minutes first.
When ready, use dry fingers to lift the sheet, then lay the middle onto your edible icing, smoothing outward to prevent wrinkles. If a few wrinkles appear, pat them gently and cover any stubborn spots with a decorative border.
For leftovers, place them back into their plastic bag and store them in a cool, dry location, away from sunlight. Proper storage ensures your edible image remains in good condition for next time.